Kale Salad

image

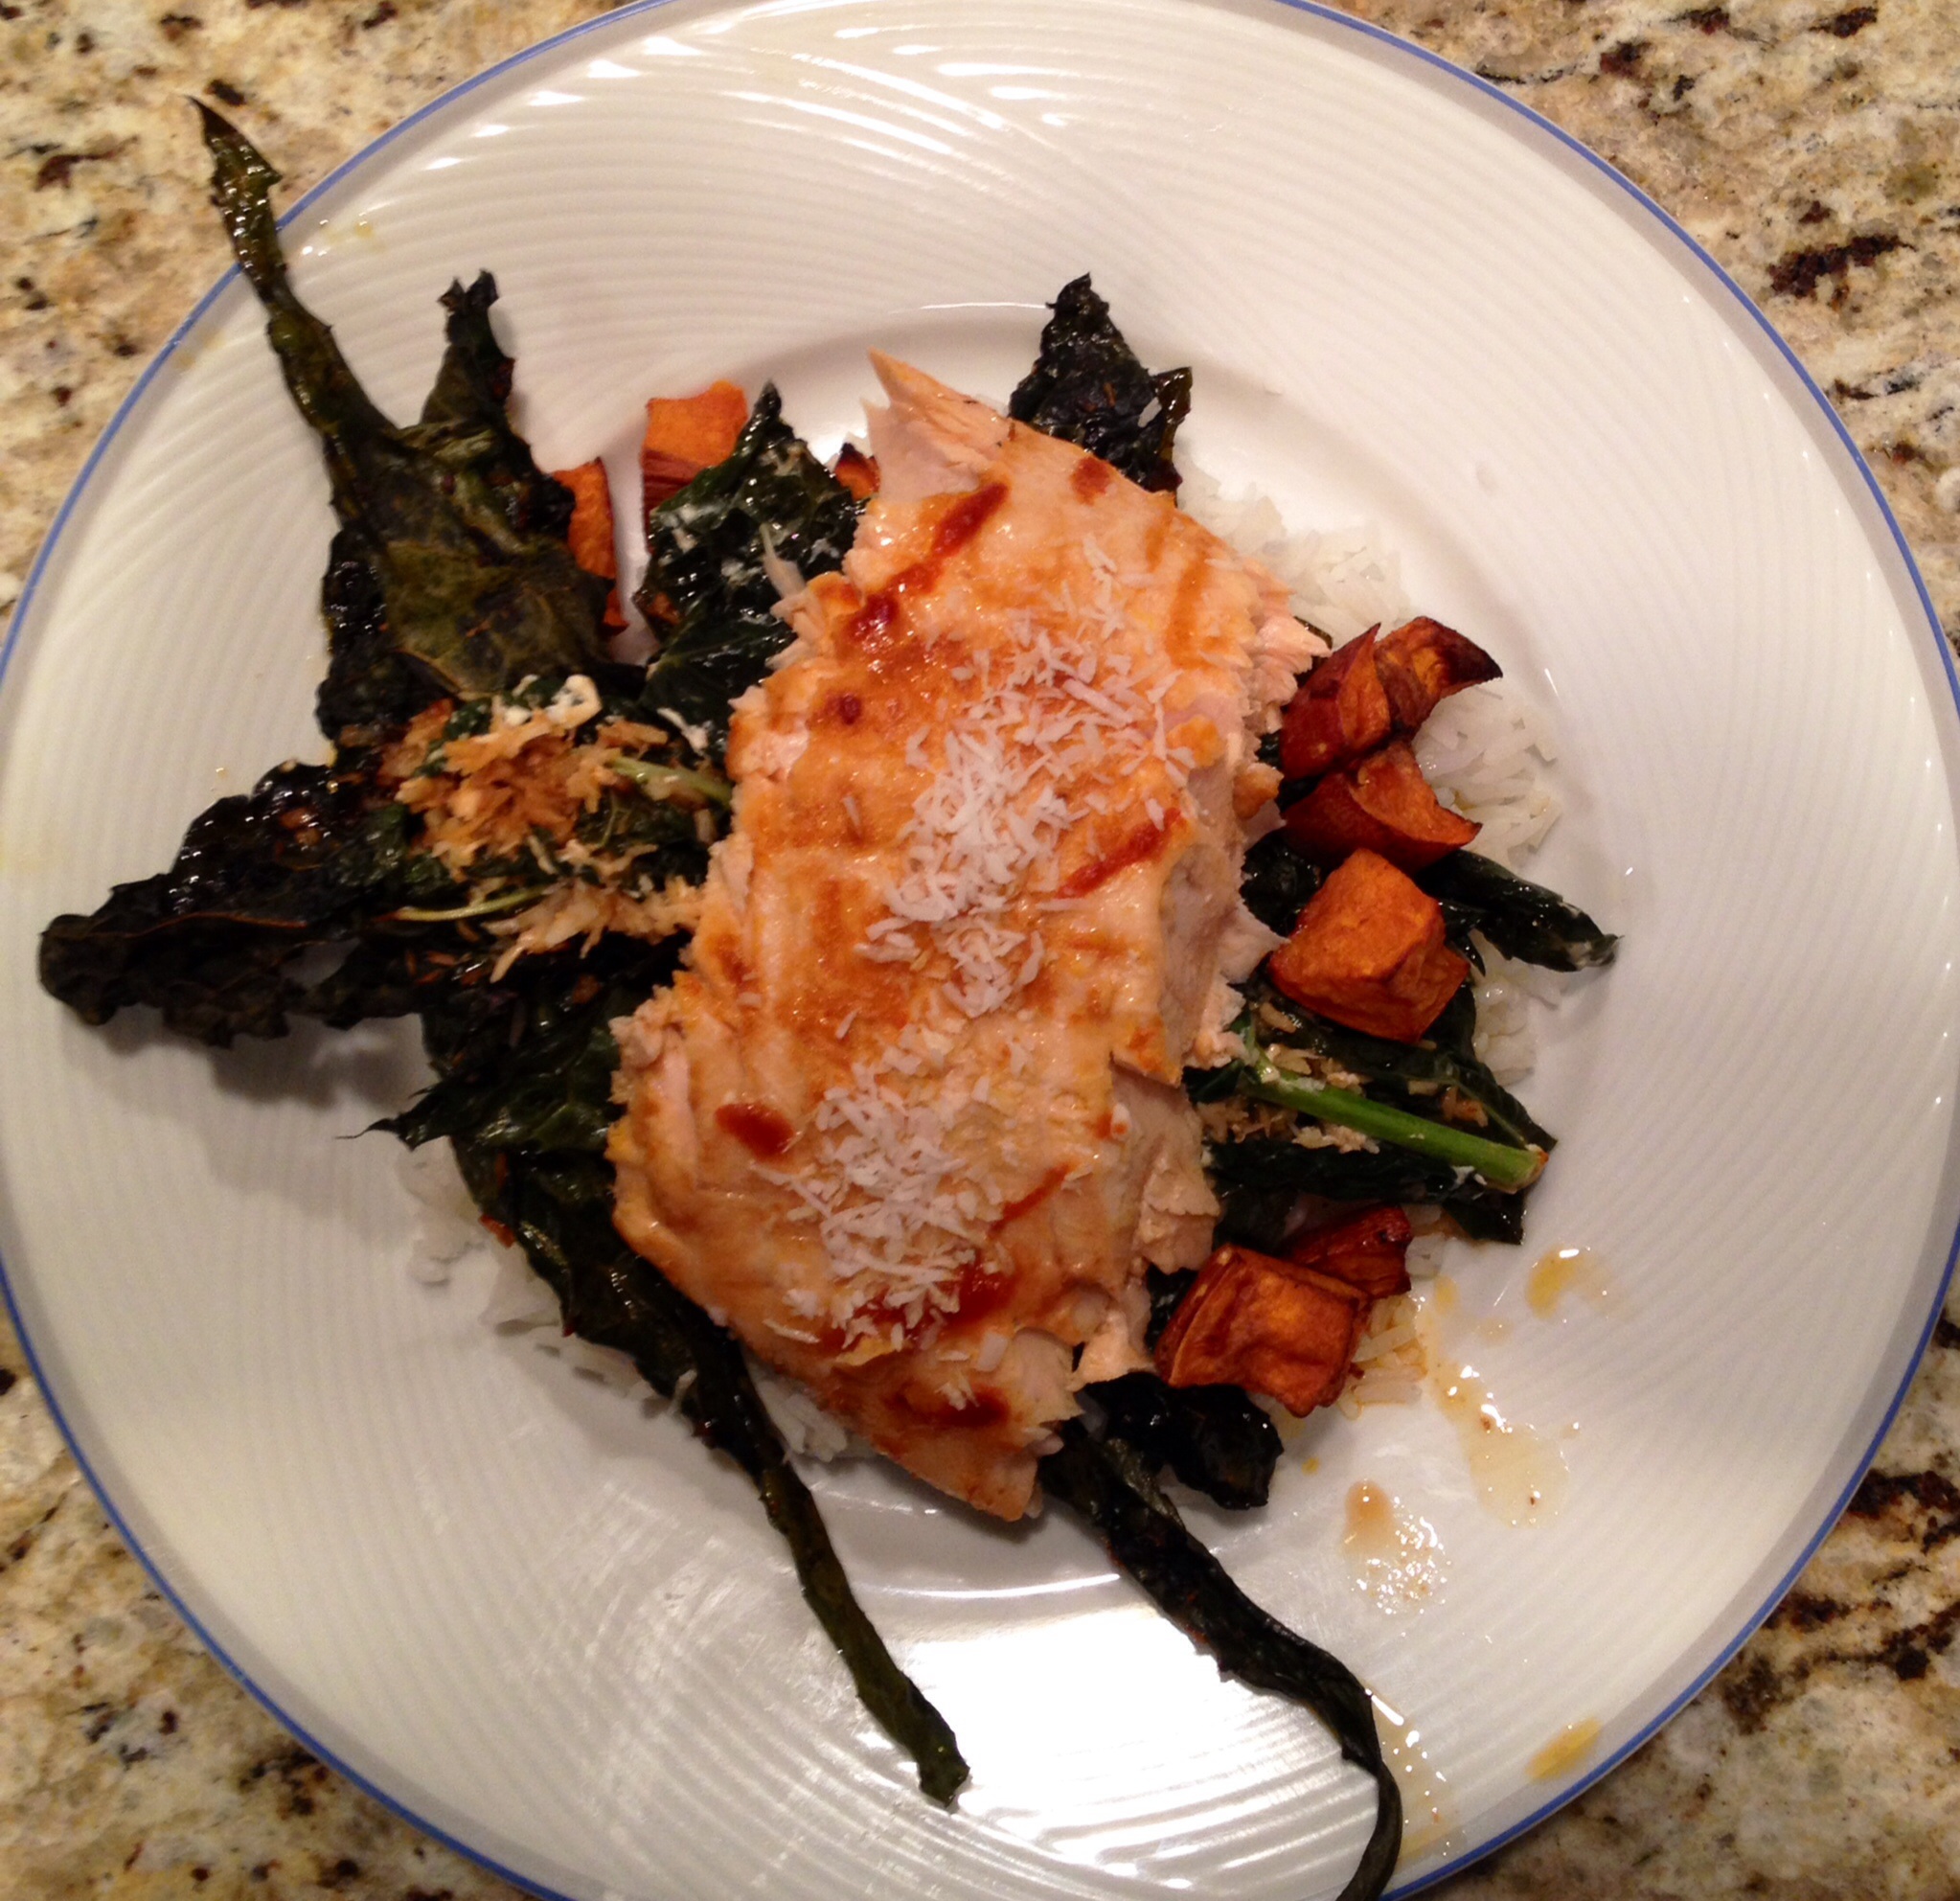
Kale is known as the queen of greens since it has one of the most health benefits than any other vegetable. In one cup of chopped kale, there are 33 calories, 9% of the daily value of calcium, 206% of vitamin A, 134% of vitamin C and 684% of vitamin K. Impressive, right?! It doesn’t stop there though – – it also is a good source of minerals copper, iron, manganese, phosphorus and potassium.   This leafy green also lowers the blood cholesterol levels and reduces the risk of heart disease.

So with that being said, T.W.O. enjoys making kale salads for lunch to ensure they reach their required daily value of nutrients. Check out this Kale, chickpea, and carrot salad and lemon vinaigrette recipe below.


KALE SALAD

Ingredients:

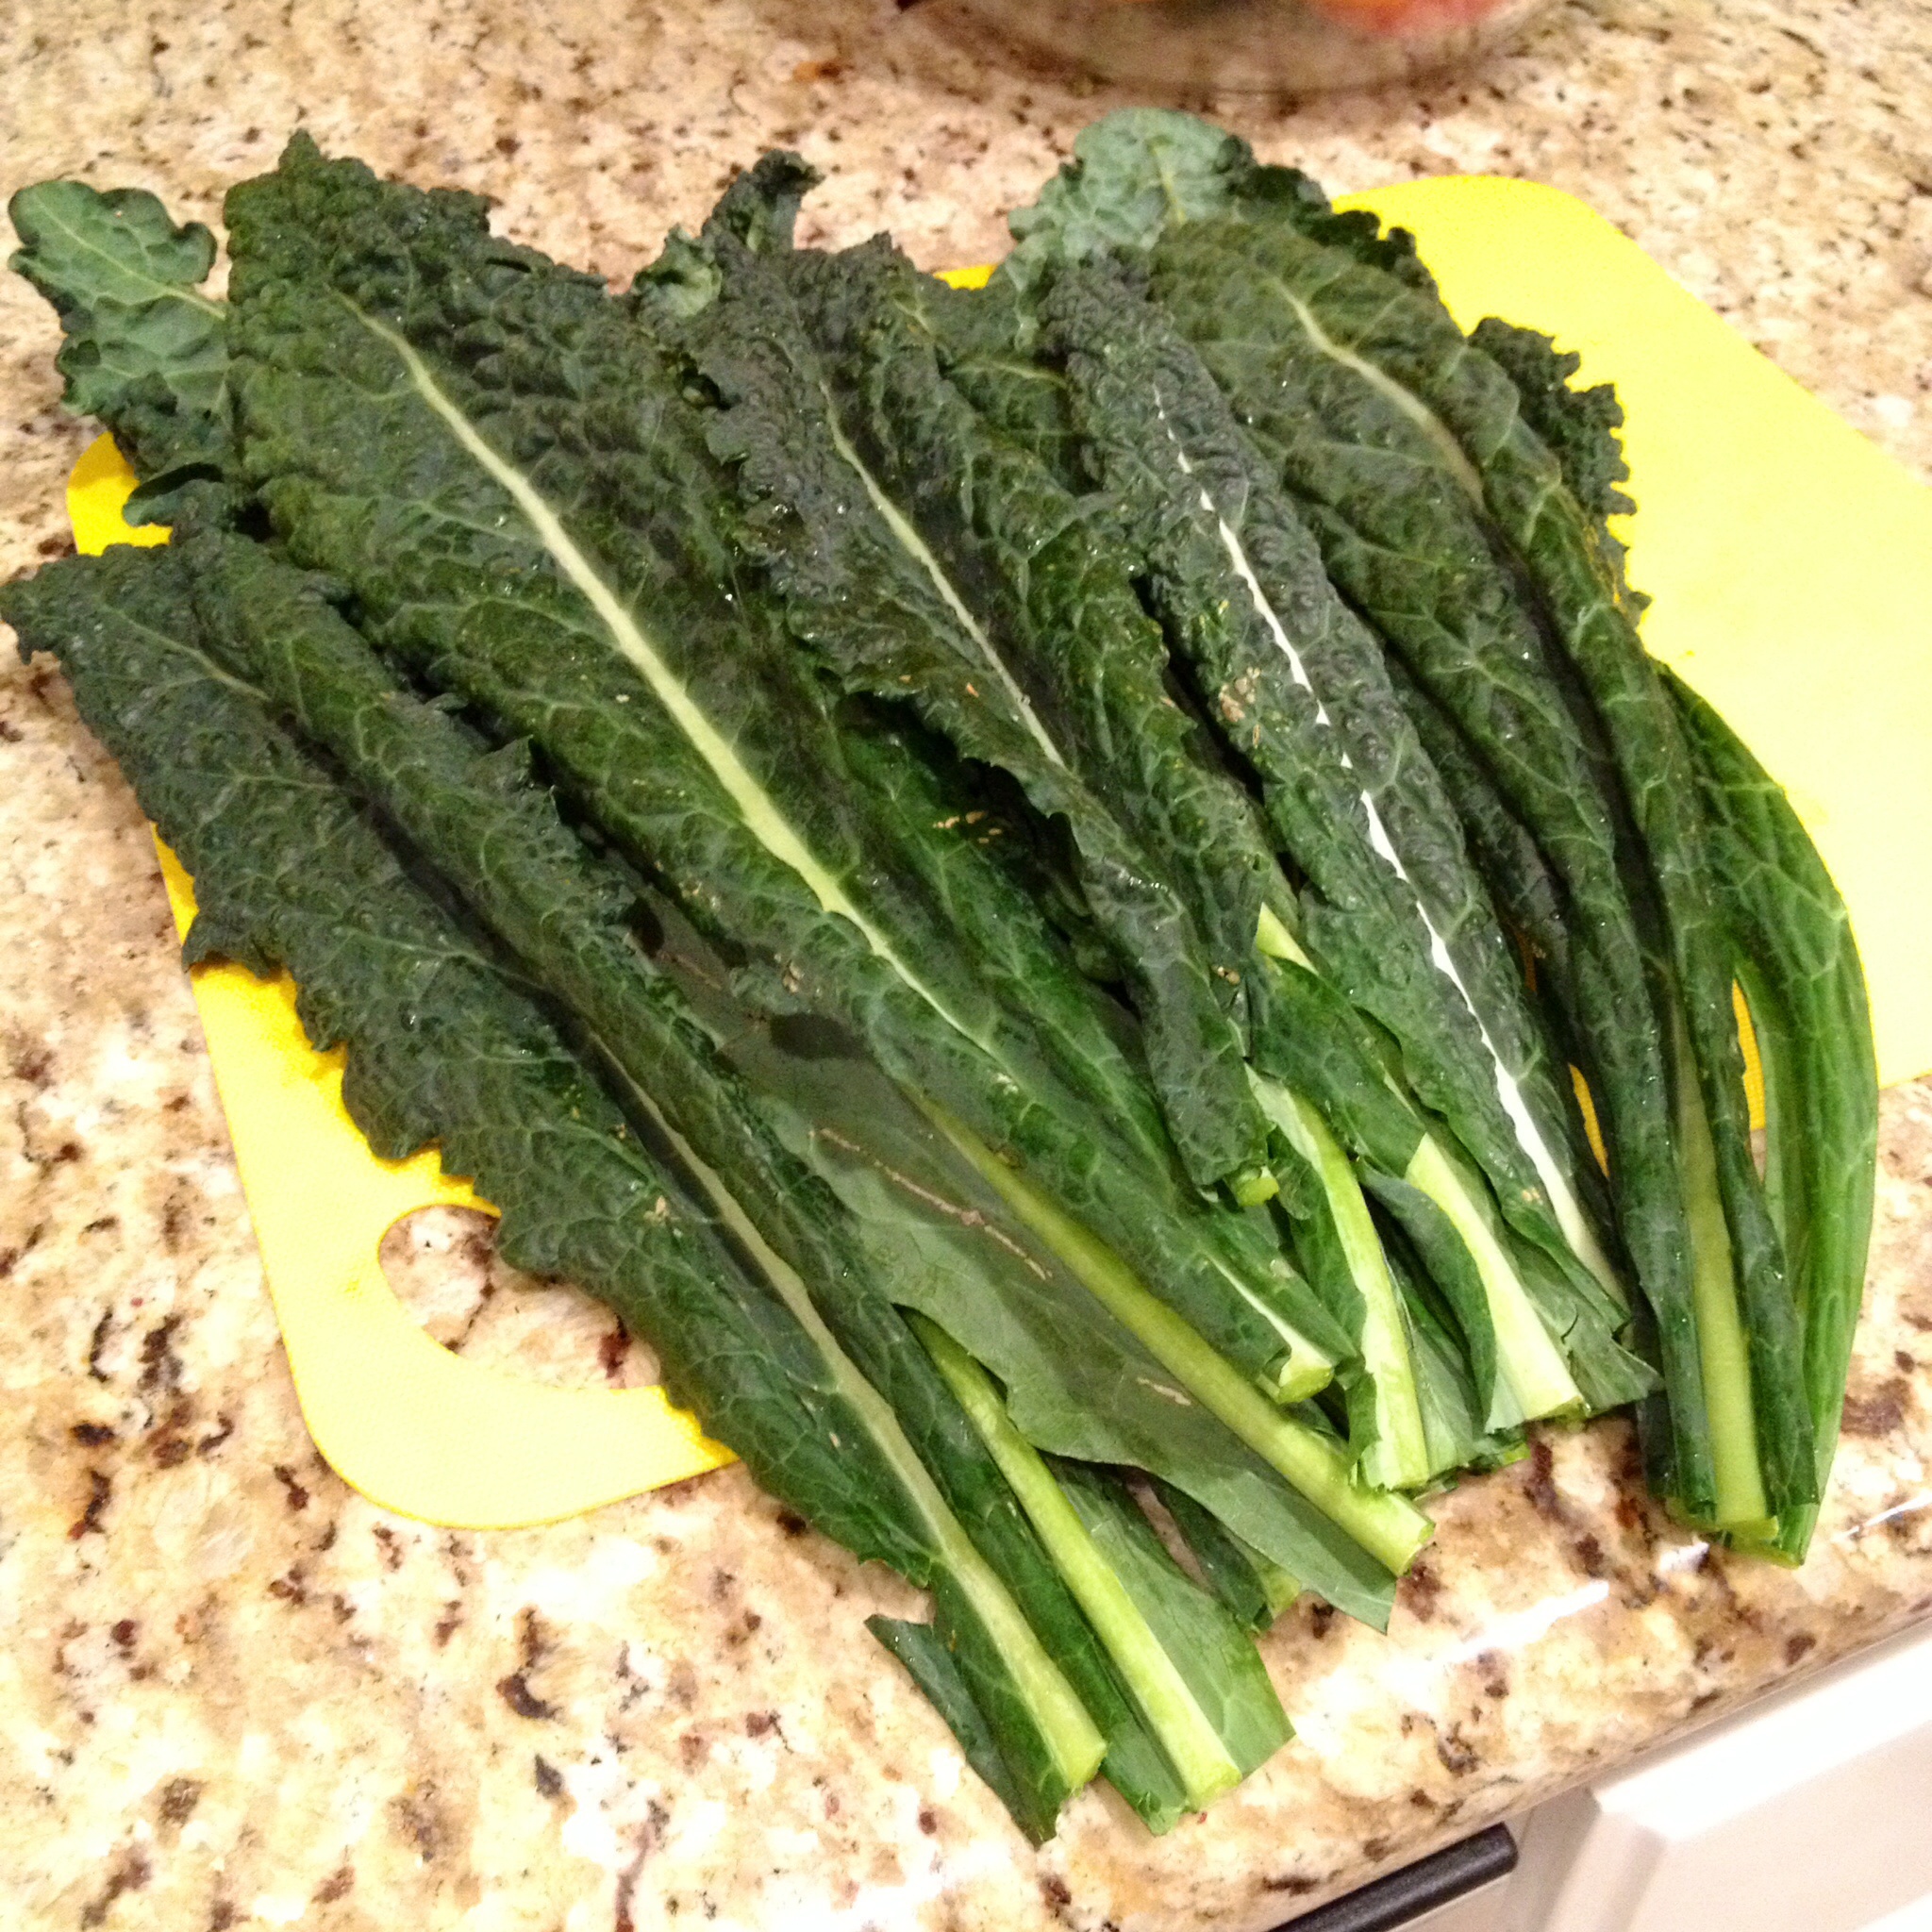
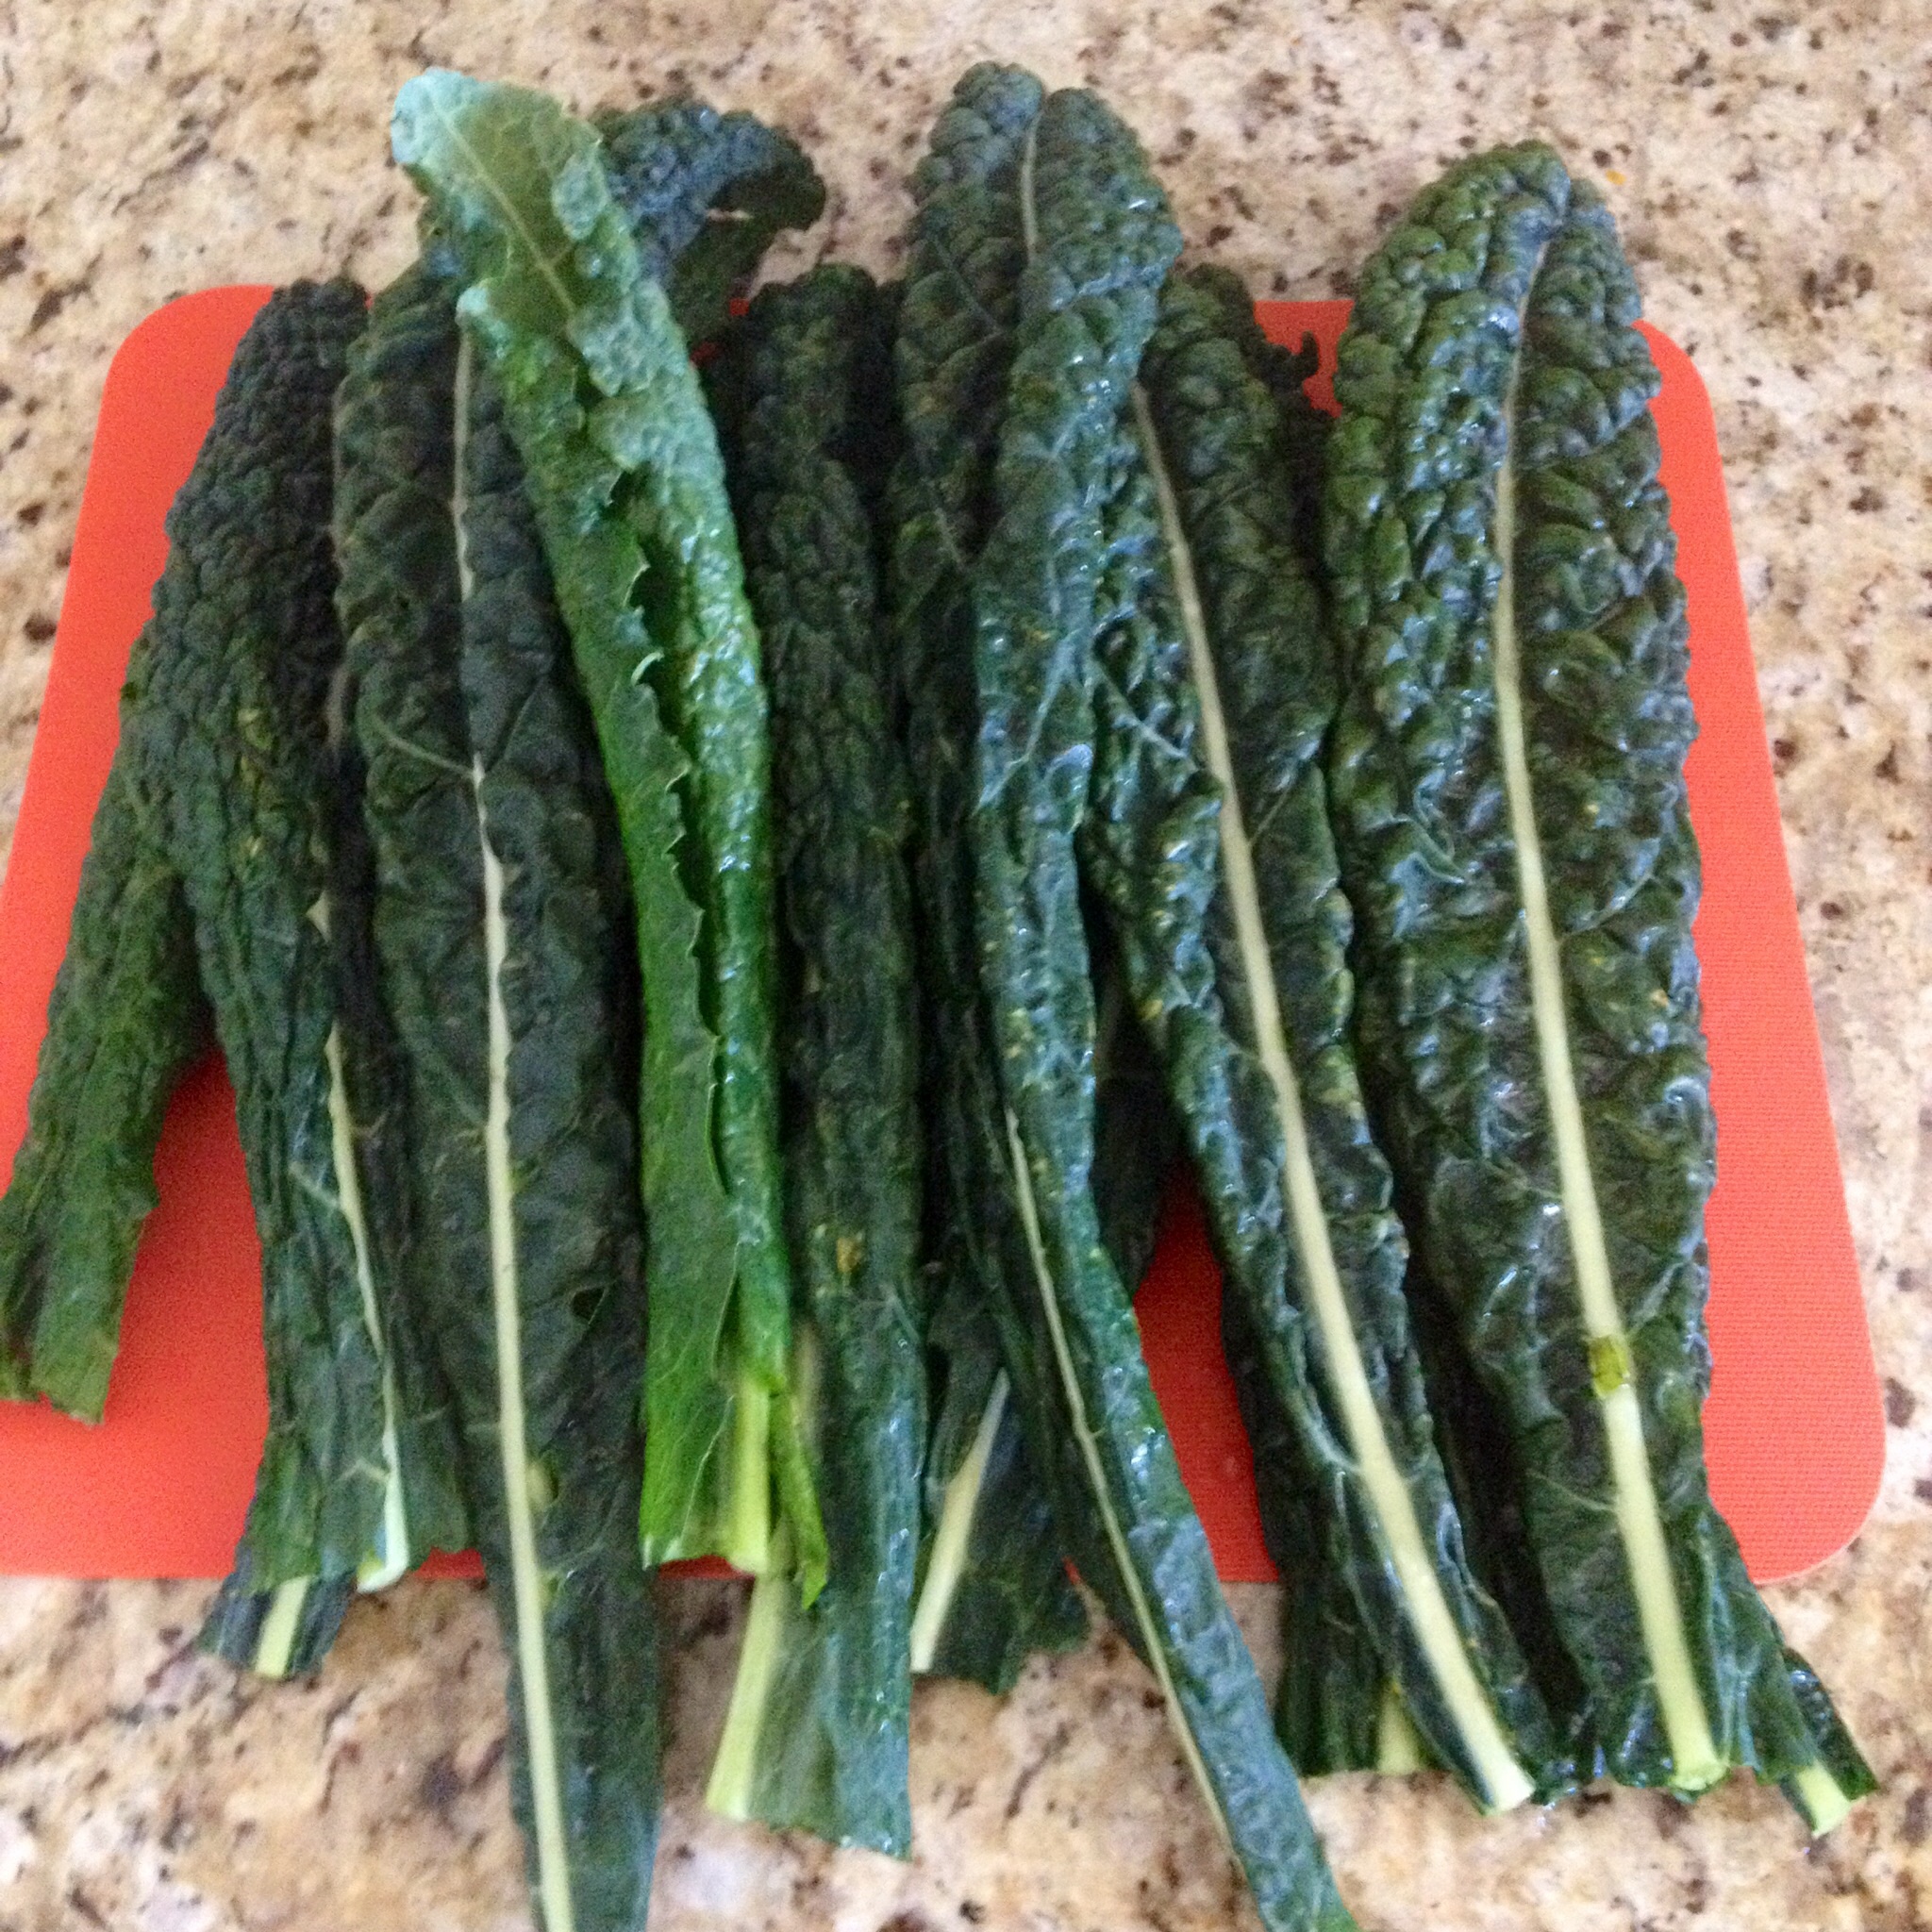
– 2 bunches lacinato kale
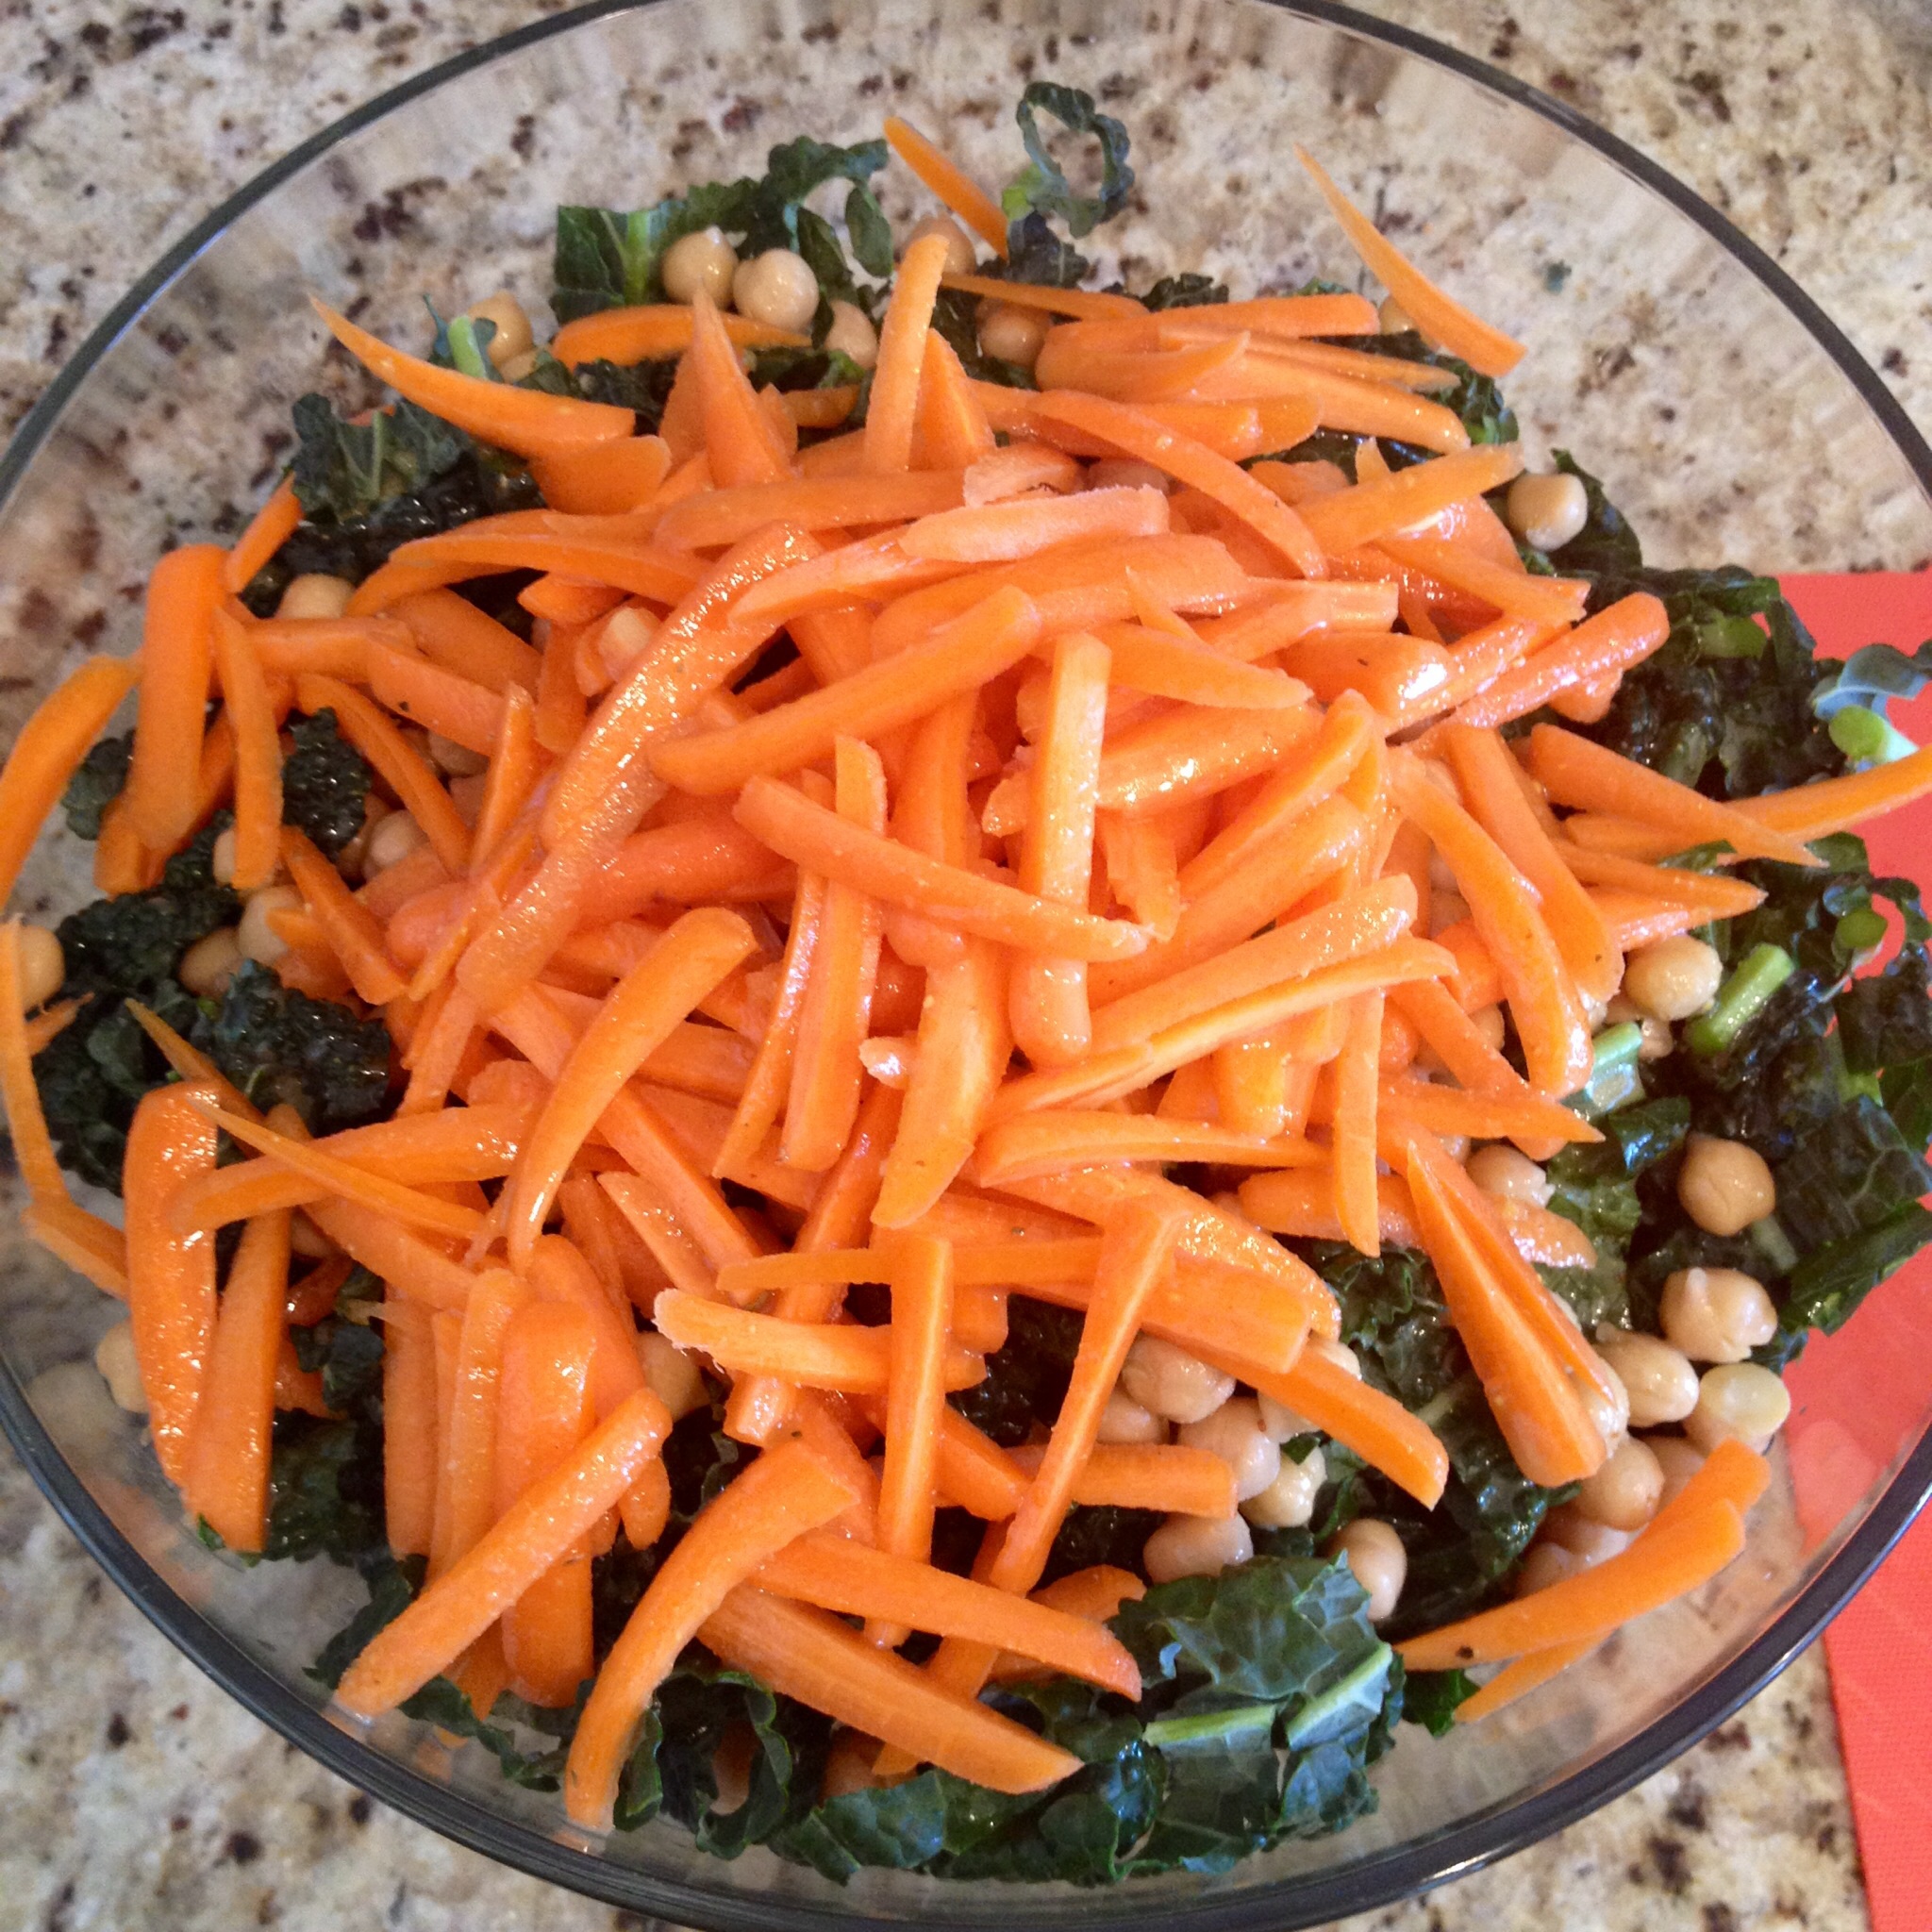
– 1- 15 ounce can chickpeas
– 1 cup fresh lemon juice
– 2 cups shredded carrots
– 2 Tablespoons spicy brown mustard
– 4 Tablespoons basil olive oil
– 1 teaspoon Organic Blue Agave
– ¼ cup rice vinegar
– 4 Tablespoons balsamic vinegar
– 1 teapoon garlic powder
– Krazy Salt
– Pepper

Directions:

Wash and rinse the kale. Remove core stems and chop. (T.W.O. didn’t remove the entire core stem – just the thick part near the bottom. We like the little crunch in our salad!) Place in a bowl. Add the chickpeas. Chopped the carrots in thick slices and add to the salad mixture. The thinner the slices, the soggier the carrots will get as the salad marinates…. So thick slices work best!

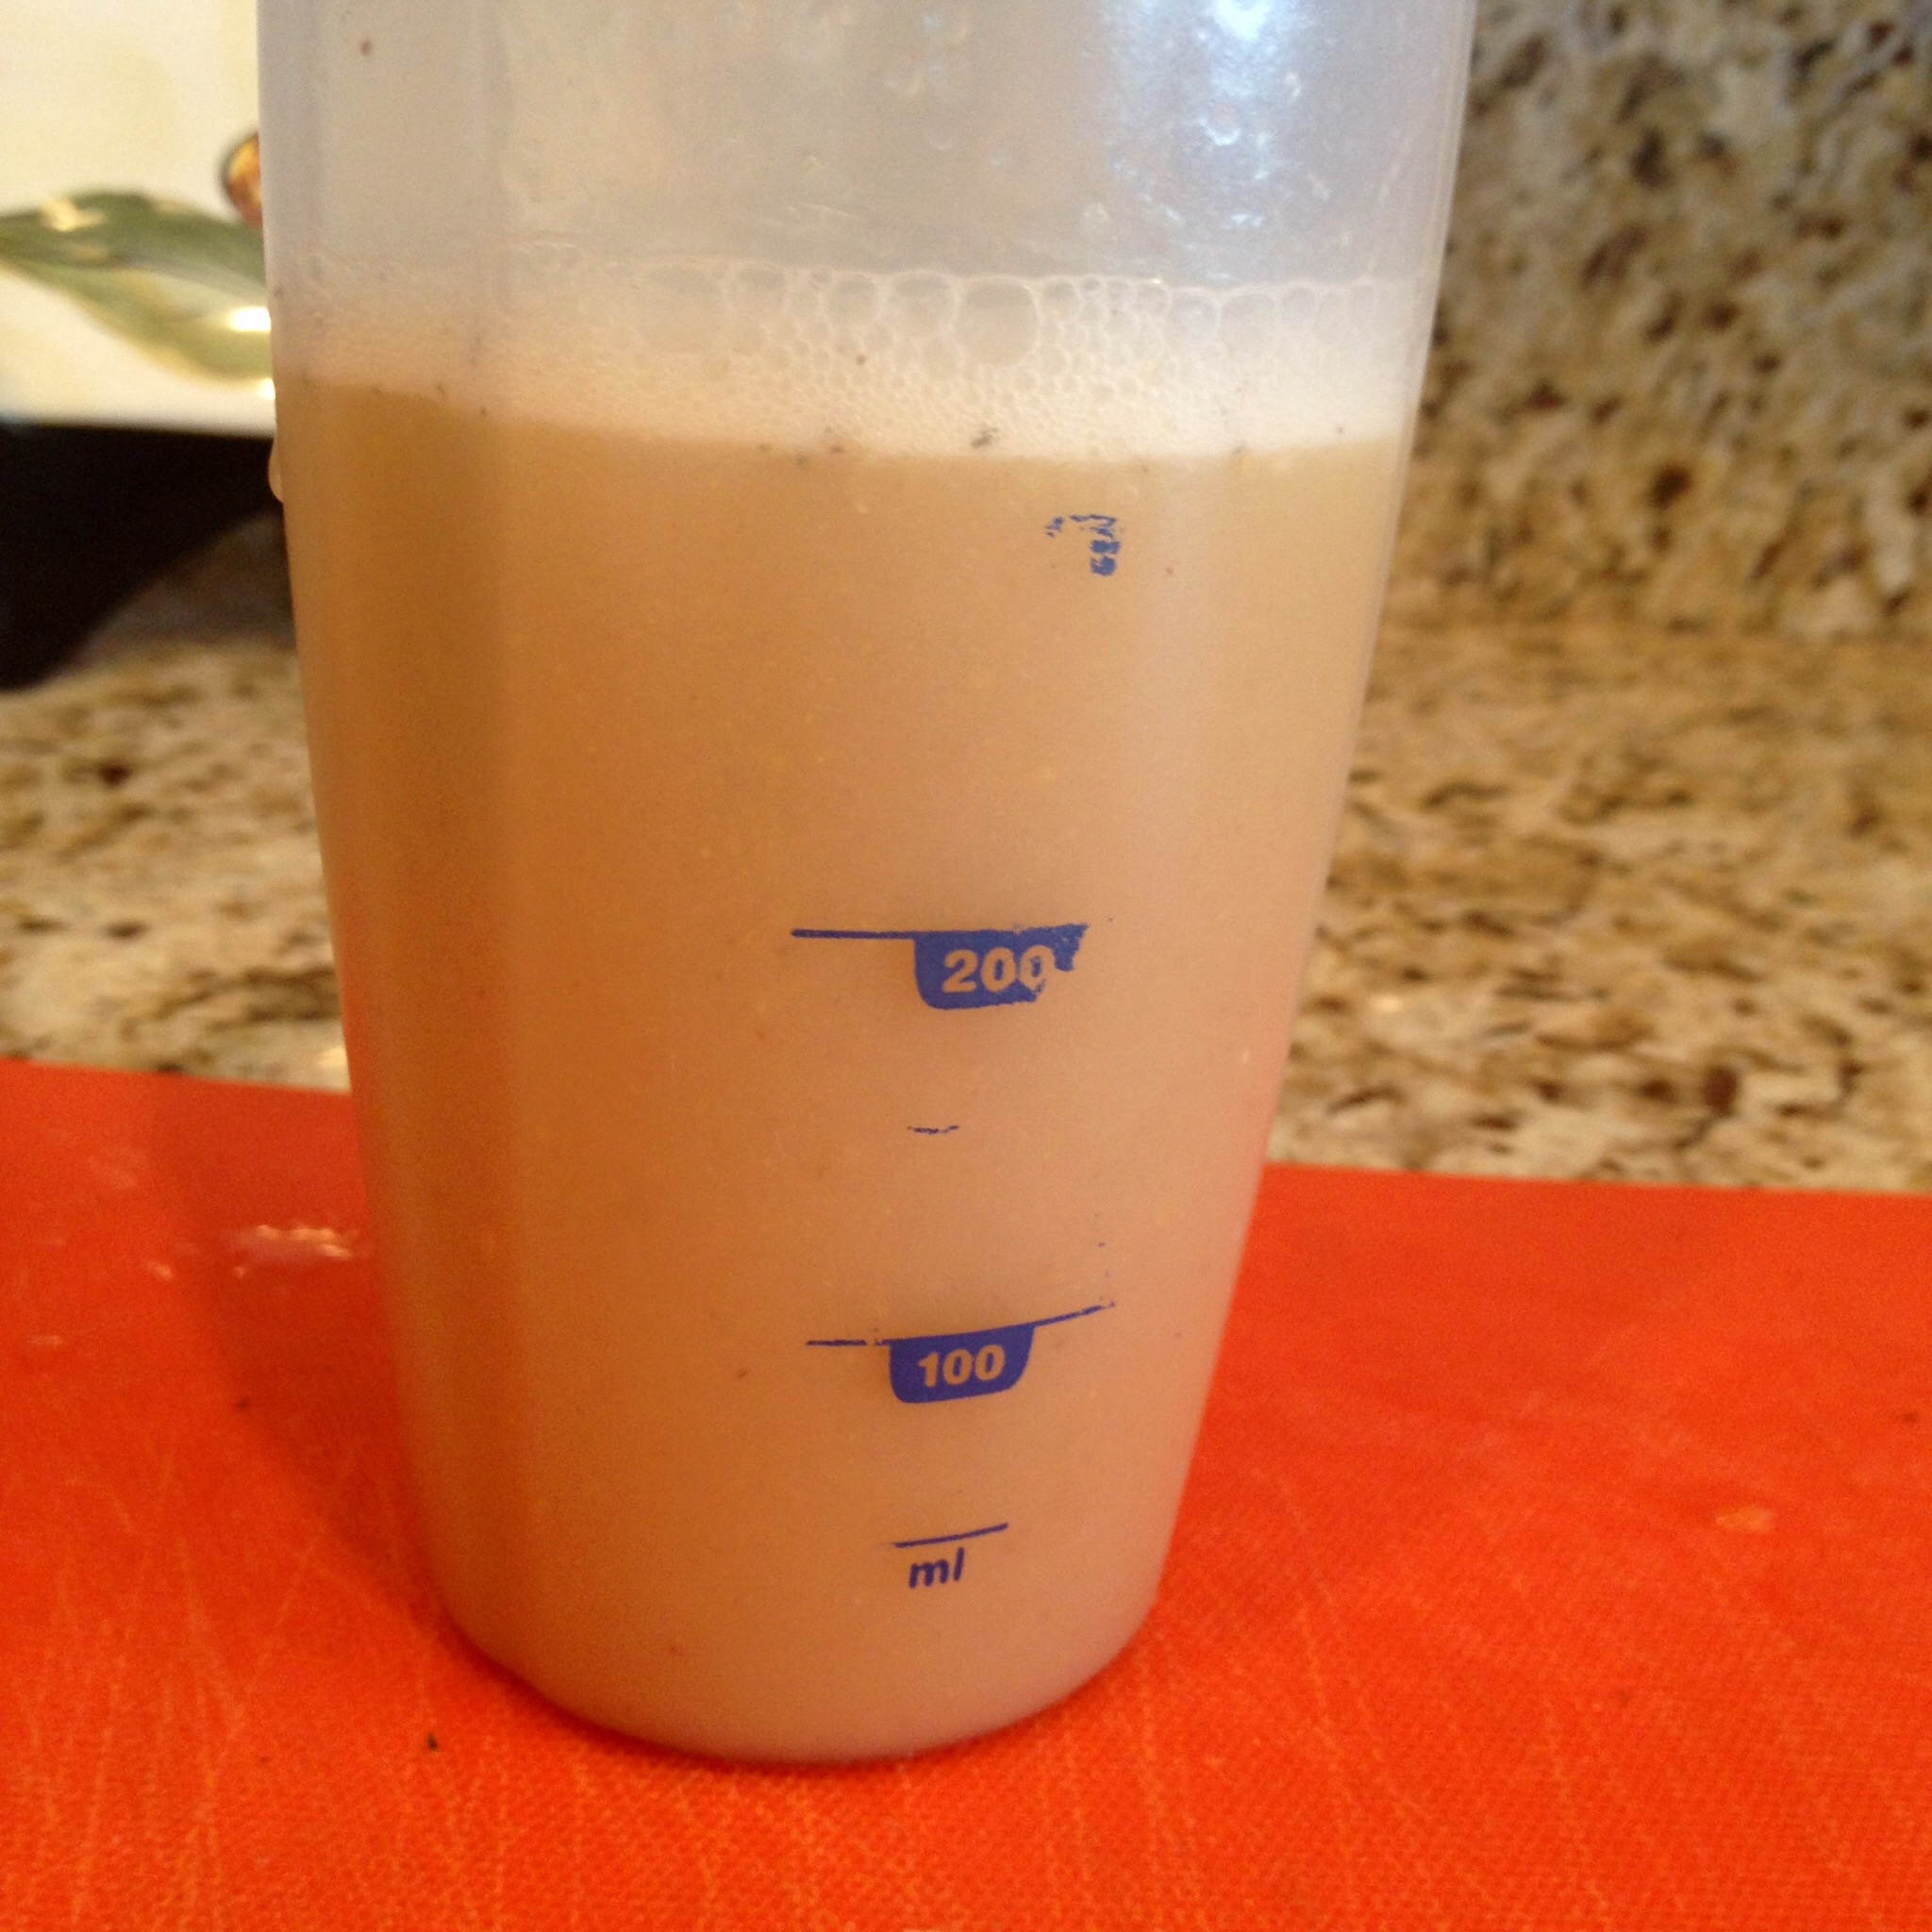
In a dressing shaker or cup, add the lemon juice, spicy brown mustard, basil olive oil, rice vinegar, balsamic vinegar, agave  and garlic powder. Mix/ Shake well. Add Krazy Salt and pepper to taste.

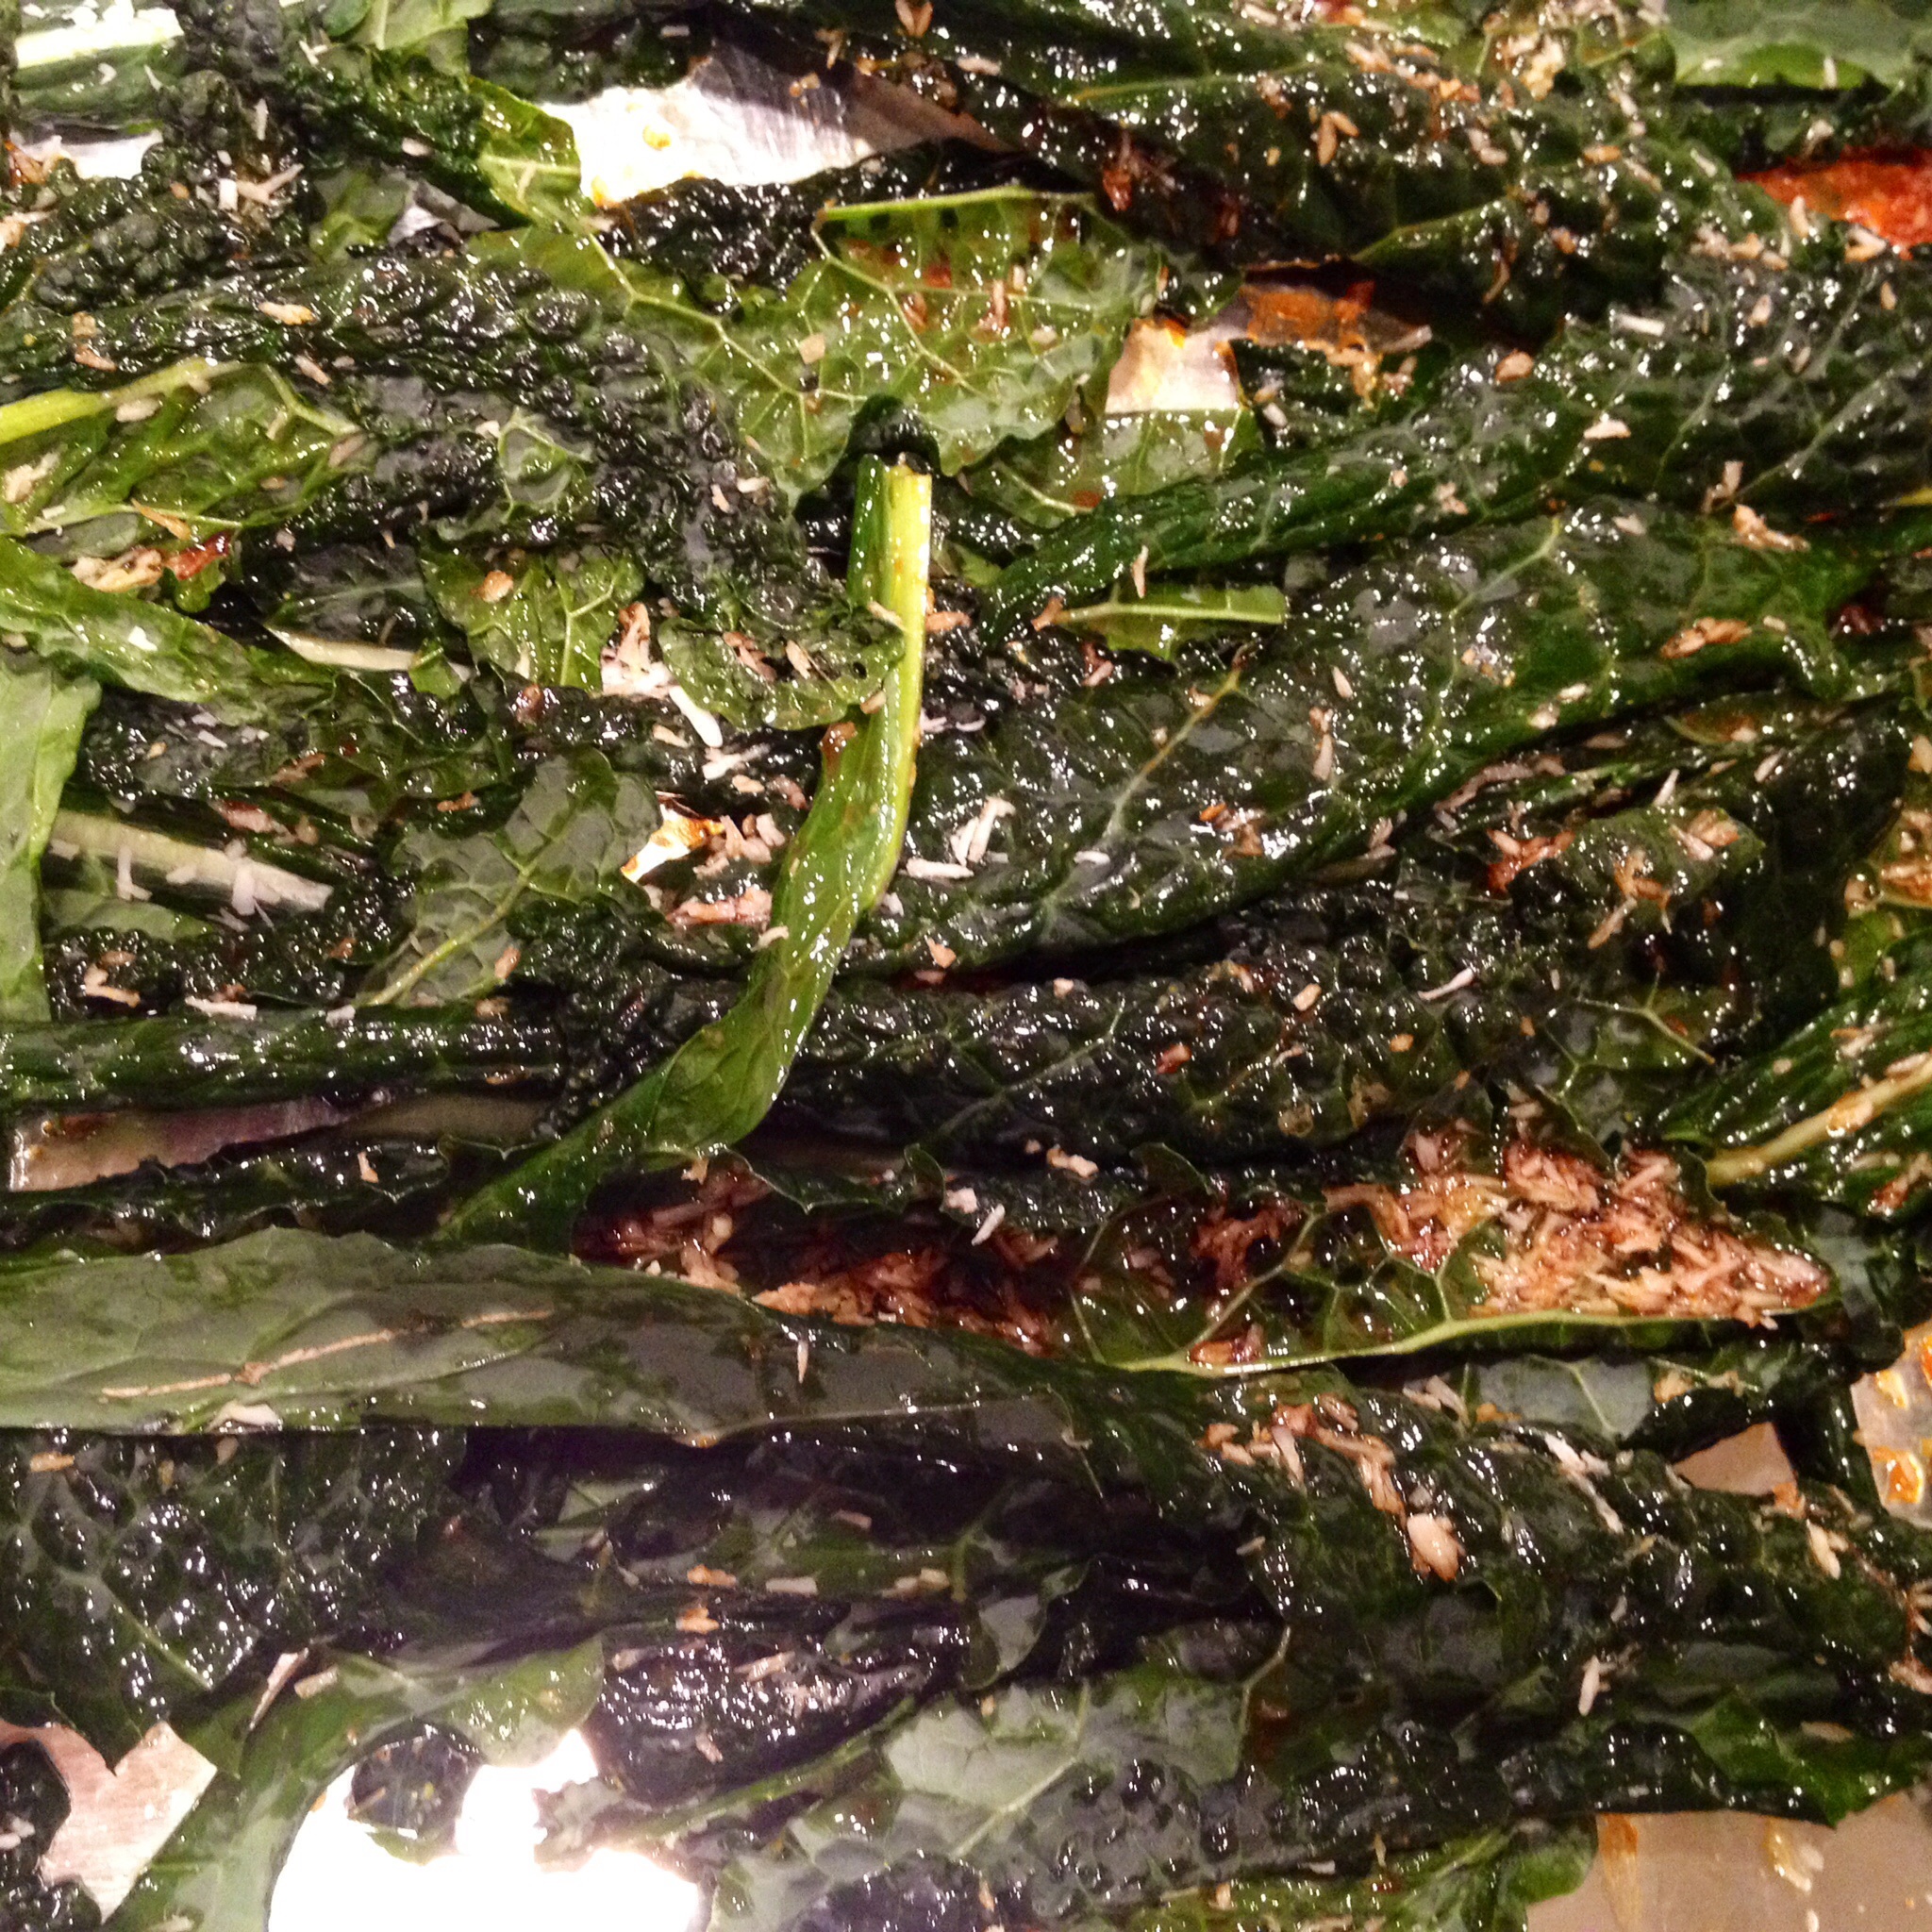
Toss the salad dressing in the salad mixture and place in the refrigerator to marinate. For best results, leave in for about an hour. You can also leave the kale in a sealed container without it going soggy for up to 2 days. Great idea for weekday lunches!


image image image image image

Happy healthy cooking!

T.W.O. signature

Steak Salad with Sweet Potato Chips

image

T.W.O. loves salads. And T.W.O. loves steak and sweet potatoes! So put them together and you got yourself a steak salad with sweet potato chips! It’s a great recipe for dinner, day time BBQ or just about any time your heart desires. We love the combination of the steak, garbanzo beans, feta, cilantro dressing and the crunch of the sweet potato chips! Next time you need a new idea for a salad, try this one!


Steak Salad with Sweet Potato Chips

Ingredients:

-Top Sirloin Files
-Mixed greens
-1 large Sweet potato
-Tomatoes
-Cucumbers
-Green onion
-Garbanzo beans
-Mushrooms
-Feta Cheese, crumbled
-Olive Oil
-Salt and Pepper
-Garlic Powered
-Cayenne Pepper
-Montreal Steak seasoning
-Trader Joe’s Cilantro Lime dressing

 Instructions: 

1. Preheat oven to 415°F.
2. Next, slice the sweet potato into thin circles and place into a bowl. Drizzle olive oil over the sweet potatoes and season with salt, pepper, garlic powered and cayenne pepper. Mix well. Lay the sweet potatoes onto a cookie sheet (lined with parchment paper) and place into the oven. Bake for a total of 30-35 minutes, flipping every 10 minutes so chips don’t burn. Make sure to watch the chips so they don’t burn!
3. While the chips are baking, fire up that grill!  Season the steak with Montreal Steak seasoning. When the grill is ready, start grilling the steaks. Cook to desire.
4. For the salad, plate mixed greens. Chop up the cucumbers, tomatoes, mushrooms and green onions and place on top of the greens. Add the garbanzo beans and feta cheese. When the steaks are done, slice thinly and place on salad. Add the sweet potato chips while still hot.
5. Finish the salad with the dressing.

It’s time to eat!

image

image

image

image

T.W.O. signature

Caprese Salad


image

Fresh is the key word in this salad.  Fresh basil, fresh mozzarella and fresh tomatoes –  – the three most important ingredients to make this salad. Yes, it’s easy and will be a great addition to any meal.  T.W.O. is going to feature this salad with cocktail tomatoes instead of cherry tomatoes. Either way, its one salad you can’t go wrong with.
Ingredients:
– 8 fresh cocktail tomatoes, quartered
– ½ cup fresh bail leaves, chopped
– 2 cups fresh mozzarella, cubed
– 1/2 cup red onions, diced
– 4 Tablespoons balsamic vinegar
– 2 Tablespoons olive oil
– 1 Tablespoon garlic, diced
– Salt
– Pepper

IStart off cutting the cocktail tomatoes in quarters.  Place in a bowl.  Mix, basil leaves, mozzarella along with the salt and pepper.  Add in balsamic vinegar, olive oil and garlic. Be careful not to mix to vigorously, you don’t want to break the tomatoes.  Place in the refrigerator for 15 minutes to 1 hour.

image image image image

It’s that easy – ready to serve now!!

Happy Spring!

T.W.O. signature

Boneless Short Ribs

image

Craving ribs, but don’t want to have to deal with the mess of eating them? Well you still can! Solution – boneless short ribs! Short ribs are great because you still have the same great taste as ribs, but you can use a fork and knife!  Sounds a little more ideal when you are wearing those white pants! If you haven’t tried cooking boneless short ribs, T.W.O. would highly suggest them for your next dinner, party or even holiday meal!

Ingredients:
-Short ribs, boneless
-Montreal Steak Seasoning
-Cayenne Pepper
-Shallots
-Olive Oil
-BBQ Sauce

First, season the ribs with Montreal Steak seasoning and cayenne pepper. In a large skillet, pour some olive oil and heat to medium to high heat. Add the short ribs and sear each side for about 4 minutes. Once each side is seared, add water to the skillet. The water level shouldn’t cover the meat, but rather be at 1/3 the way up. Turn the heat to low and allow the meat to simmer for a minimum of 2 hours. (T.W.O. suggests cooking them for 2 ½- 3 hours)  Make sure to flip the meat at hour 1.

image image

After the meat has simmered, fire up that BBQ! Place the short ribs on the grill and cook for about 4 minutes. Add your BBQ sauce to each side of the short ribs. Allow to cook for another 4 minutes. Now it’s time to eat some ribs…. only one napkin needed too!

image image image

T.W.O. signature

Shaved Brussel Sprout Mushroom Pizza with Cauliflower Crust

image

It’s that time again – Friday Night Pizza Night with T.W.O. Tonight, we are featuring a shaved brussel sprout, mushroom pizza with a cauliflower crust. It’s not your traditional pizza, but that’s what makes it fun and original- right? Can’t keep eating the same thing every week. If you are looking to experiment with you pizza, this recipe is for you! Did we mention it is healthy and gluten-free? Oh…and it tastes good too! Happy Friday Night Pizza!

image

For the Crust
– 1 large head of cauliflower or two small heads, coarsely chopped (creates about 4 cups of cauliflower “rice”)
– 3 eggs
– 1- 1 ½ cups almond meal
– ¼ cup mozzarella cheese
– 1 teaspoon garlic powder
– 1 teaspoon onion powder
Sea salt and cracked black pepper

 For the Toppings
– 1 cup ricotta cheese
– 2 cups mozzarella
– 1 large yellow onion, peeled and chopped
– 2 cups Brussels sprouts, shredded
– 1 Tablespoon balsamic vinegar
– 1 small package mushrooms
Sea salt and cracked black pepper

Place chopped cauliflower in food processor, sprinkle with salt and pepper and pulse until it resembles a rice consistency. Transfer cauliflower rice to a large bowl and add almond meal, eggs, mozzarella garlic powder and onion powder. Using your hands, mix all ingredients together until it begins to stick and can be shaped into two balls.

image image

If the cauliflower balls are too wet, squeeze the excess liquid out and add a little bit more almond meal. The texture will never be dry like conventional flour dough but you don’t want it to be dripping wet either. A little moisture is fine and will not prevent the crust from firming up in the oven.

Line a two baking sheet with parchment paper. Transfer the cauliflower balls onto the center of the paper and using your hands, shape into a pizza crust of about 1/3 inch thickness. Bake the cauliflower pizza crust in the oven for 20-25 minutes, until the sides are beginning to brown. Remove from oven.

image

Once the pizzas are done, spread one pizza with ricotta and the other with mozzarella. Spread the Brussels sprouts, onions and mushrooms evenly over the top of the pizza. Drizzle with balsamic.

image image image

Place in the oven for 15 more minutes. Remove and let cool for 2 minutes before serving. Another successful Friday Night Pizza Night!!

image image

imageimage

Cheers!

T.W.O. signature

Roasted Salmon with Crispy Kale and Coconut Rice

image

T.W.O. has really enjoyed cooking with coconut lately. Coconut not only adds phenomenal flavor, but also has many nutritional benefits. So we decided to combine it with 3 other nutrient-rich ingredients – kale, sweet potatoes and salmon! And wow, this is a great combination. We have no doubt you will enjoy! Put it on this week’s menu – you won’t be disappointed! Our good fiend ‘Tiny Bit Of Joy’ also enjoyed a similar recipe the same night – – – its that good!

Ingredients
• 1cup jasmine rice, uncooked
• 1cup coconut milk, unsweeted
• 1 cup water
• ½ teaspoon sea salt
• 1/3 cup coconut oil, melted
• 2 Tablespoons soy sauce, low sodium
• 1 Tablespoon Sriracha
• 3 sweet potatoes, cubed
• 1 Tablespoon coconut oil, melted
• 2 Tablespoons Trader Joe’s sesame soy ginger vinaigrette
• 1 bunch lacinato kale, ribs removed and sliced into strips
• 1 cup unsweetened coconut flakes
• 1 to ½ pound salmon, sliced into 4 fillets

Place rice in a saucepan with coconut milk, water, and salt. Bring to a boil and stir. Reduce to the lowest heat, cover, and cook for 15 minutes. Remove from heat and set aside.

image

While the rice is cooking, heat oven to 400° F. Combine the melted coconut oil, soy sauce, vinaigrette and Sriracha. Stir vigorously until mixed well.

Place the sweet potatoes on a lined baking sheet. Drizzle with a tablespoon of melted coconut oil and sea salt. Toss to coat. Bake for 30 minutes or until tender.

image image image

Place kale and coconut flakes on a lined baking sheet. Drizzle with about 2/3 of the dressing. Toss until well coated. Place salmon on top of the kale and drizzle with 1 to 2 tablespoons of the remaining dressing. Bake the salmon and coconut kale mixture during the last 15 minutes of the sweet potato’s baking time, or until cooked through, being careful not to let the kale burn.

image imageimage image

Remove sweet potatoes, salmon, and kale from oven. Serve over fluffed rice with an extra drizzle of dressing.

image imageT.W.O. signature

Chicken Fajitas

image

Taco Tuesday can get a little old after a while, so T.W.O. decided to change things up a bit and make some chicken fajitas – with t.w.o. twists! These are not your average fajitas you order at a Mexican restaurant, because we decided to add cannellini beans and Rimel’s “Green Sauce.” This is a great dish not only for Tuesday, but for any day of the week! And it is great for a crowd! So invite your friends over and let’s have a fiesta!

Ingredients
-4 chicken breasts, boneless & skinless
-1 fajita mix
-Mini sweet bell peppers, sliced into stripes
-1 sweet onion, sliced into wedges
-2 jalapeños, sliced into stripes
-1 can of cannellini beans, drained and rinsed
Rimel’s “Green Sauce”
-Corn tortillas*
-1 Avocado, sliced
-Salsa
-Cilantro

*T.W.O. uses the La Tortilla Factory brand of corn tortillas

image

image

image

Begin by cutting the chicken breasts into stripes. Heat up a sauce pan with olive oil. Add chicken breasts, fajita mix and ½ water. Cook chicken until done.

image

Remove chicken, keeping the juice to sauté the vegetables. Sauté the vegetables for about 5-8 minutes. Once the vegetables are cooked, add the chicken back into pan. Add about 1/3-1/2 cup of the “Green Sauce” and mix. Keep on the heat for about 2 minutes then remove.

image

Heat up the corn tortillas. Now it is time to make the fajitas! We like to top our fajitas with salsa, avocado, cilantro and a little of the “Green Sauce.” Now it’s time for a salsa dance!!

image image image

Ole!

T.W.O. signature

Zesty Lemon Chicken

imageDo you ever get bored of baked chicken or your average barbecue chicken?  Well if your answer is yes, keep reading! T.W.O. has a solution for you – Zesty Lemon Chicken. The combination of the citrus and the herbs used to cook this dish makes it an easy week night recipe that tastes like a million dollars.  Move over barbecue sauce, let the lemons take over!


Ingredients

-4 Chicken breasts, bone-in
-1 Sweet Onion, chopped
-2 Garlic cloves, chopped
-2 Tablespoons Olive oil
-4 Lemons
– Herbs (Parsley, Coriander, Thyme, Rosemary), chopped
-Salt & Pepper
-Baby Potatoes, washed
-Lemon wedges
-Chicken broth

image

In a Pyrex, place the washed chicken skin side down. Marinade the chicken, olive oil, herbs, lemon juice, salt and pepper for about 15 minutes. It is okay to place the lemon skins in the Pyrex, as this adds more flavors.

image

Preheat your oven to 350°F.

Add the potatoes, onions & garlic. Add 1/2 cup of chicken broth to the bottom of the dish to cover some of the potatoes and the chicken.  (It should be about 1/3 of an inch)

Put in the oven for 25 minutes, then turn the chicken to the other side – skin side up – and leave it to cook for more 25 minutes, till the skin side is roasted. Once the chicken is done, plate the chicken, potatoes, lemon and drizzle with cooked broth. It’s time to eat!

image

imageimageT.W.O. signature

Blueberry Frozen Yogurt Bites

image

Blueberries. Greek Yogurt. And a Freezer. Yes – that is all you need in order to make these delicious, refreshing treats. The tartness of the Greek yogurt compliments the sweet flavors of the blueberry to make these bite size snacks the modern, healthier version of a bonbon. If you need some “pop” in your life, grab yourself some blueberries and yogurt and get to work!

image

Ingredients:
-1 package blueberries, washed
-Greek yogurt*

Lay out the washed blueberries on a mat or cutting board. Make sure the blueberries are fully dried. Using a skewer or a toothpick, dip the blueberries in the Greek yogurt. Swirl around, making sure to get enough Greek yogurt on the berry to freeze. Place on a parchment paper – lined cookie sheet.

imageimage

Once all the blueberries are dipped, place in the freezer for about 20 minutes. Remove the blueberries and store in a freezer safe Tupperware or Ziploc bag. The berries are best after an hour being in the freezer. If you can’t wait that long, 20 minutes will do! Store in freezer.

image image

Cheers to snacks!

T.W.O. signature

Peanut Butter Coconut Popcorn

image

This past Saturday evening, T.W.O. spent their night in with a delicious home cooked meal, the Olympics and POPCORN! Peanut Butter Popcorn to be exact! And we cooked it the old fashion way- the stove! Instead of using olive oil for the bottom of the pan, we used coconut oil- and WOW, was that an excellent choice. The popcorn had a subtle taste of coconut and was complimented by the peanut butter we decided to add in. Sweet and Savory! We are excited to try what other “mix-ins” we can add next time we make the coconut popcorn. Until then- you have to try this recipe out!

Ingredients

-1 to 1 ½ cup Popcorn kernels
-1 Tablespoon coconut oil
-1/3 cup peanut butter
-Sea Salt

 image

image

Begin by placing the coconut oil into a medium to high heated sauté pan that has a lid. When the coconut oil is melted, make sure that the entire pan is seasoned with the oil. You don’t want the popcorn to stick or burn. Next, add the kernels to the pan and cover.

image

The popcorn will begin to pop. Turn off the heat when you start hearing the popcorn to stop popping. We have a rule that if there is more than 5 seconds between the pops, then the popcorn is done- so turn off the heat! Place the popcorn in a large bowl and season with salt.

image

image

In a small dish, melt the peanut butter for 20-30 seconds in the microwave. Once melted, pour over the popcorn and mix.

image

image

Now it’s time to sit on the couch and watch the Olympics!

image

Enjoy!

T.W.O. signature