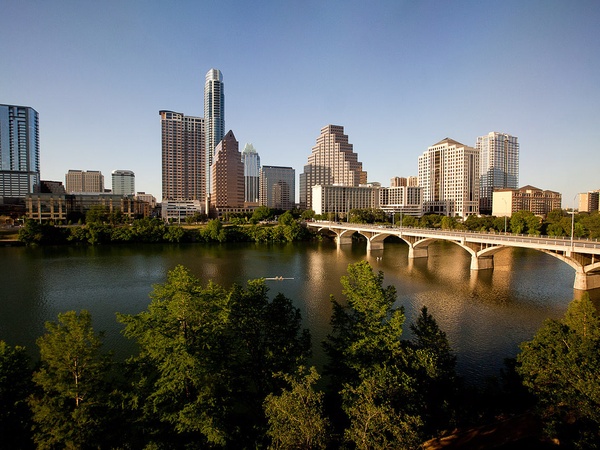
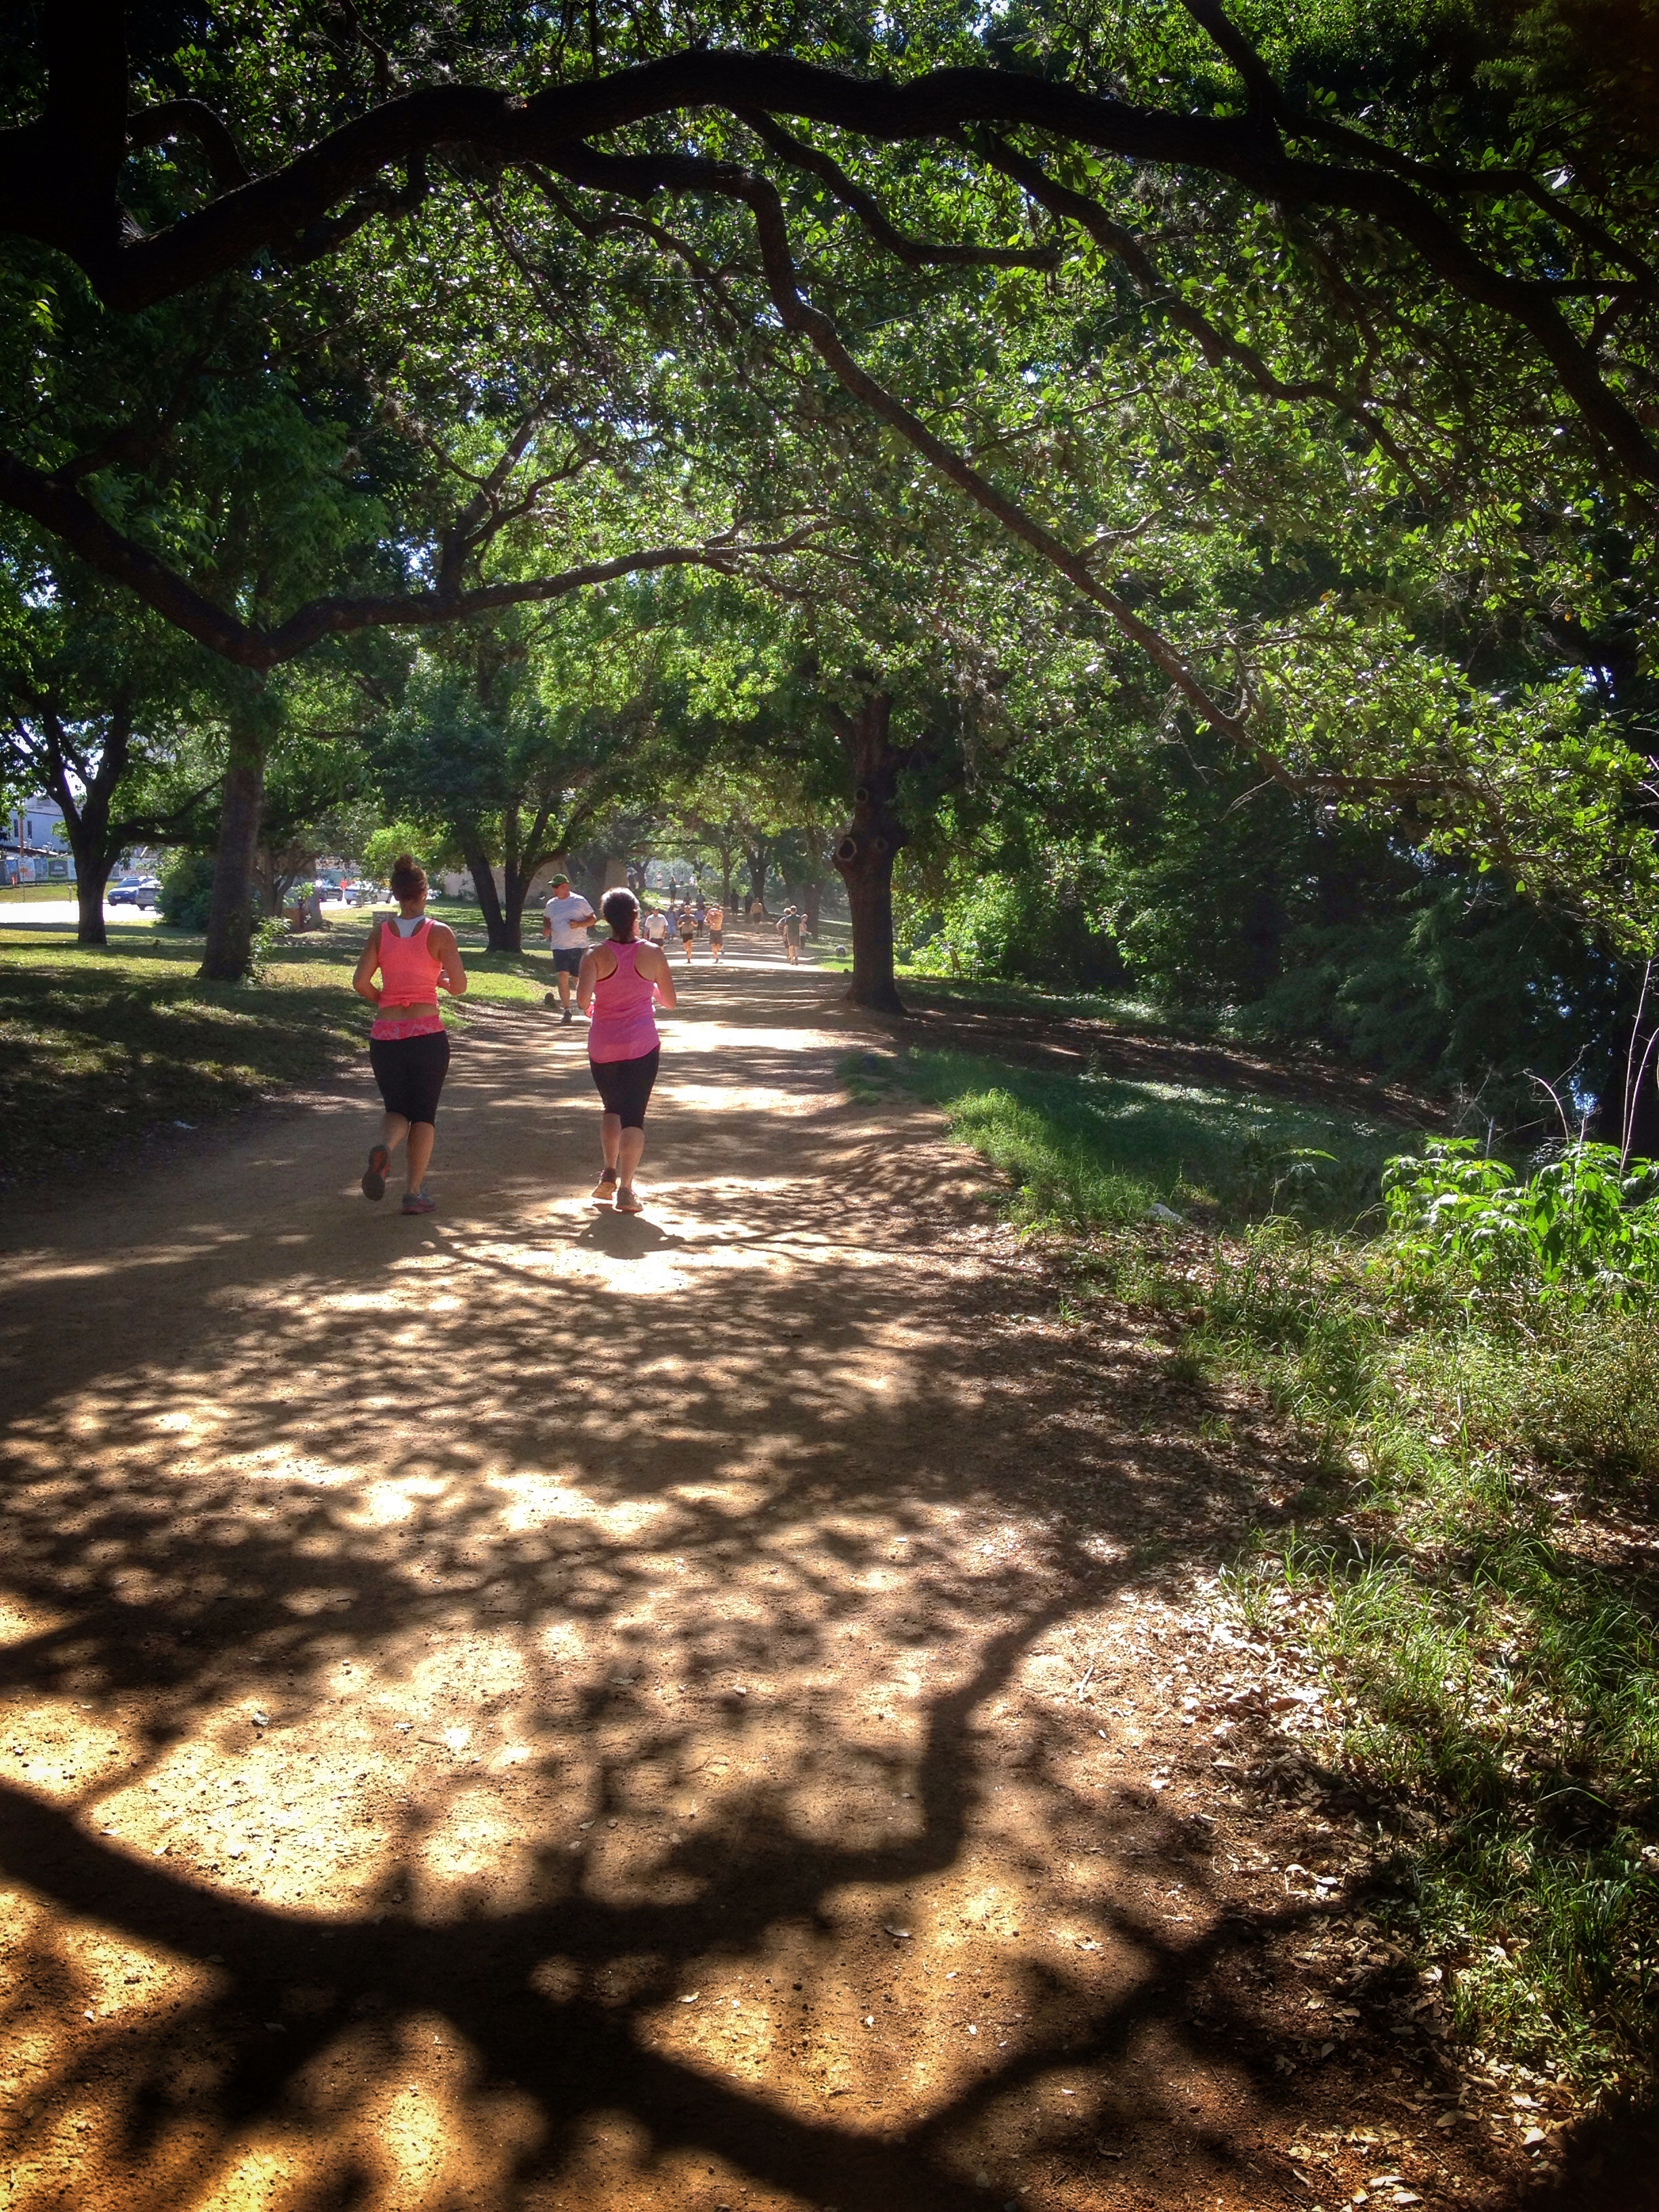
At the beginning of May one of T.W.O. jumped on their saddle and headed to Austin, Texas for a friend’s wedding. Having visited before, we knew that Austin was a great town, but after this trip we now know it’s an AMAZING city. With different neighborhoods, shopping, great food, live music, outdoor activities and rooftops we can’t wait to go back! Here are some of the highlights of one of T.W.O.’s trip.
Austin


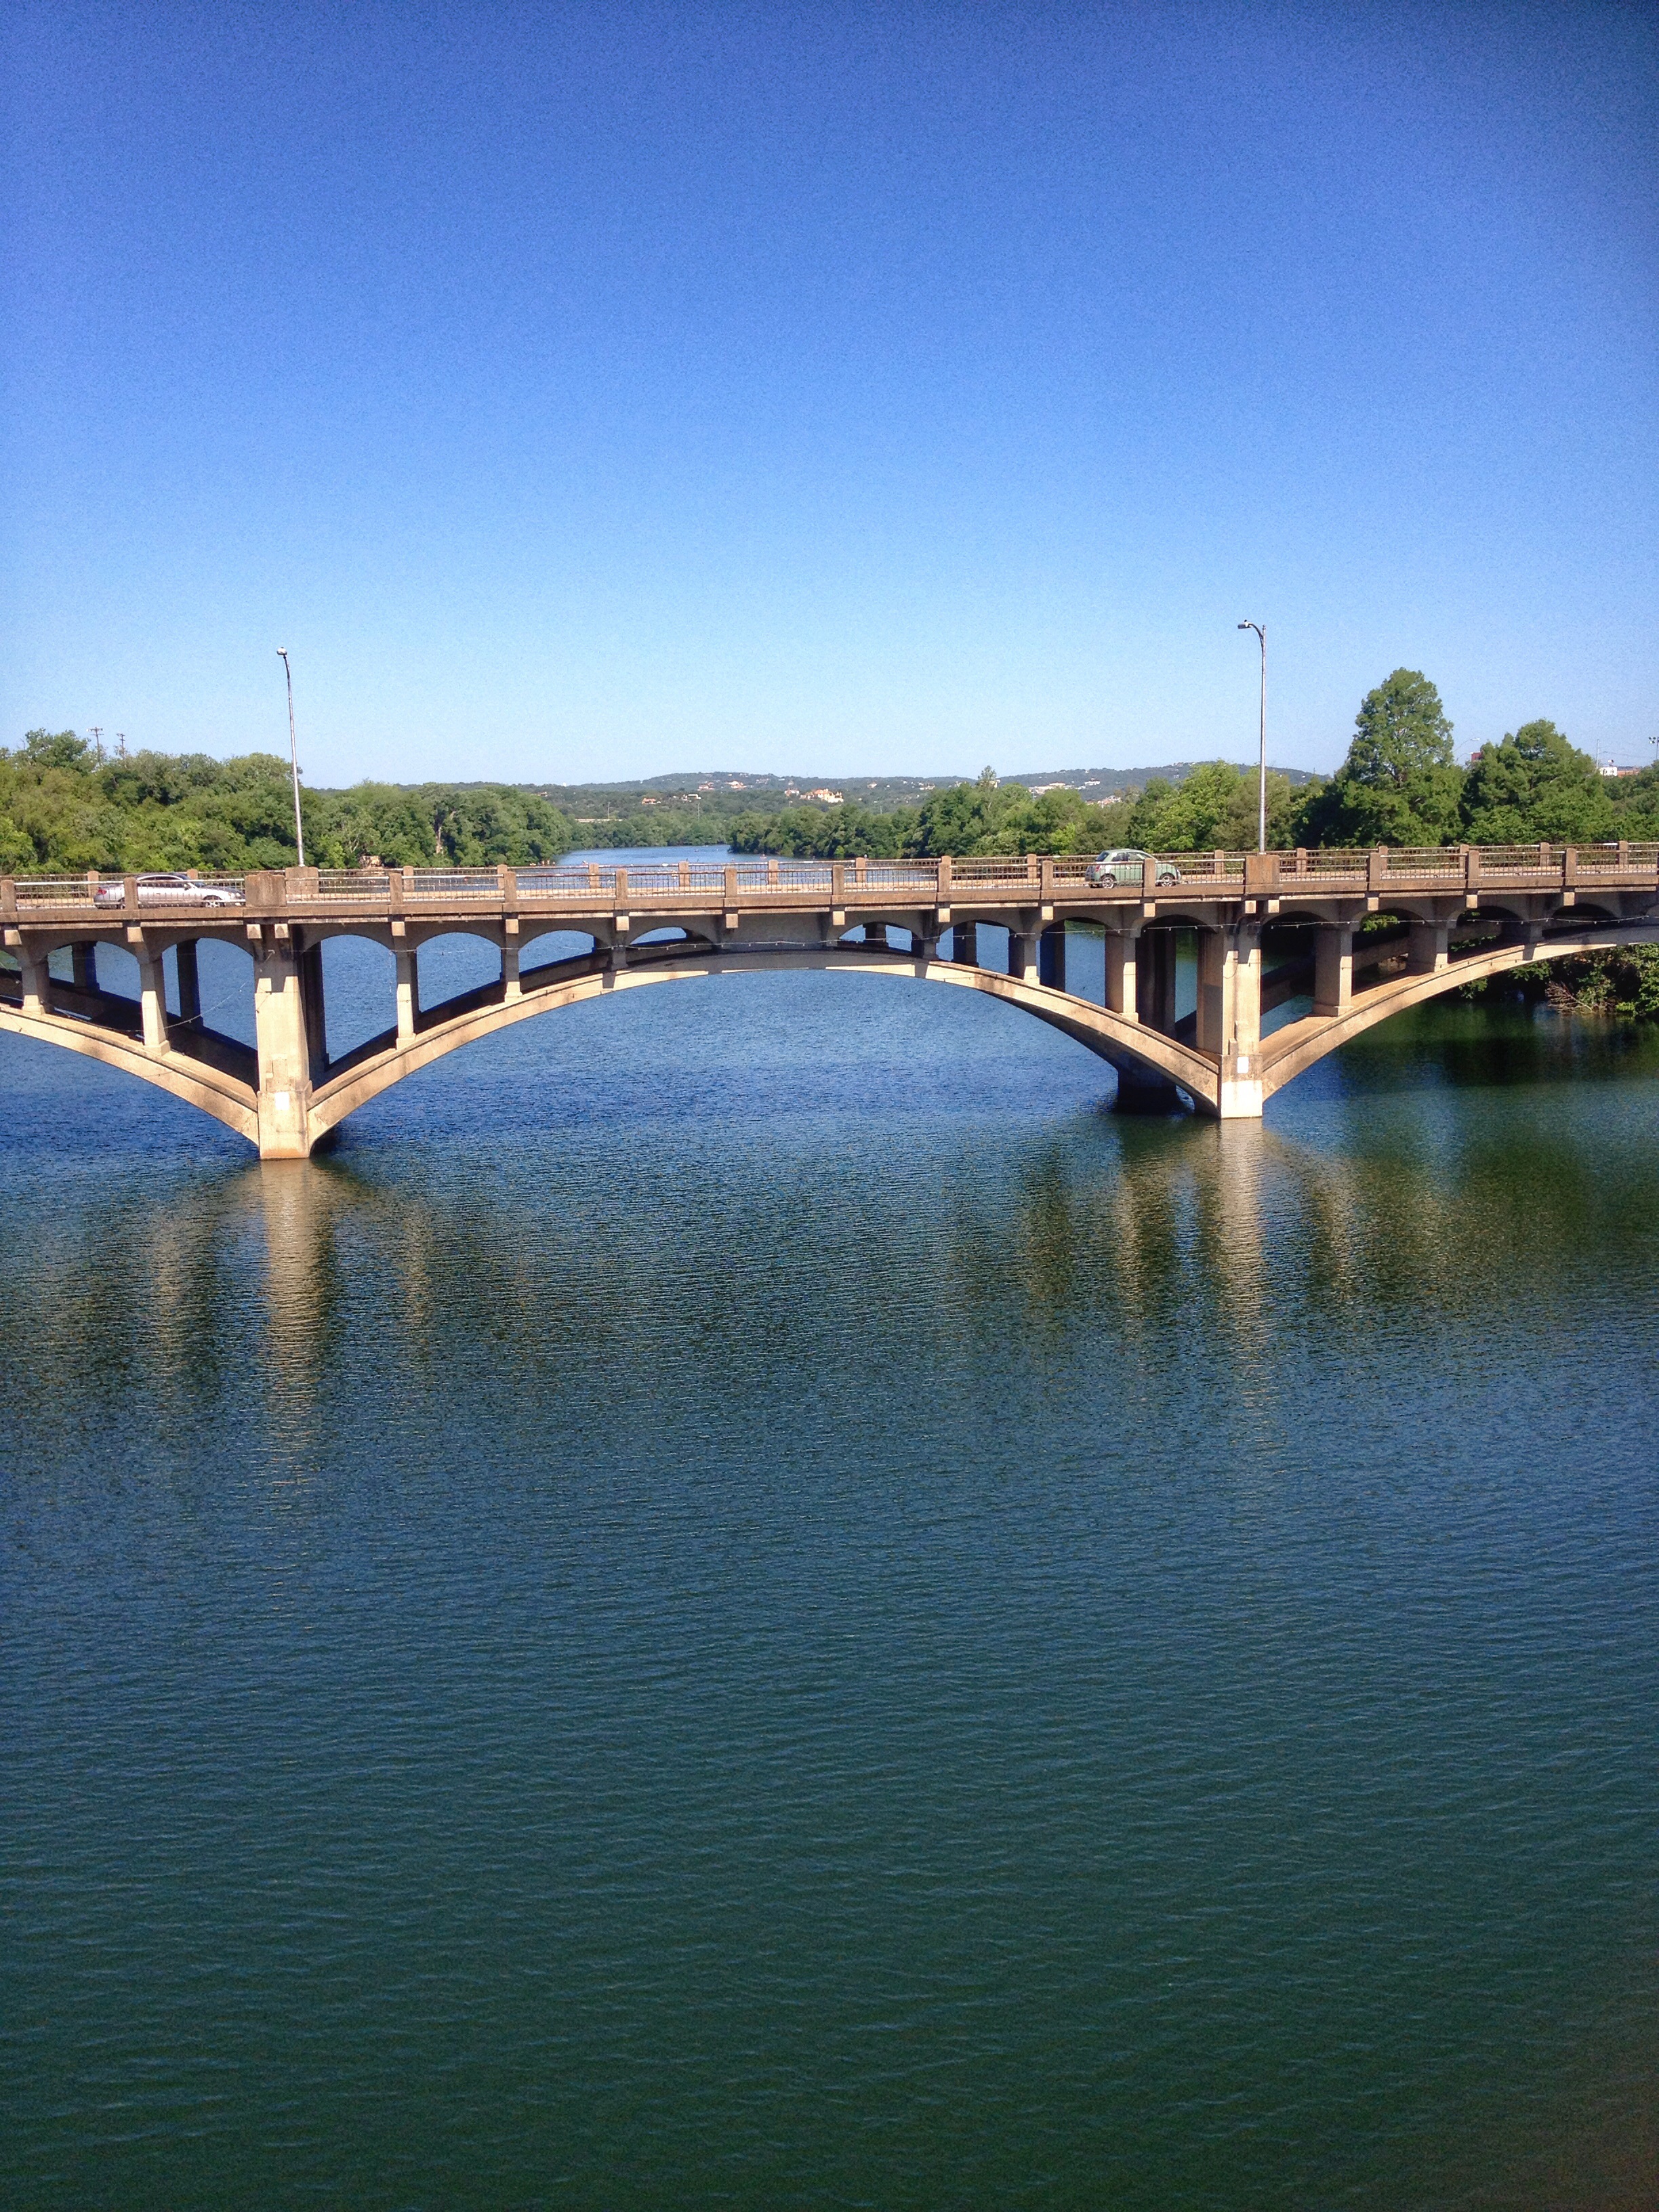
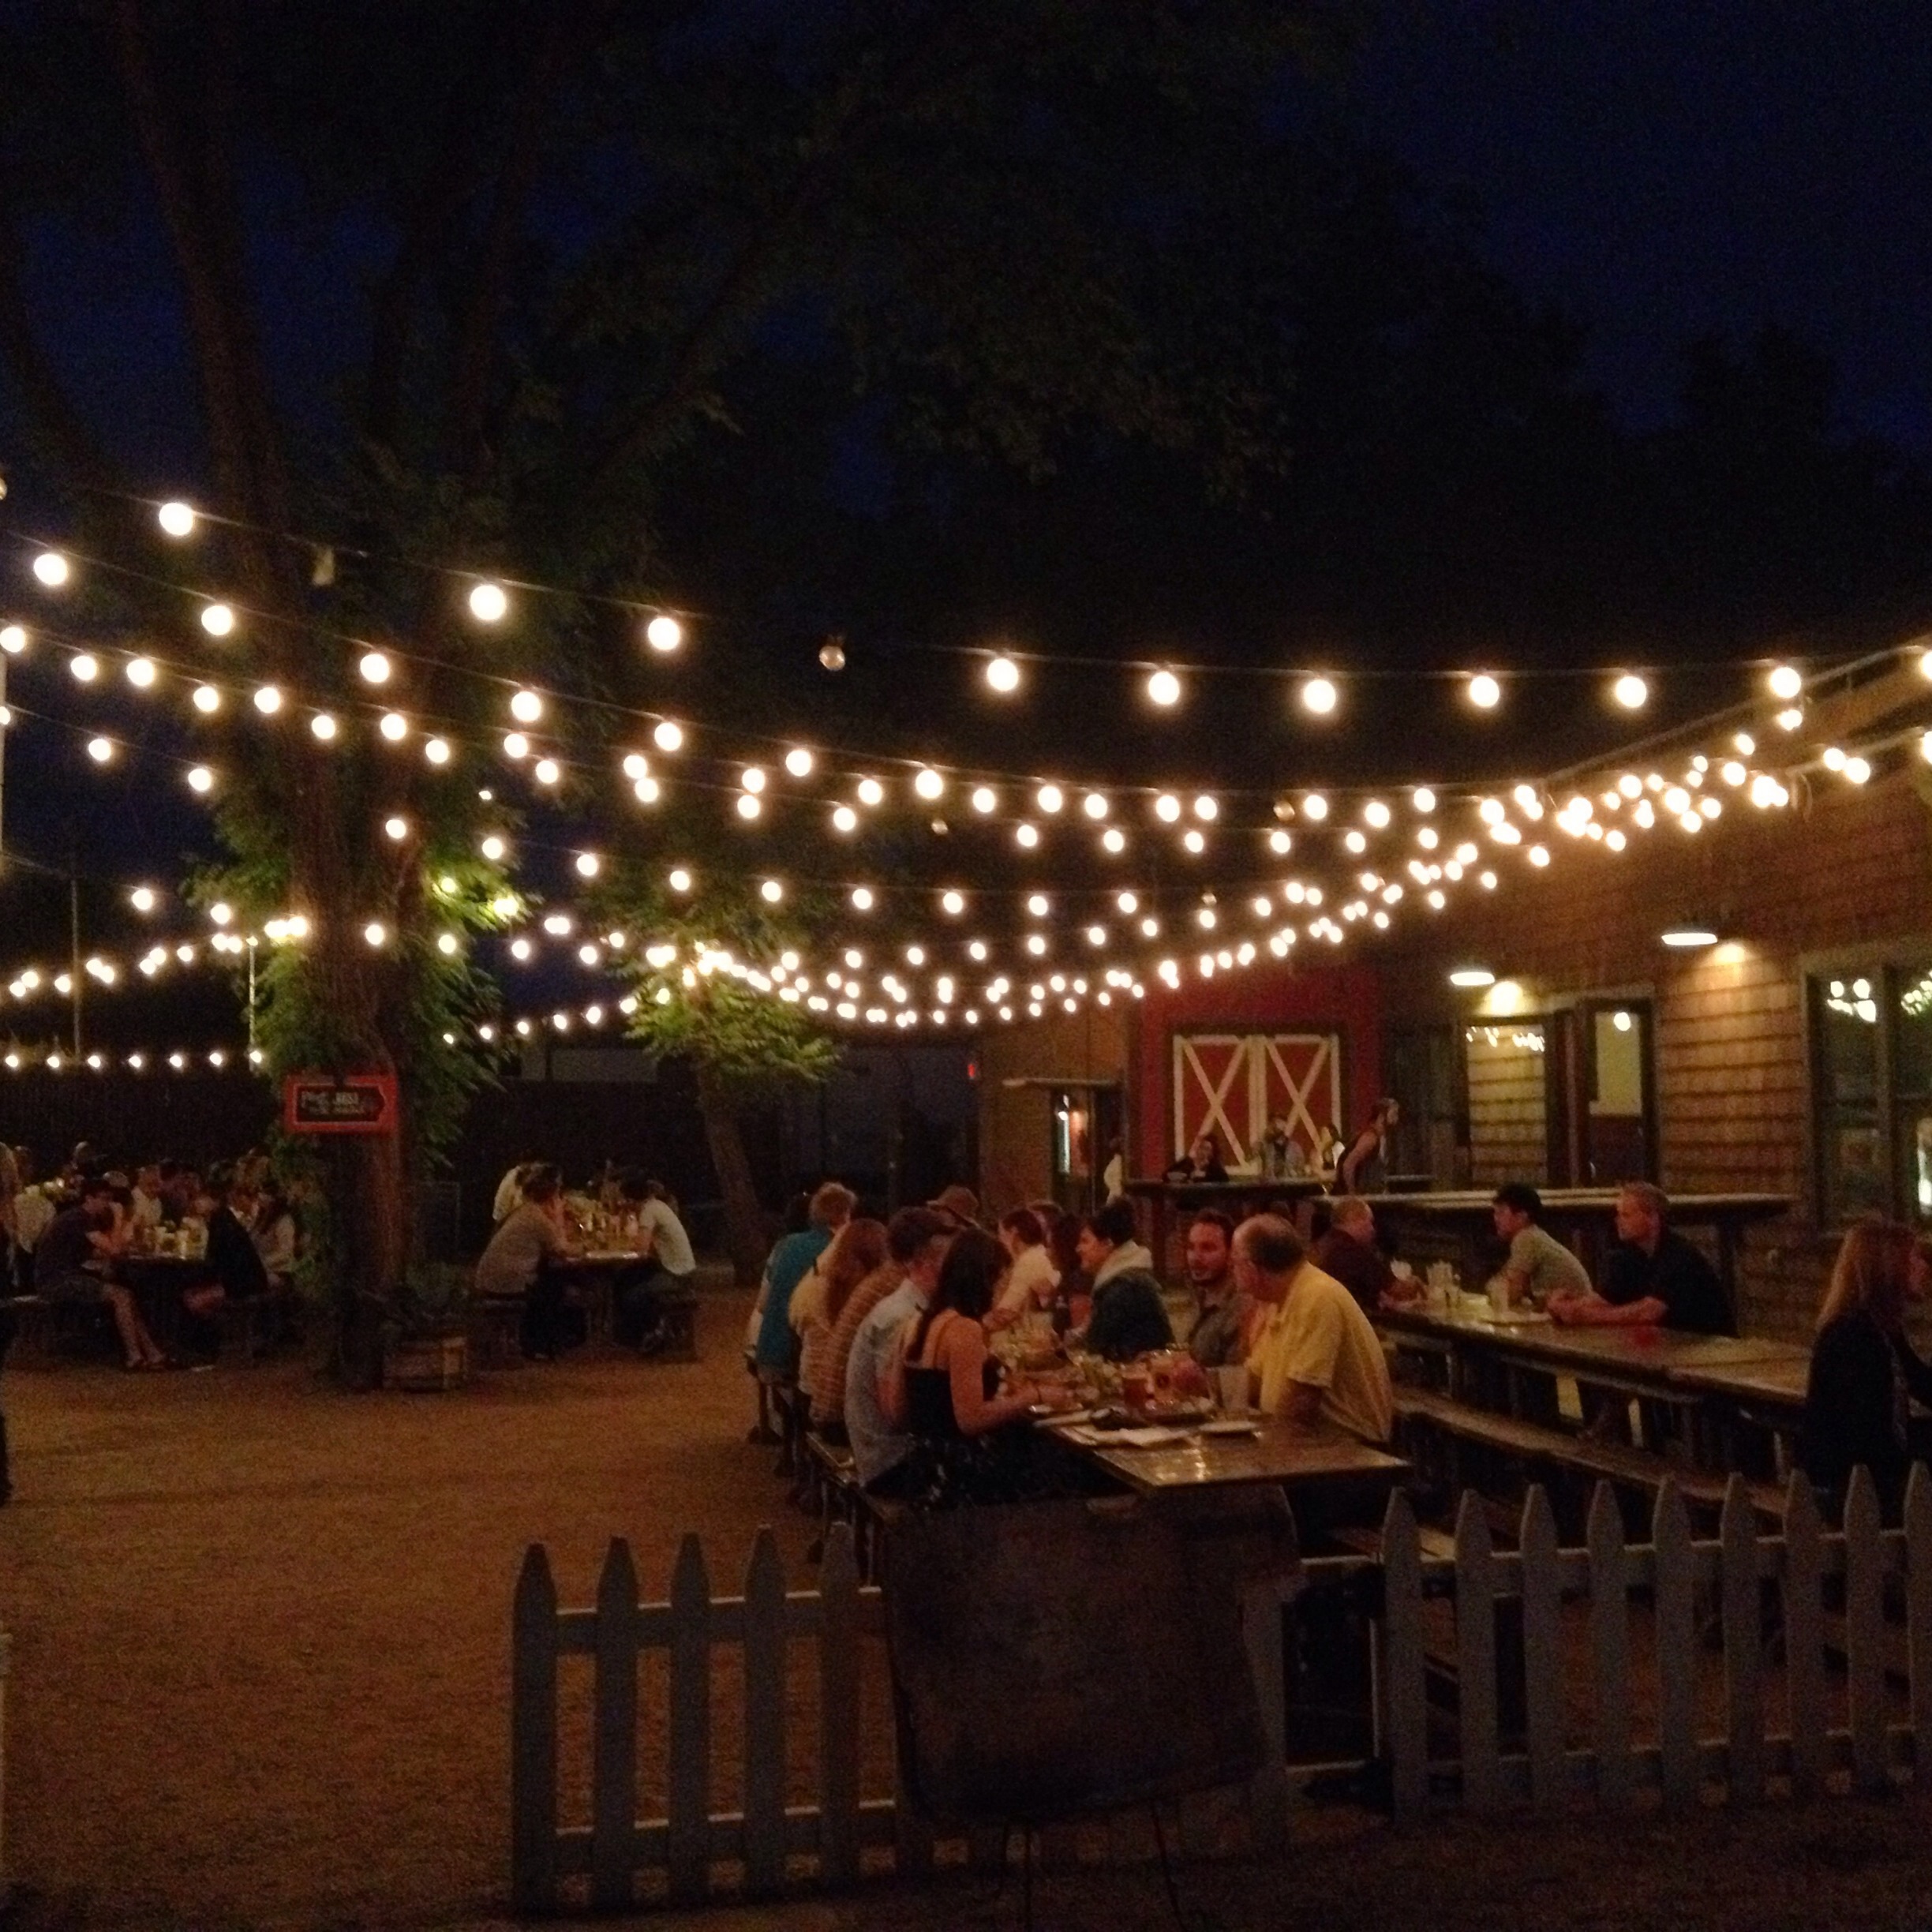
It’s a street filled with historic homes, many of the bungalow style, in downtown Austin, Texas. Rainey Street is positioned near Lady Bird Lake and Interstate 35 in the southeast corner of downtown. Our first stop – Banger’s Sausage House & Beer Garden. Great outdoor area filled with picnic tables and great ambiance.

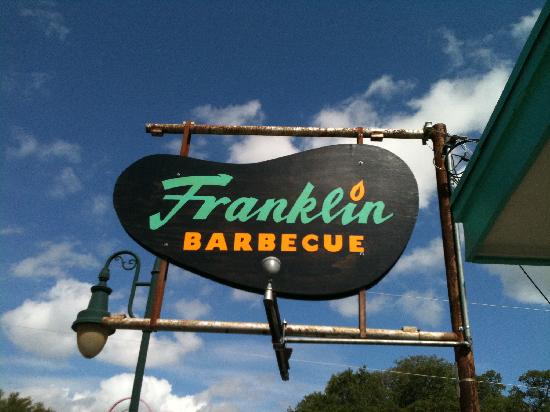
The effort was there, but unfortunately we didn’t get to try this famous barbeque place. We arrived around 11am and the line was already a two hour wait. Two hours would have been worth it, but comes to find out a girl 10 people in front of us was holding a sign that said “Last person guaranteed food”. Ummm….okay Franklin – – you are going to have to wait till our next visit to Austin! Off to another barbeque place that didn’t disappoint.

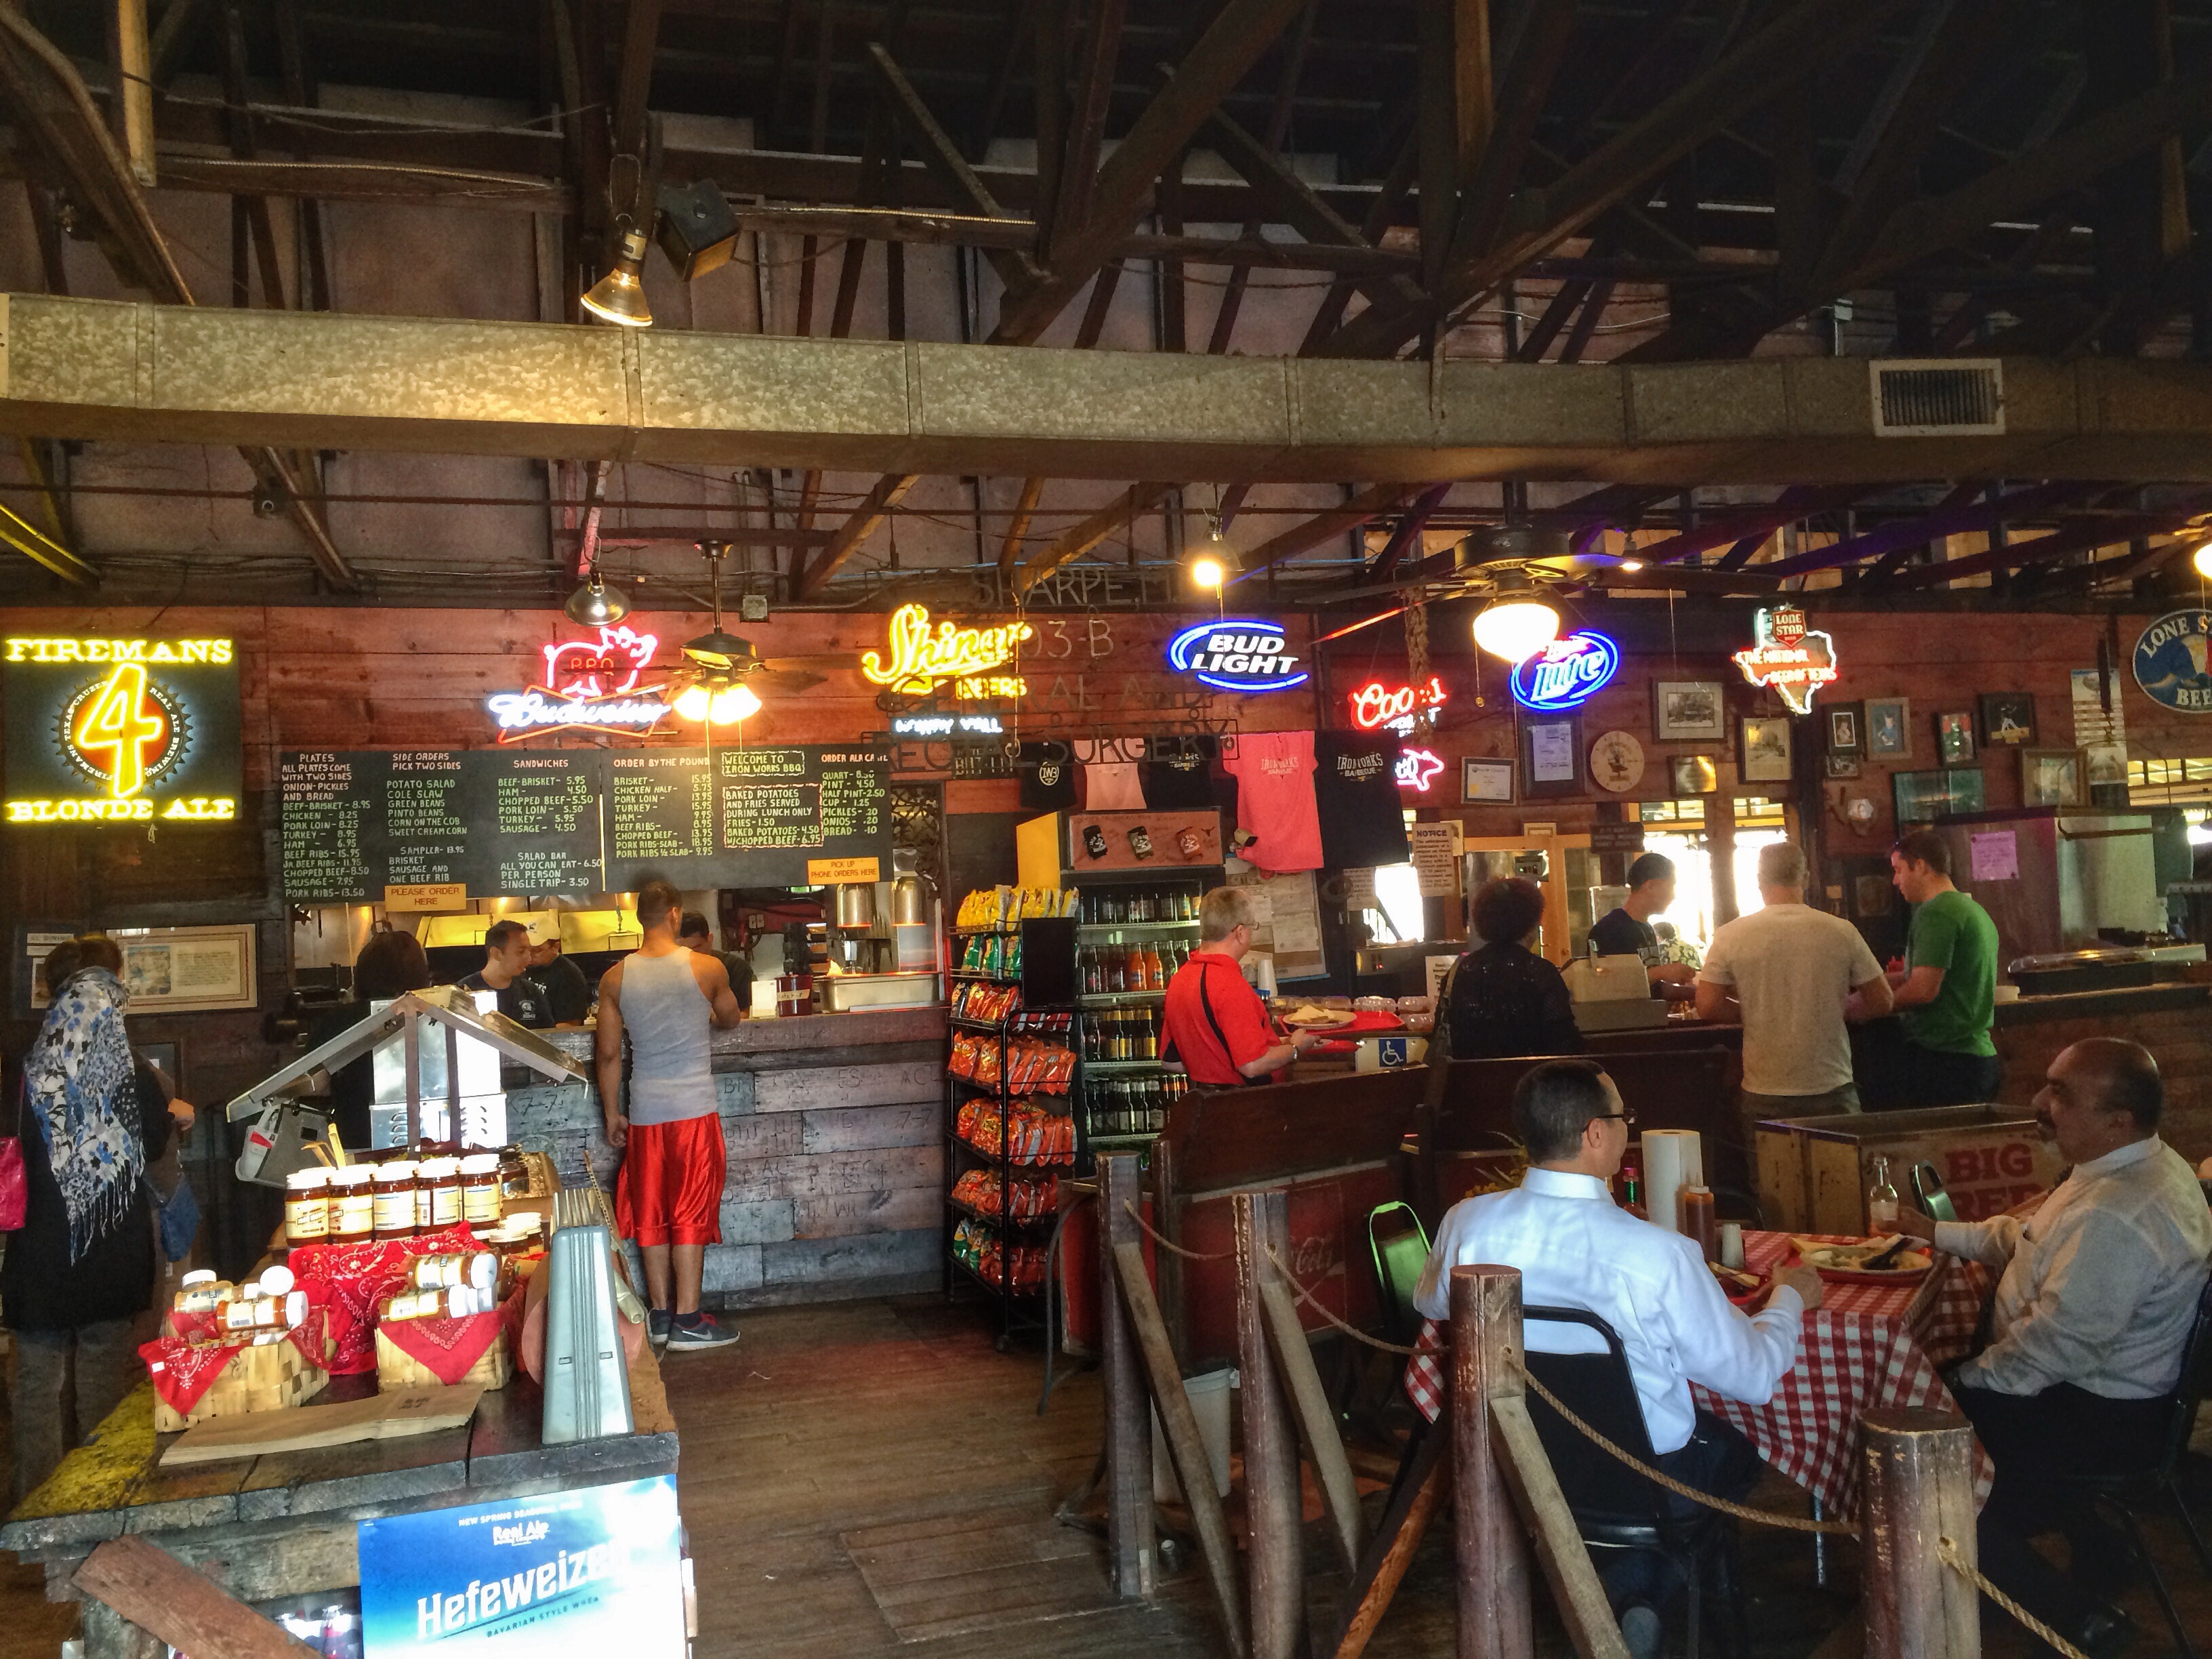
This little tin building is a historic site and a family owned and operated business that has been serving Real Texas Barbeque since 1978. It’s a definite must stop when visiting Austin. What did we order – beef ribs, brisket, corn on the cob, potato salad and a local beer. The ribs were phenomenal – – and you know that we like ribs! The meat just fell off the bone and had a great smoky flavor that wasn’t over powering. The brisket was juicy, tender, meaty and went well with their homemade barbeque sauce. I wouldn’t mind going back and having a brisket sandwich! Do they deliver in California??


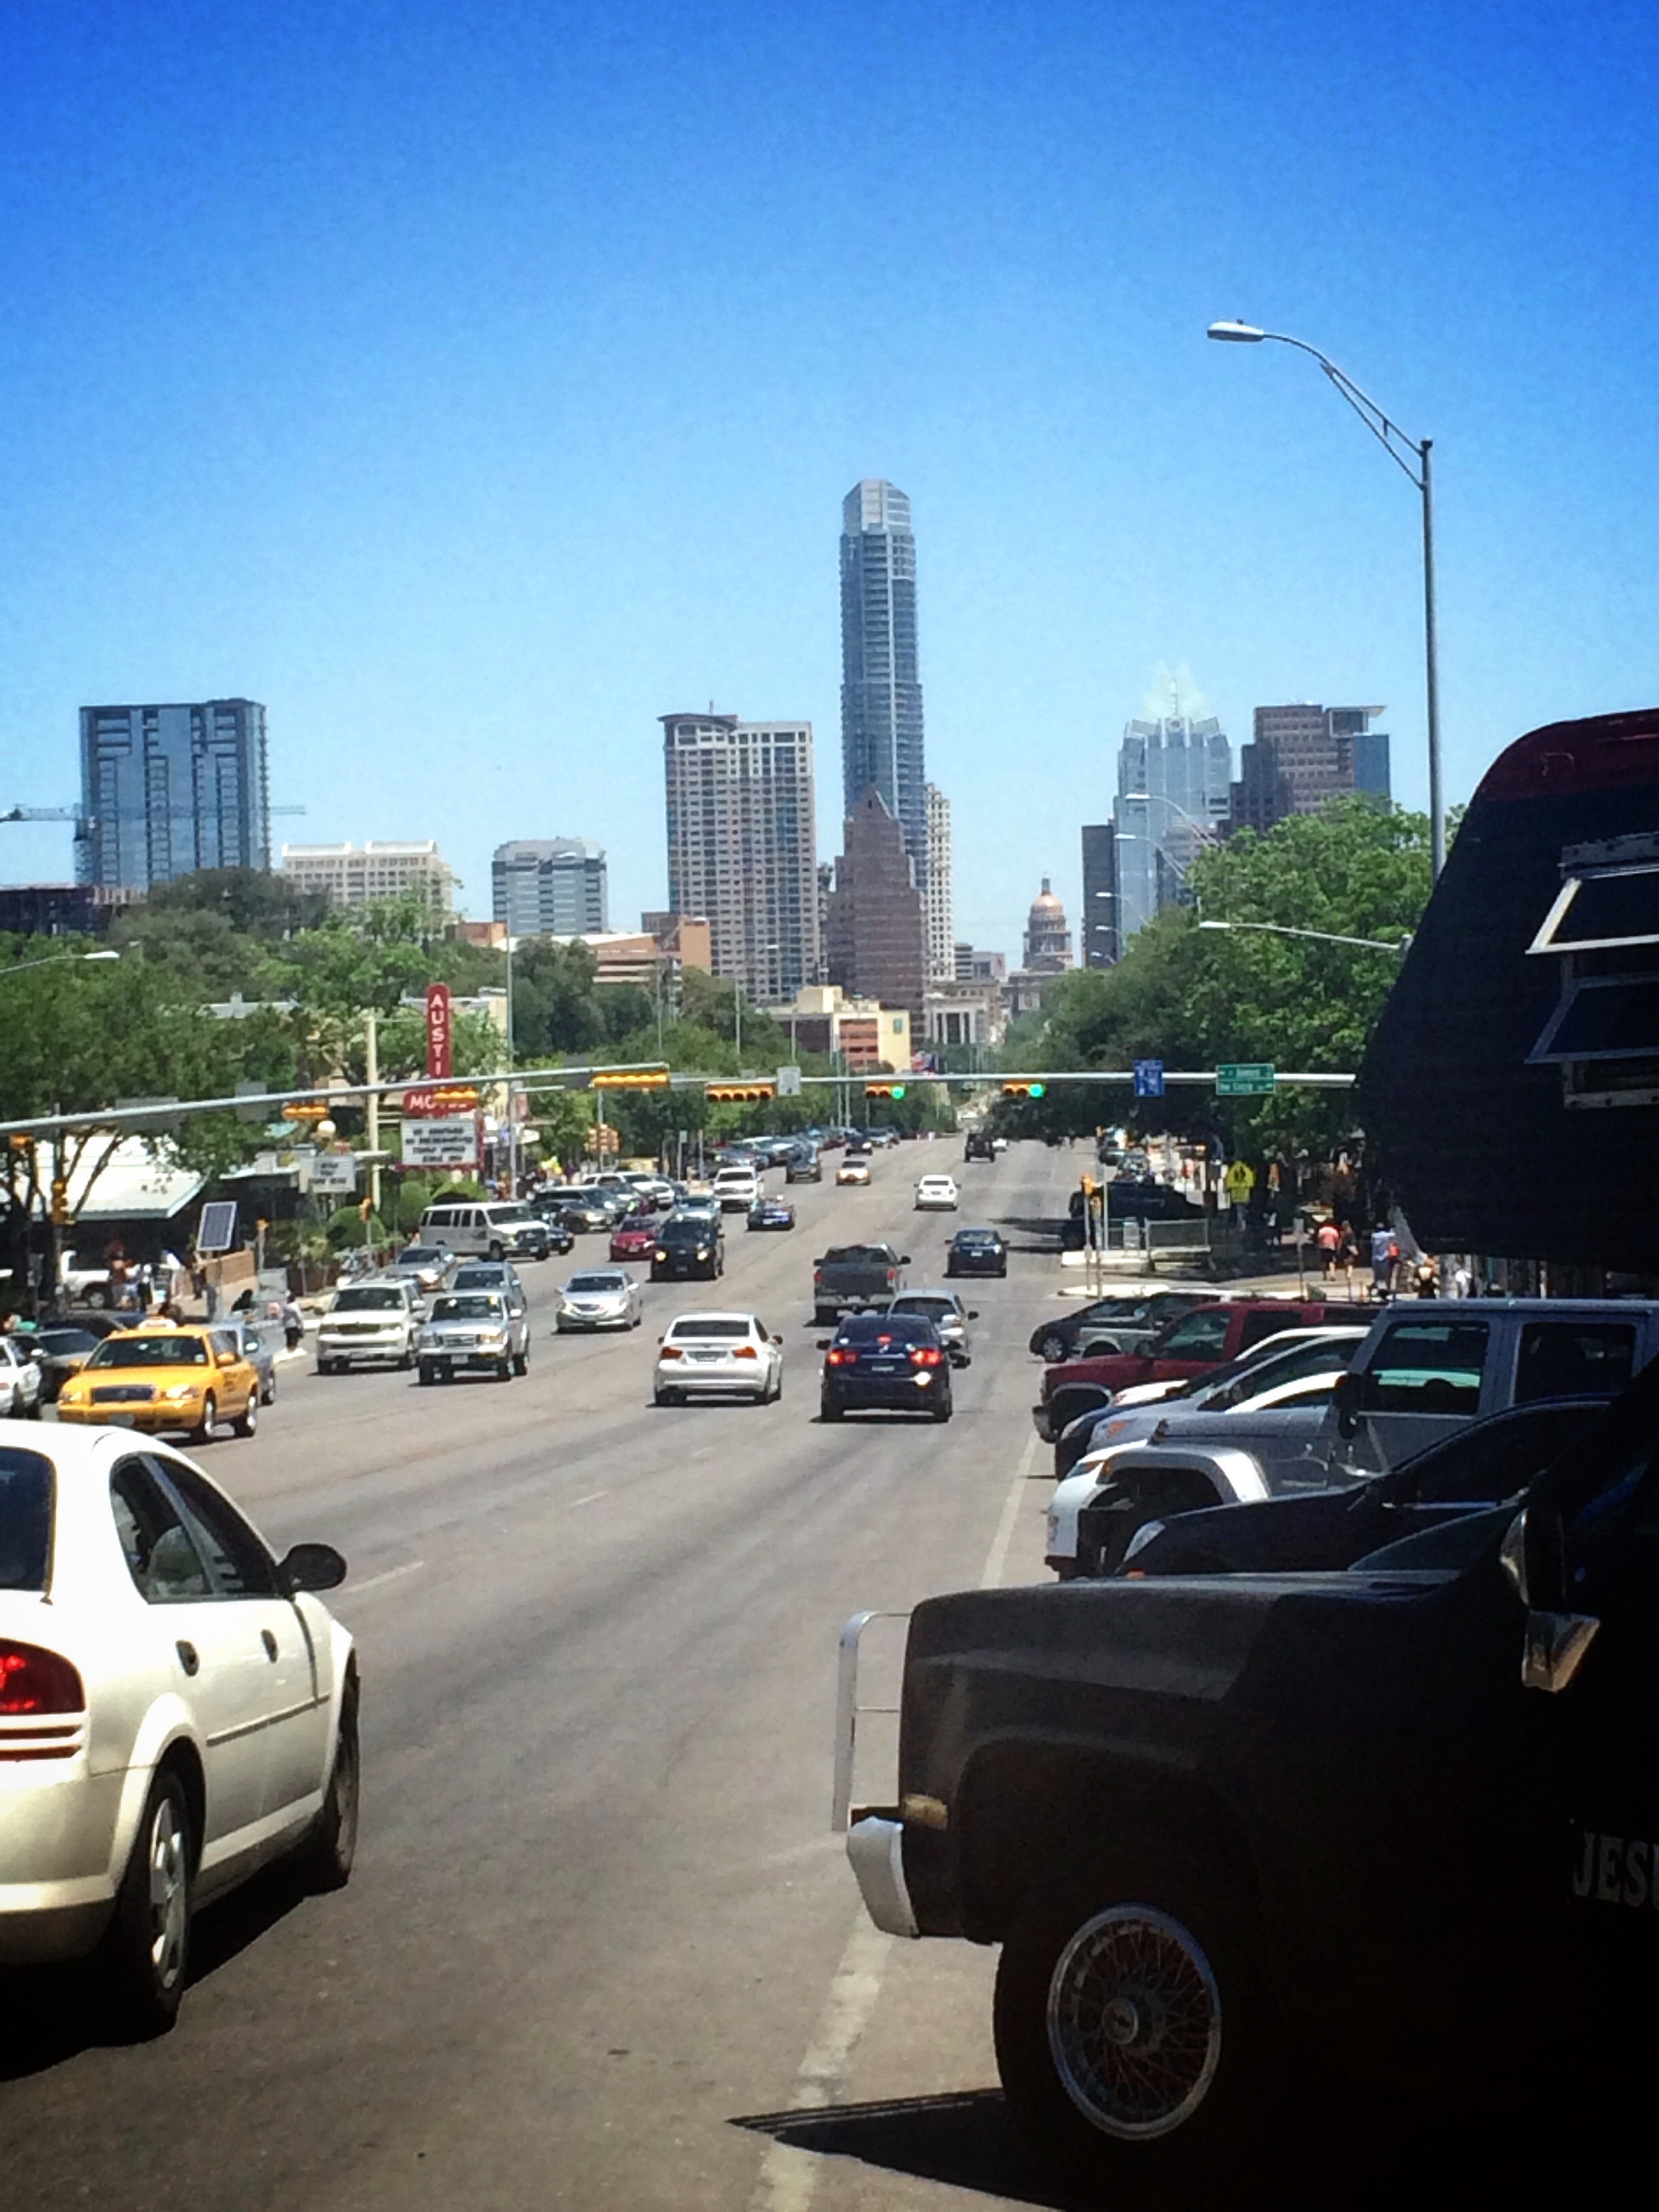
A neighborhood located on South Congress which is known for the shopping and its many eclectic small retailers, music, art venues, food trucks and restaurants.

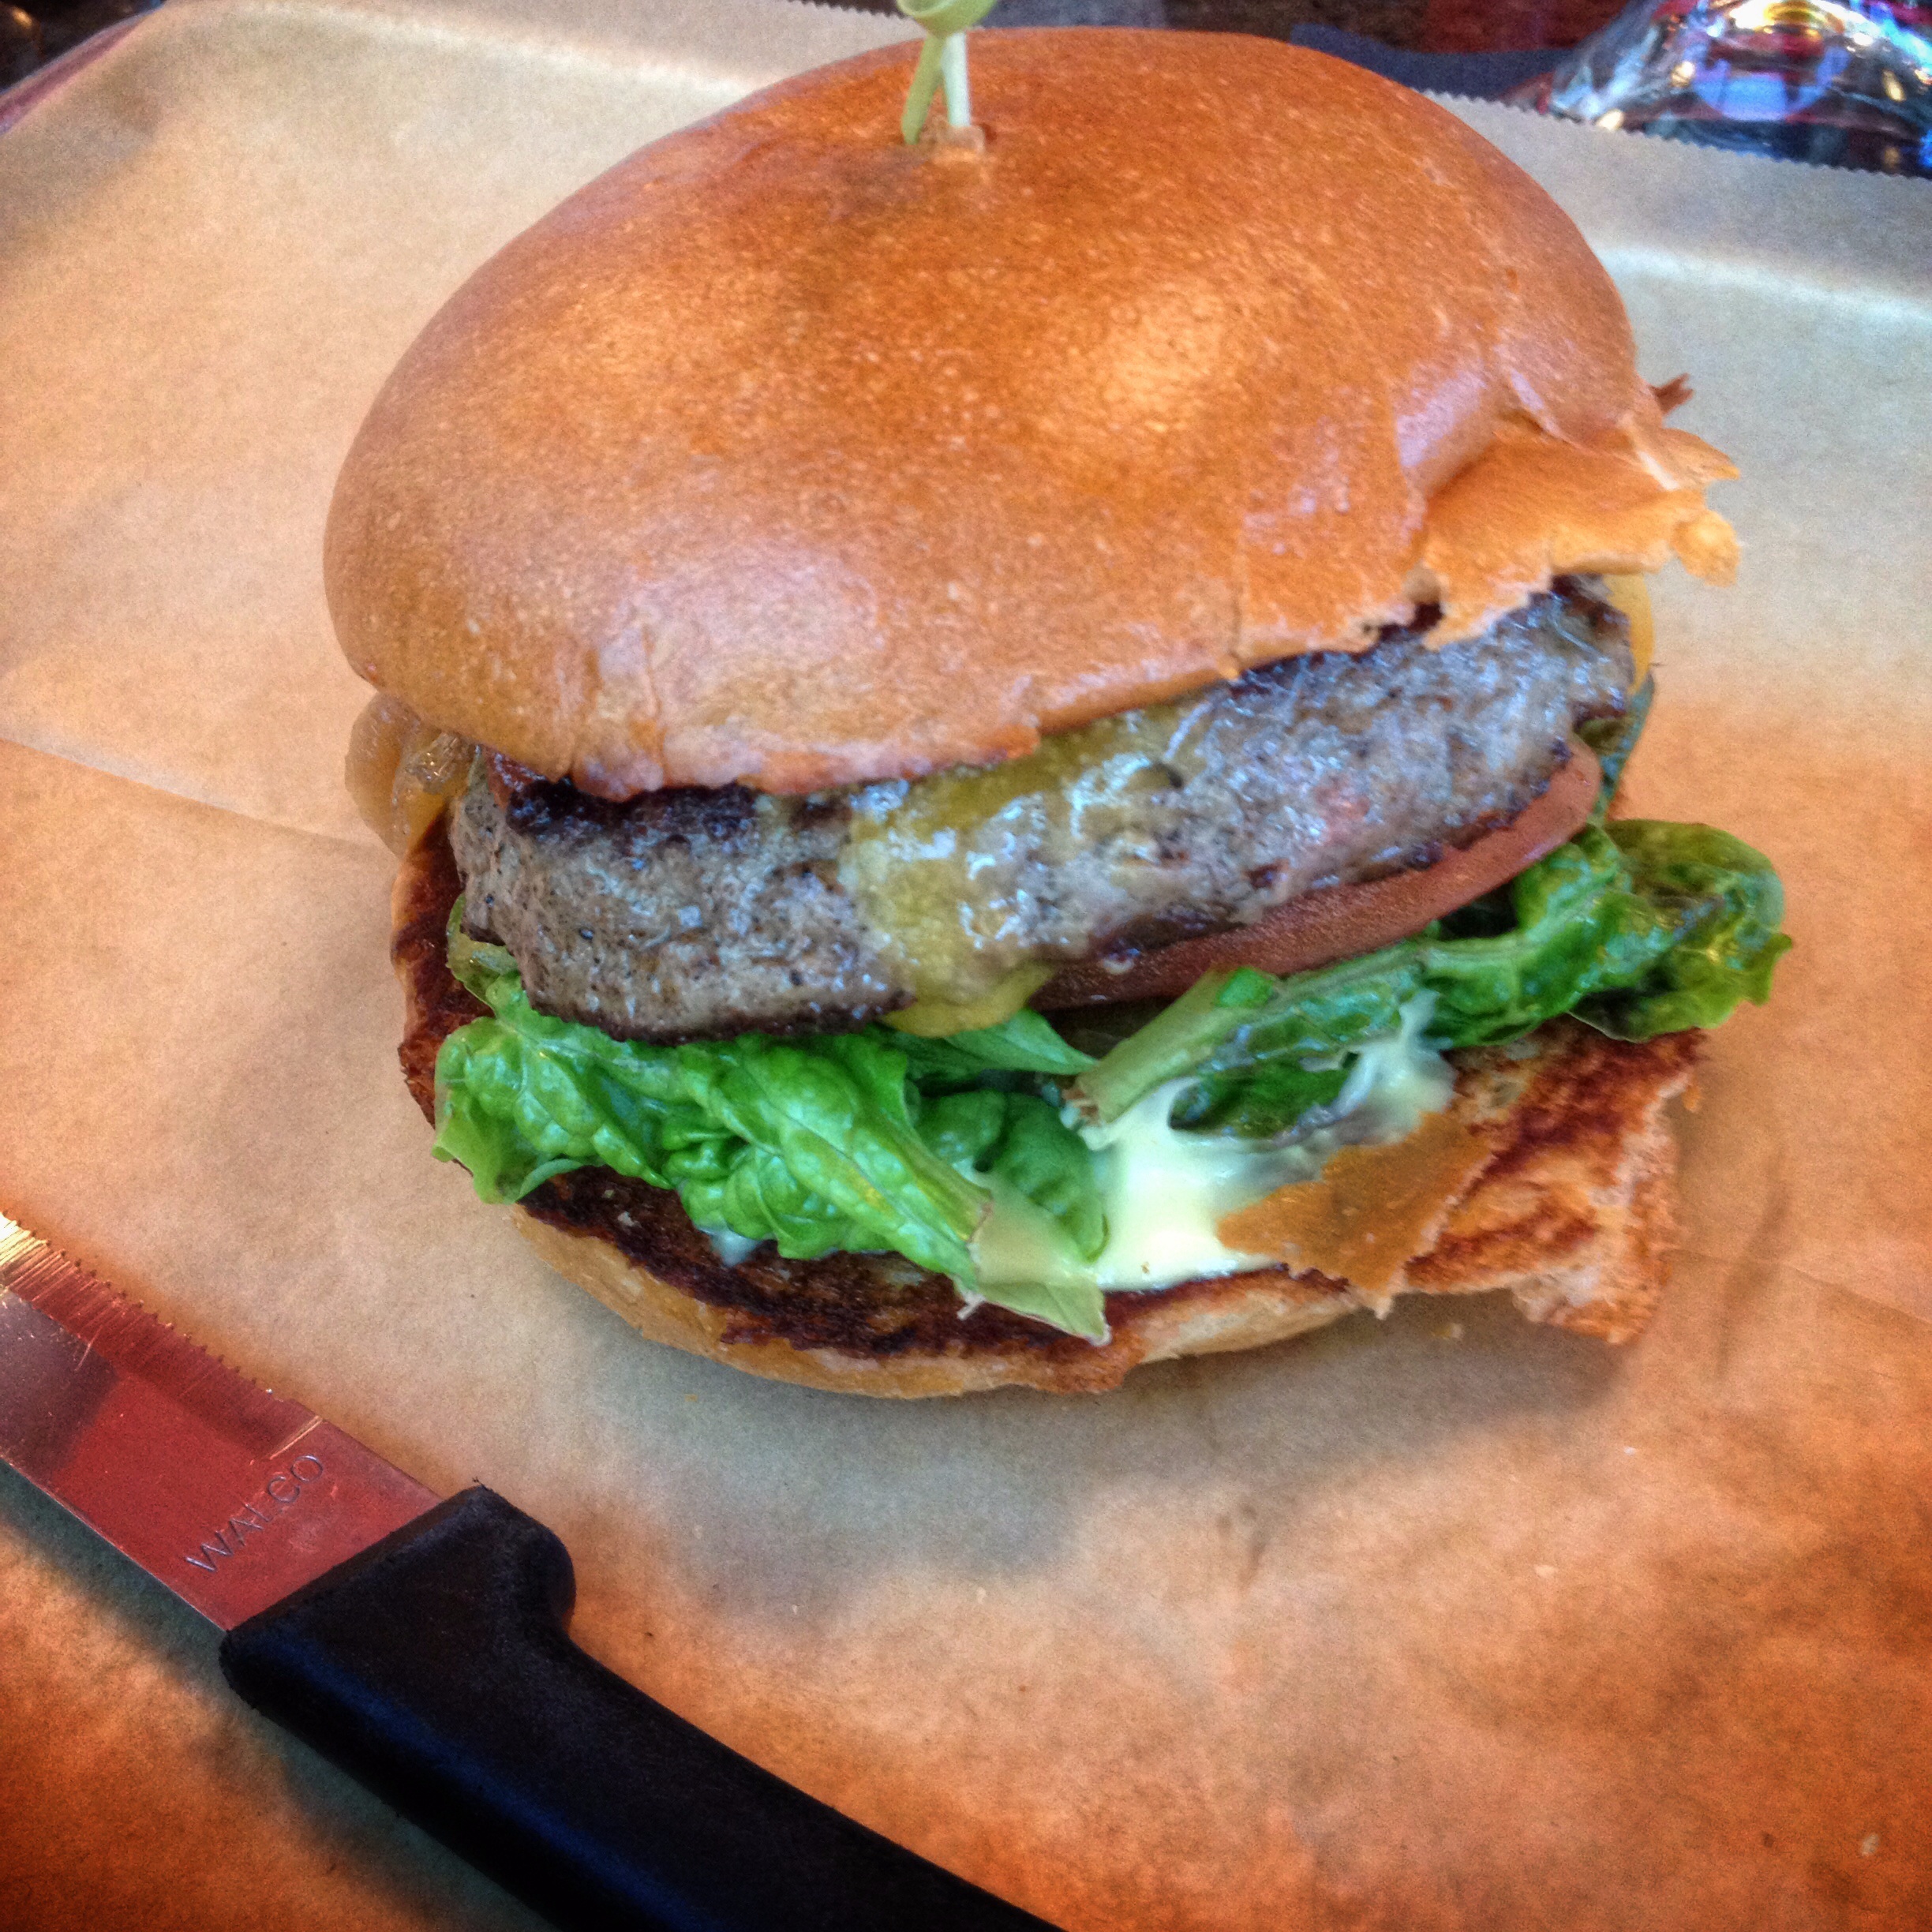
On Sunday afternoon, while strolling down South Congress we stumbled upon this gem of a restaurant with a hour line. Must be good, right? Luckily we got the attention of the bartender who seated us before we had to wait the full hour – – must have been our California IDs! Anyways, the menu was overwhelming and I say that because everything looked SOOO good. It was so hard to choose what I wanted. From their burgers, to salads to vegetarian dishes and fries – – there is an option for everyone. Ended up ordering The Goodnight (an angus beef, Tillamook cheddar, hickory bbq sauce, caramelized onions, sliced jalapenos and sassy sauce. We got fries with queso which are highly recommended. Word on the street CA is going to be getting one of these in Marina del Ray area – – let’s hope!!

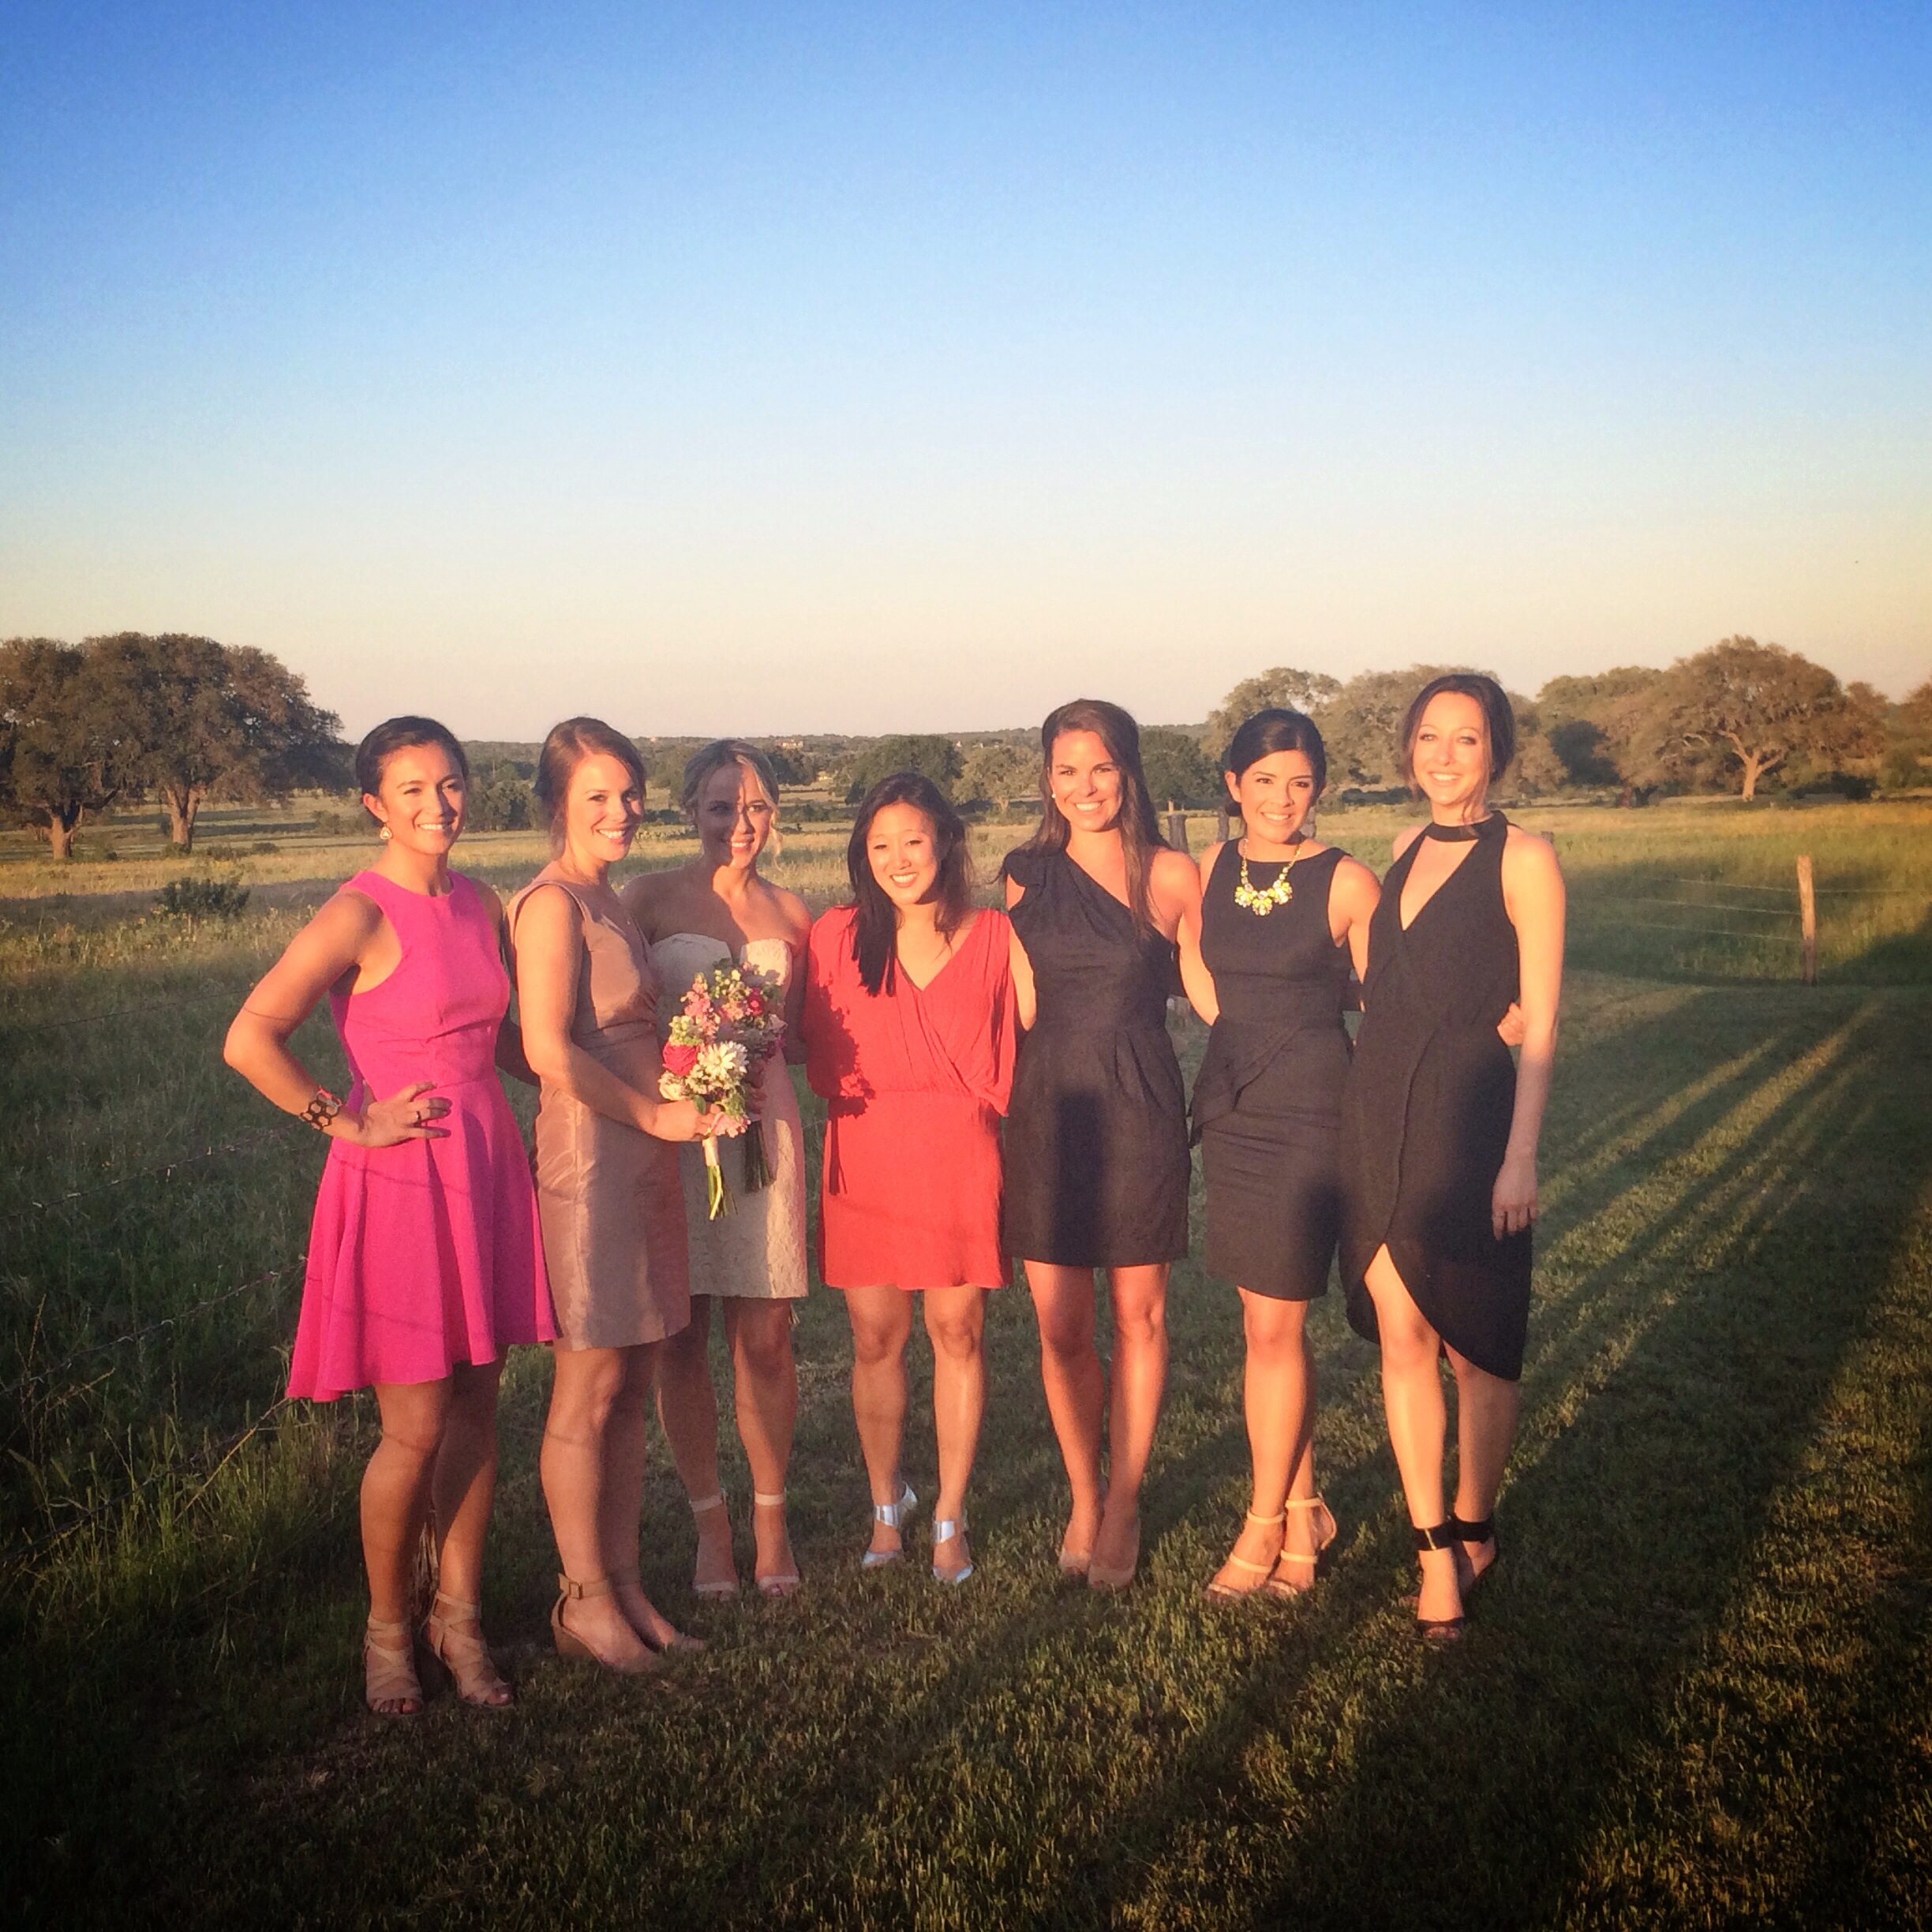
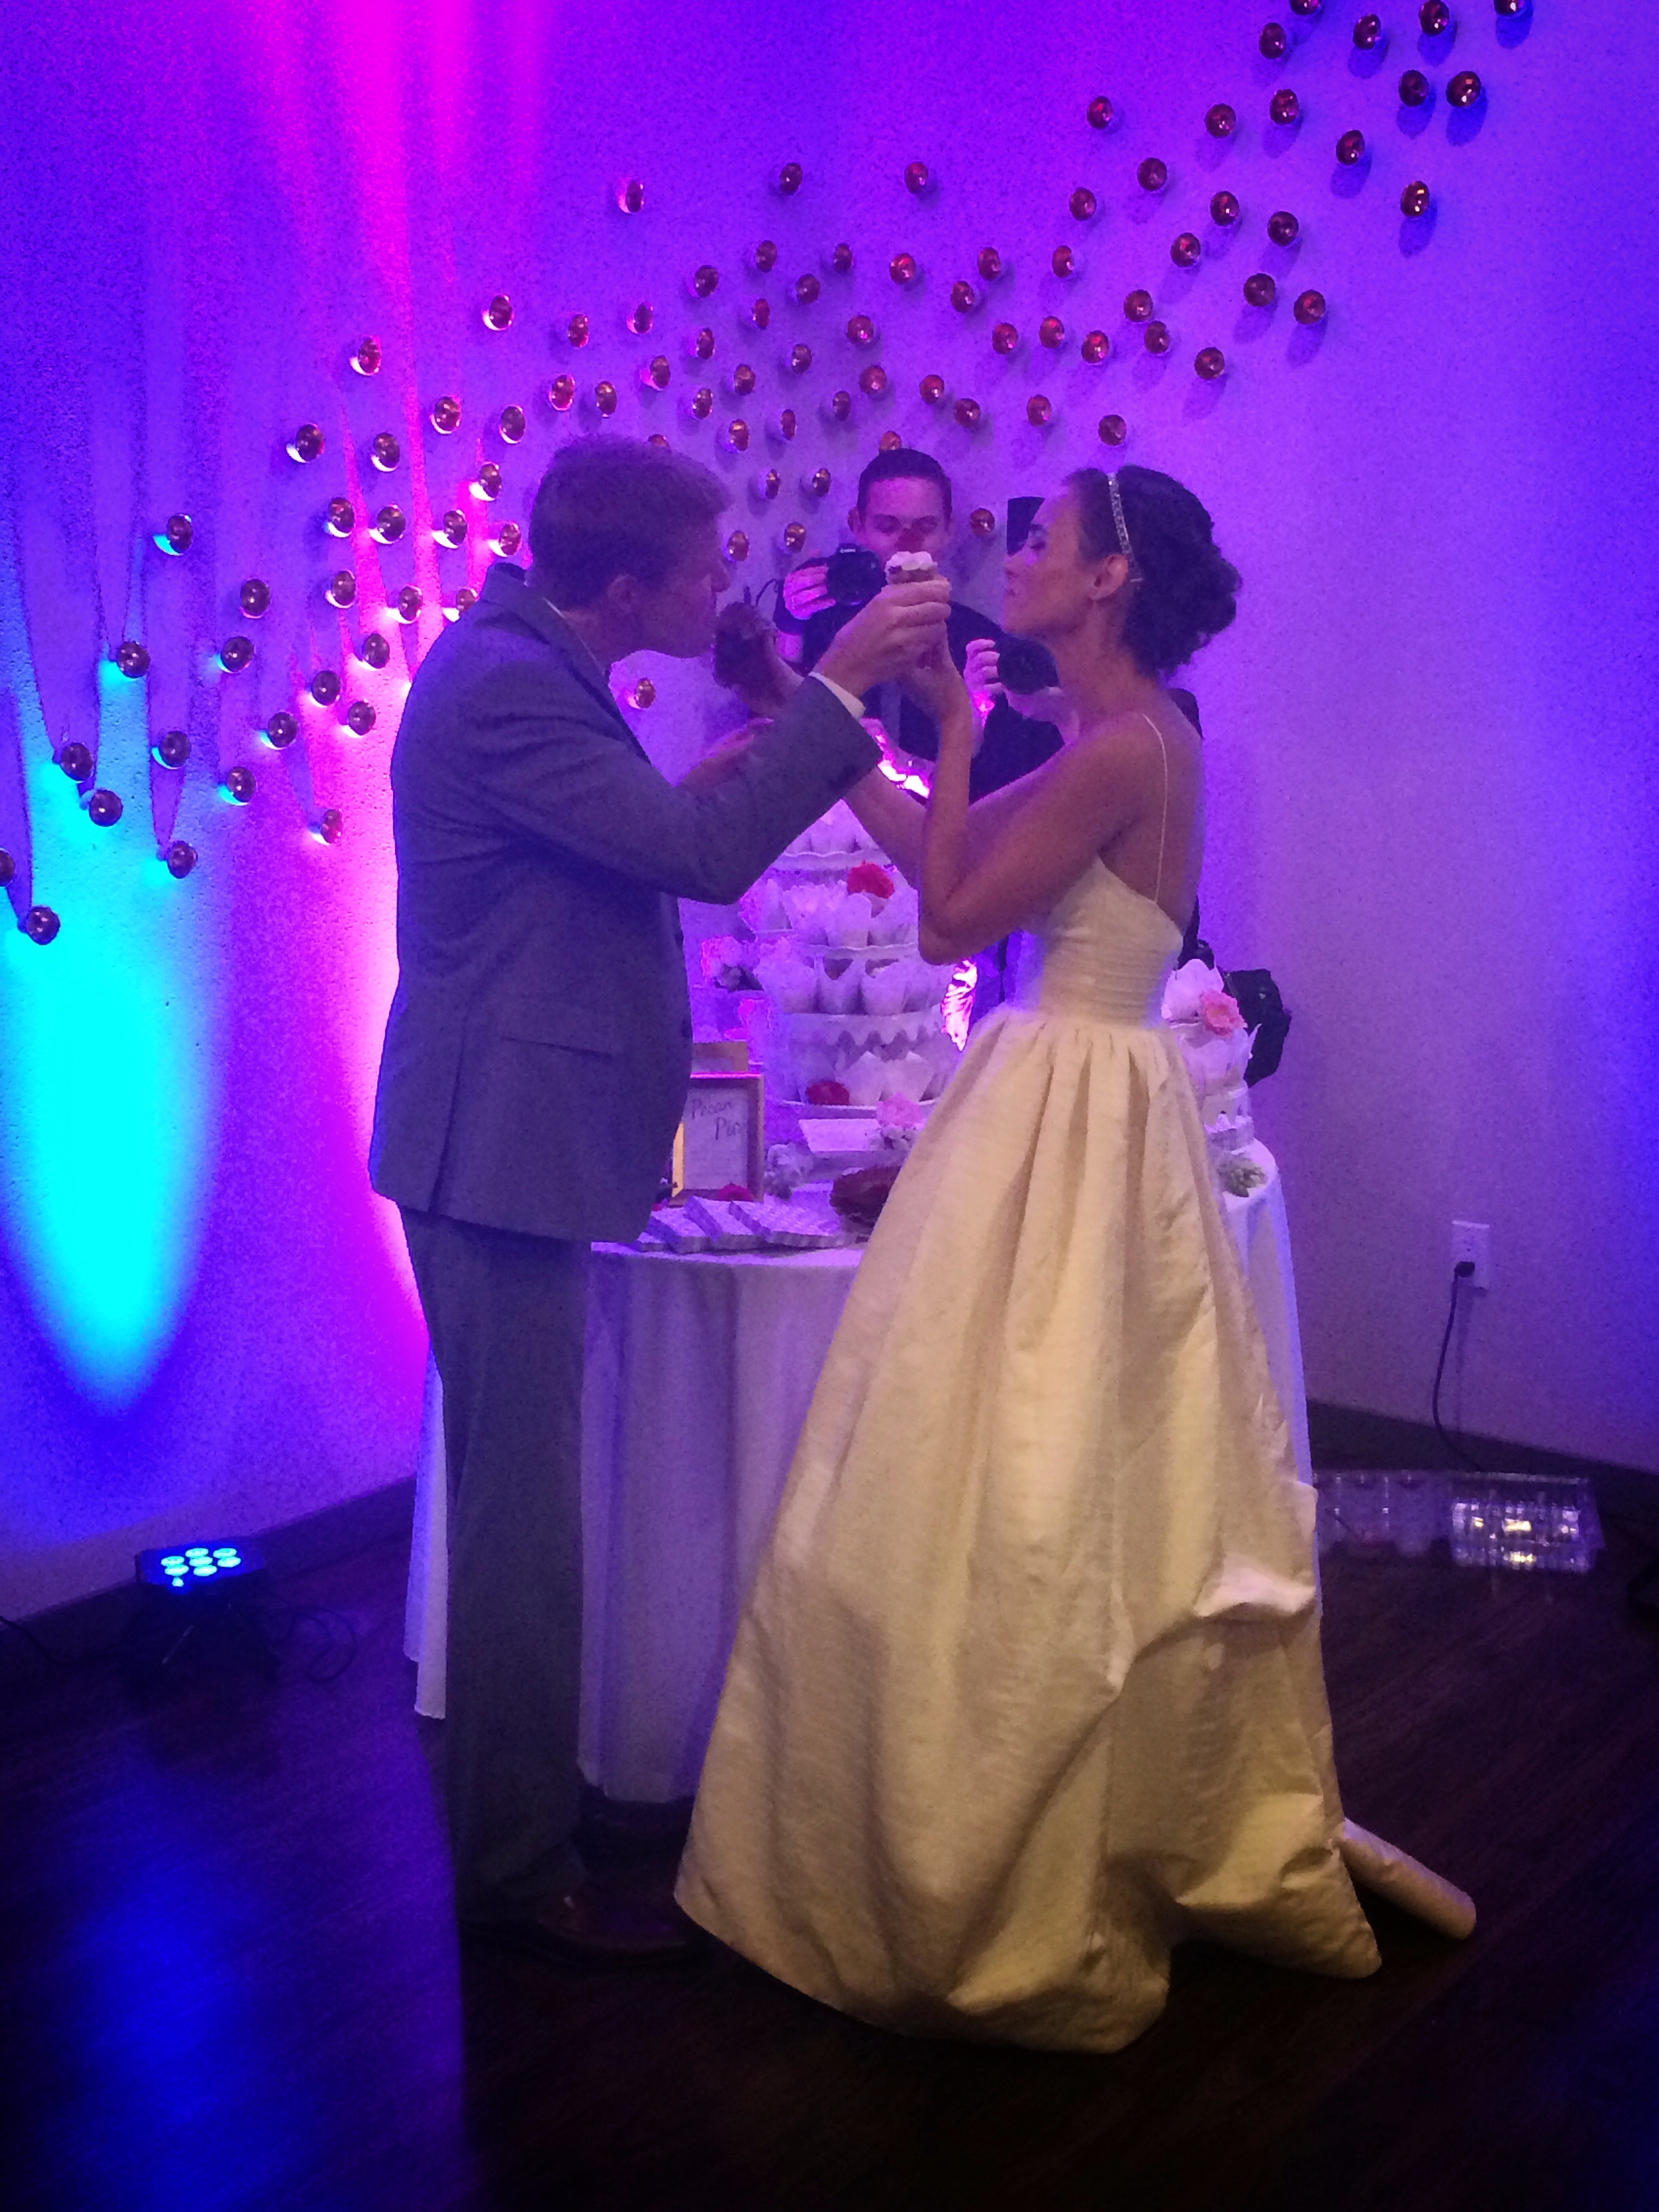
The Wedding
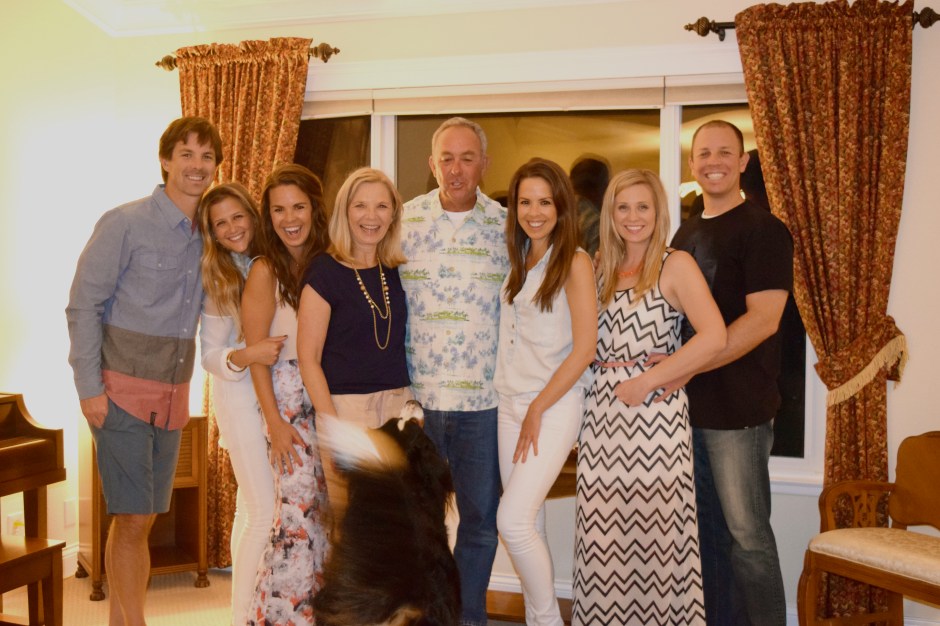
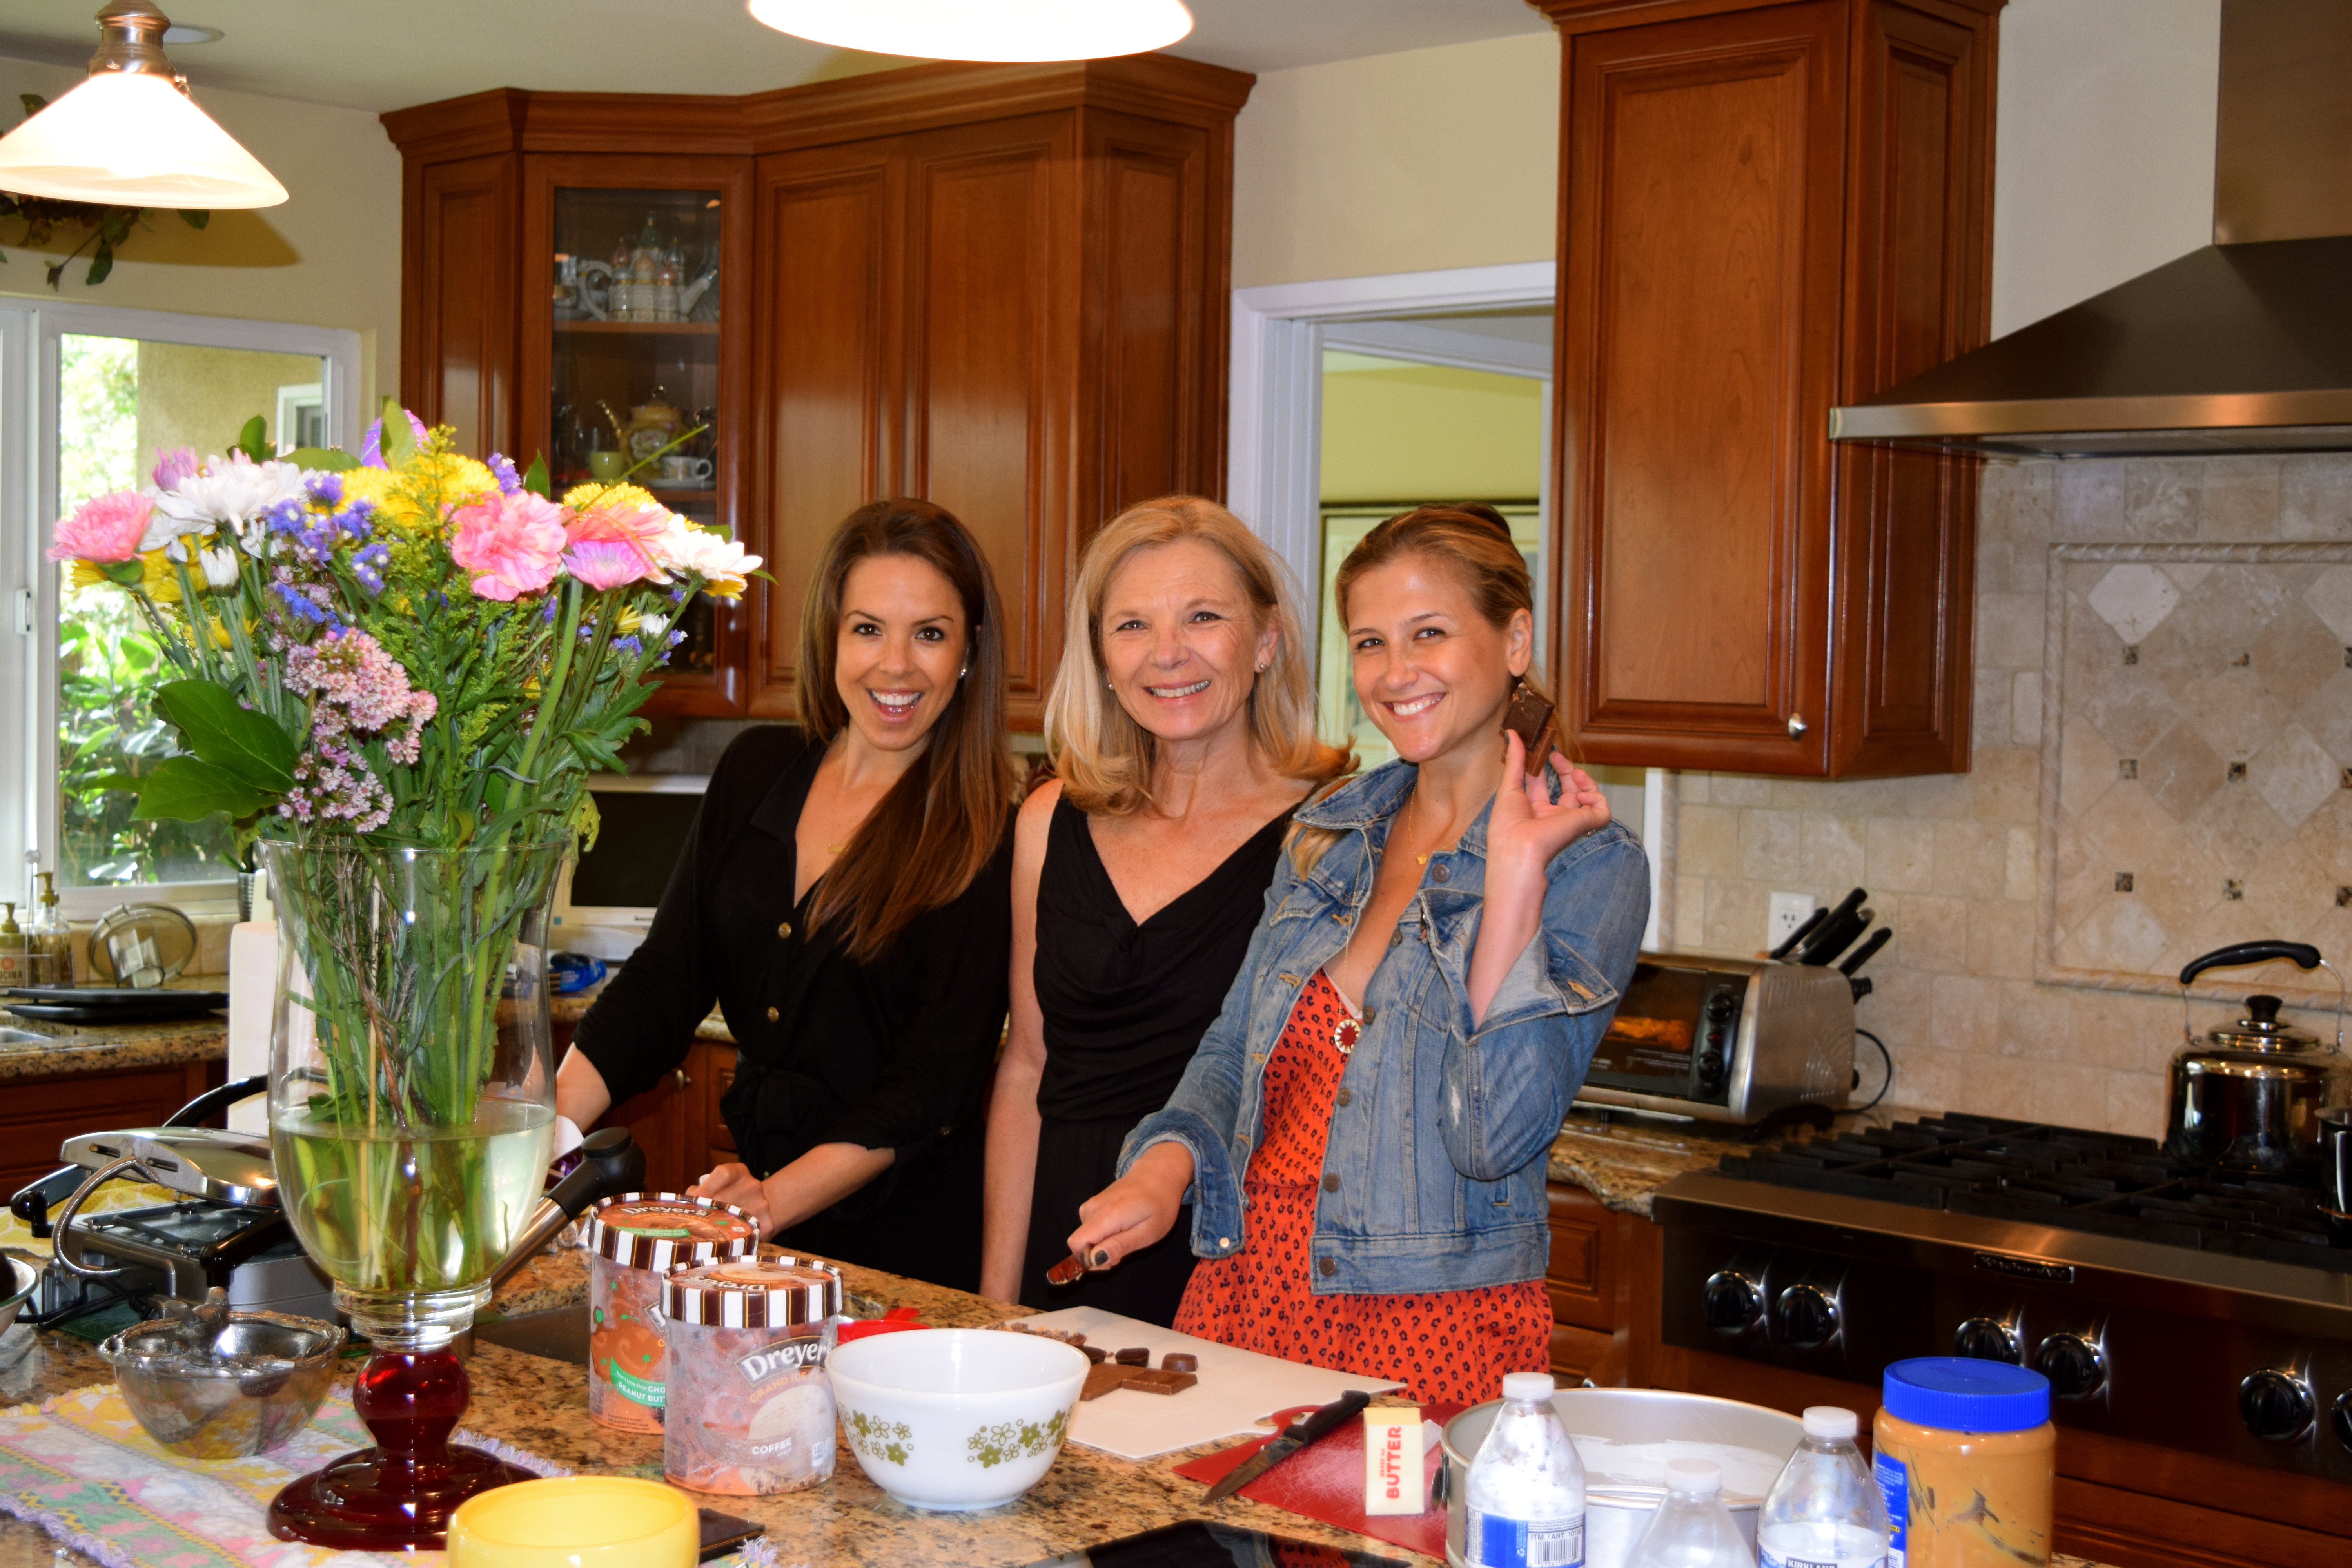
The ultimate reason why one of T.W.O were in Austin was for a wedding – – and besides all the sites seen and the food eaten, this was my favorite part. It was amazing watching two people that are so in love get married in front of their friends in family at Stonehouse Villa outside of the city. From the dancing to the food and mostly – the people that were there made for a special and memorable night. Cheers to Mr. and Mrs. Rorden!


Keep Austin Weird,


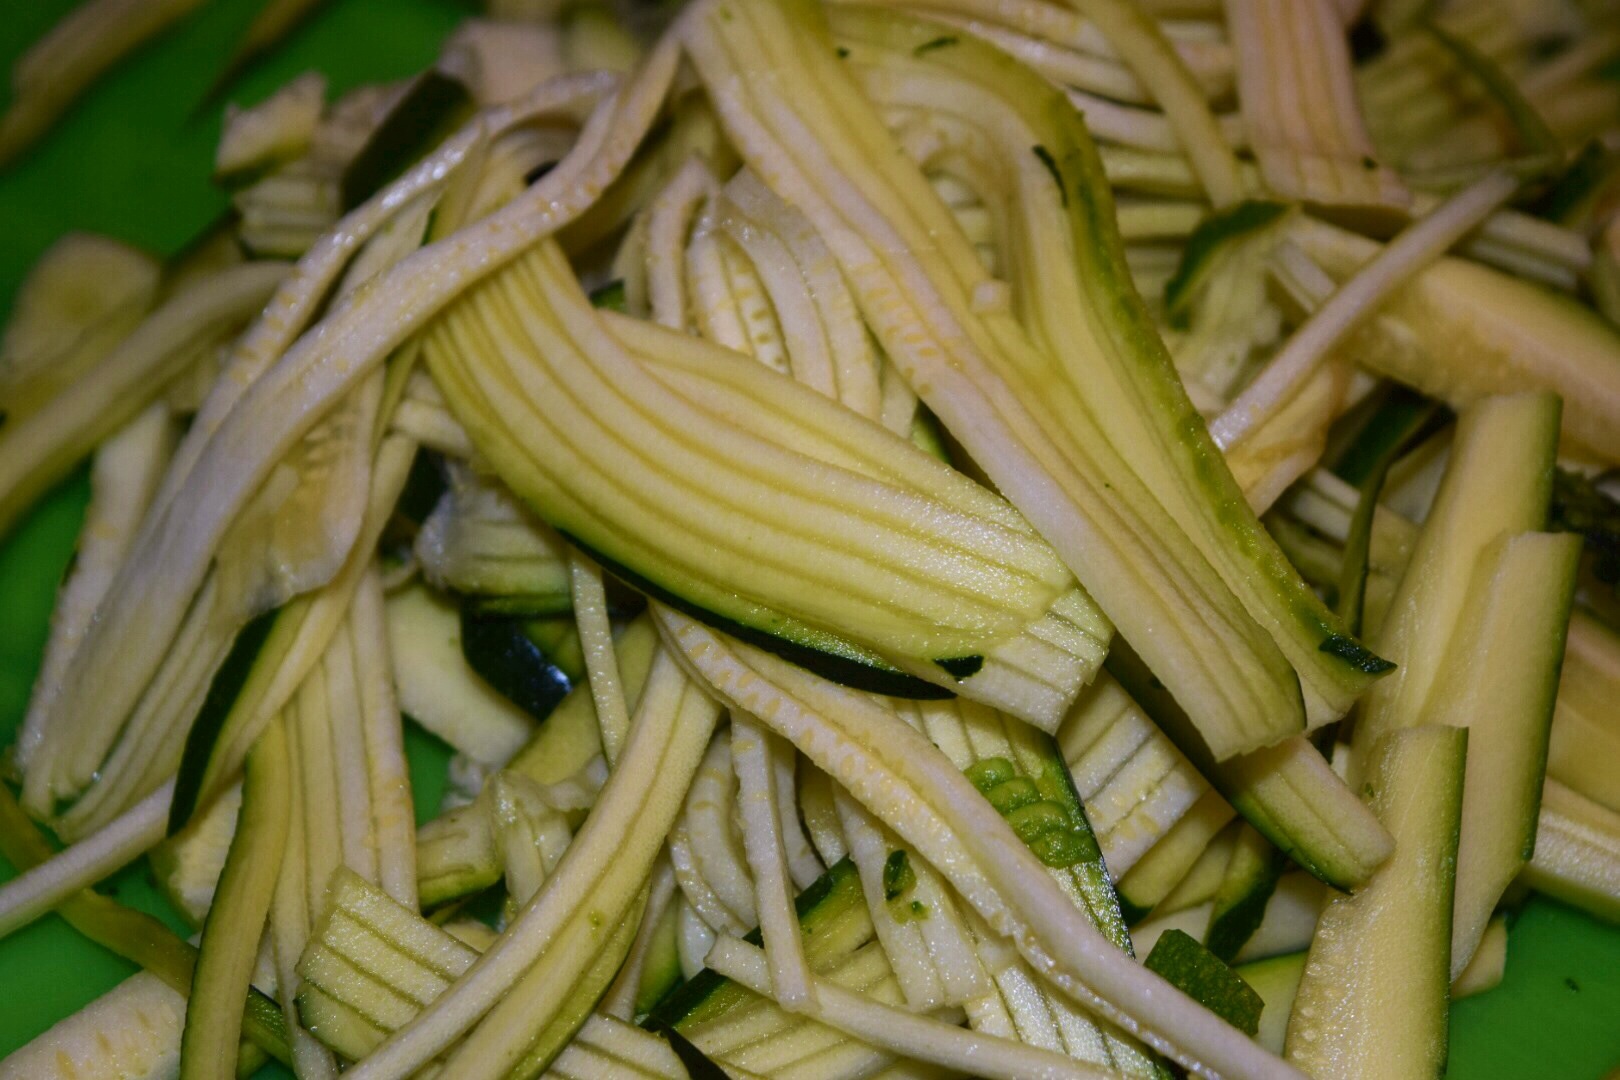
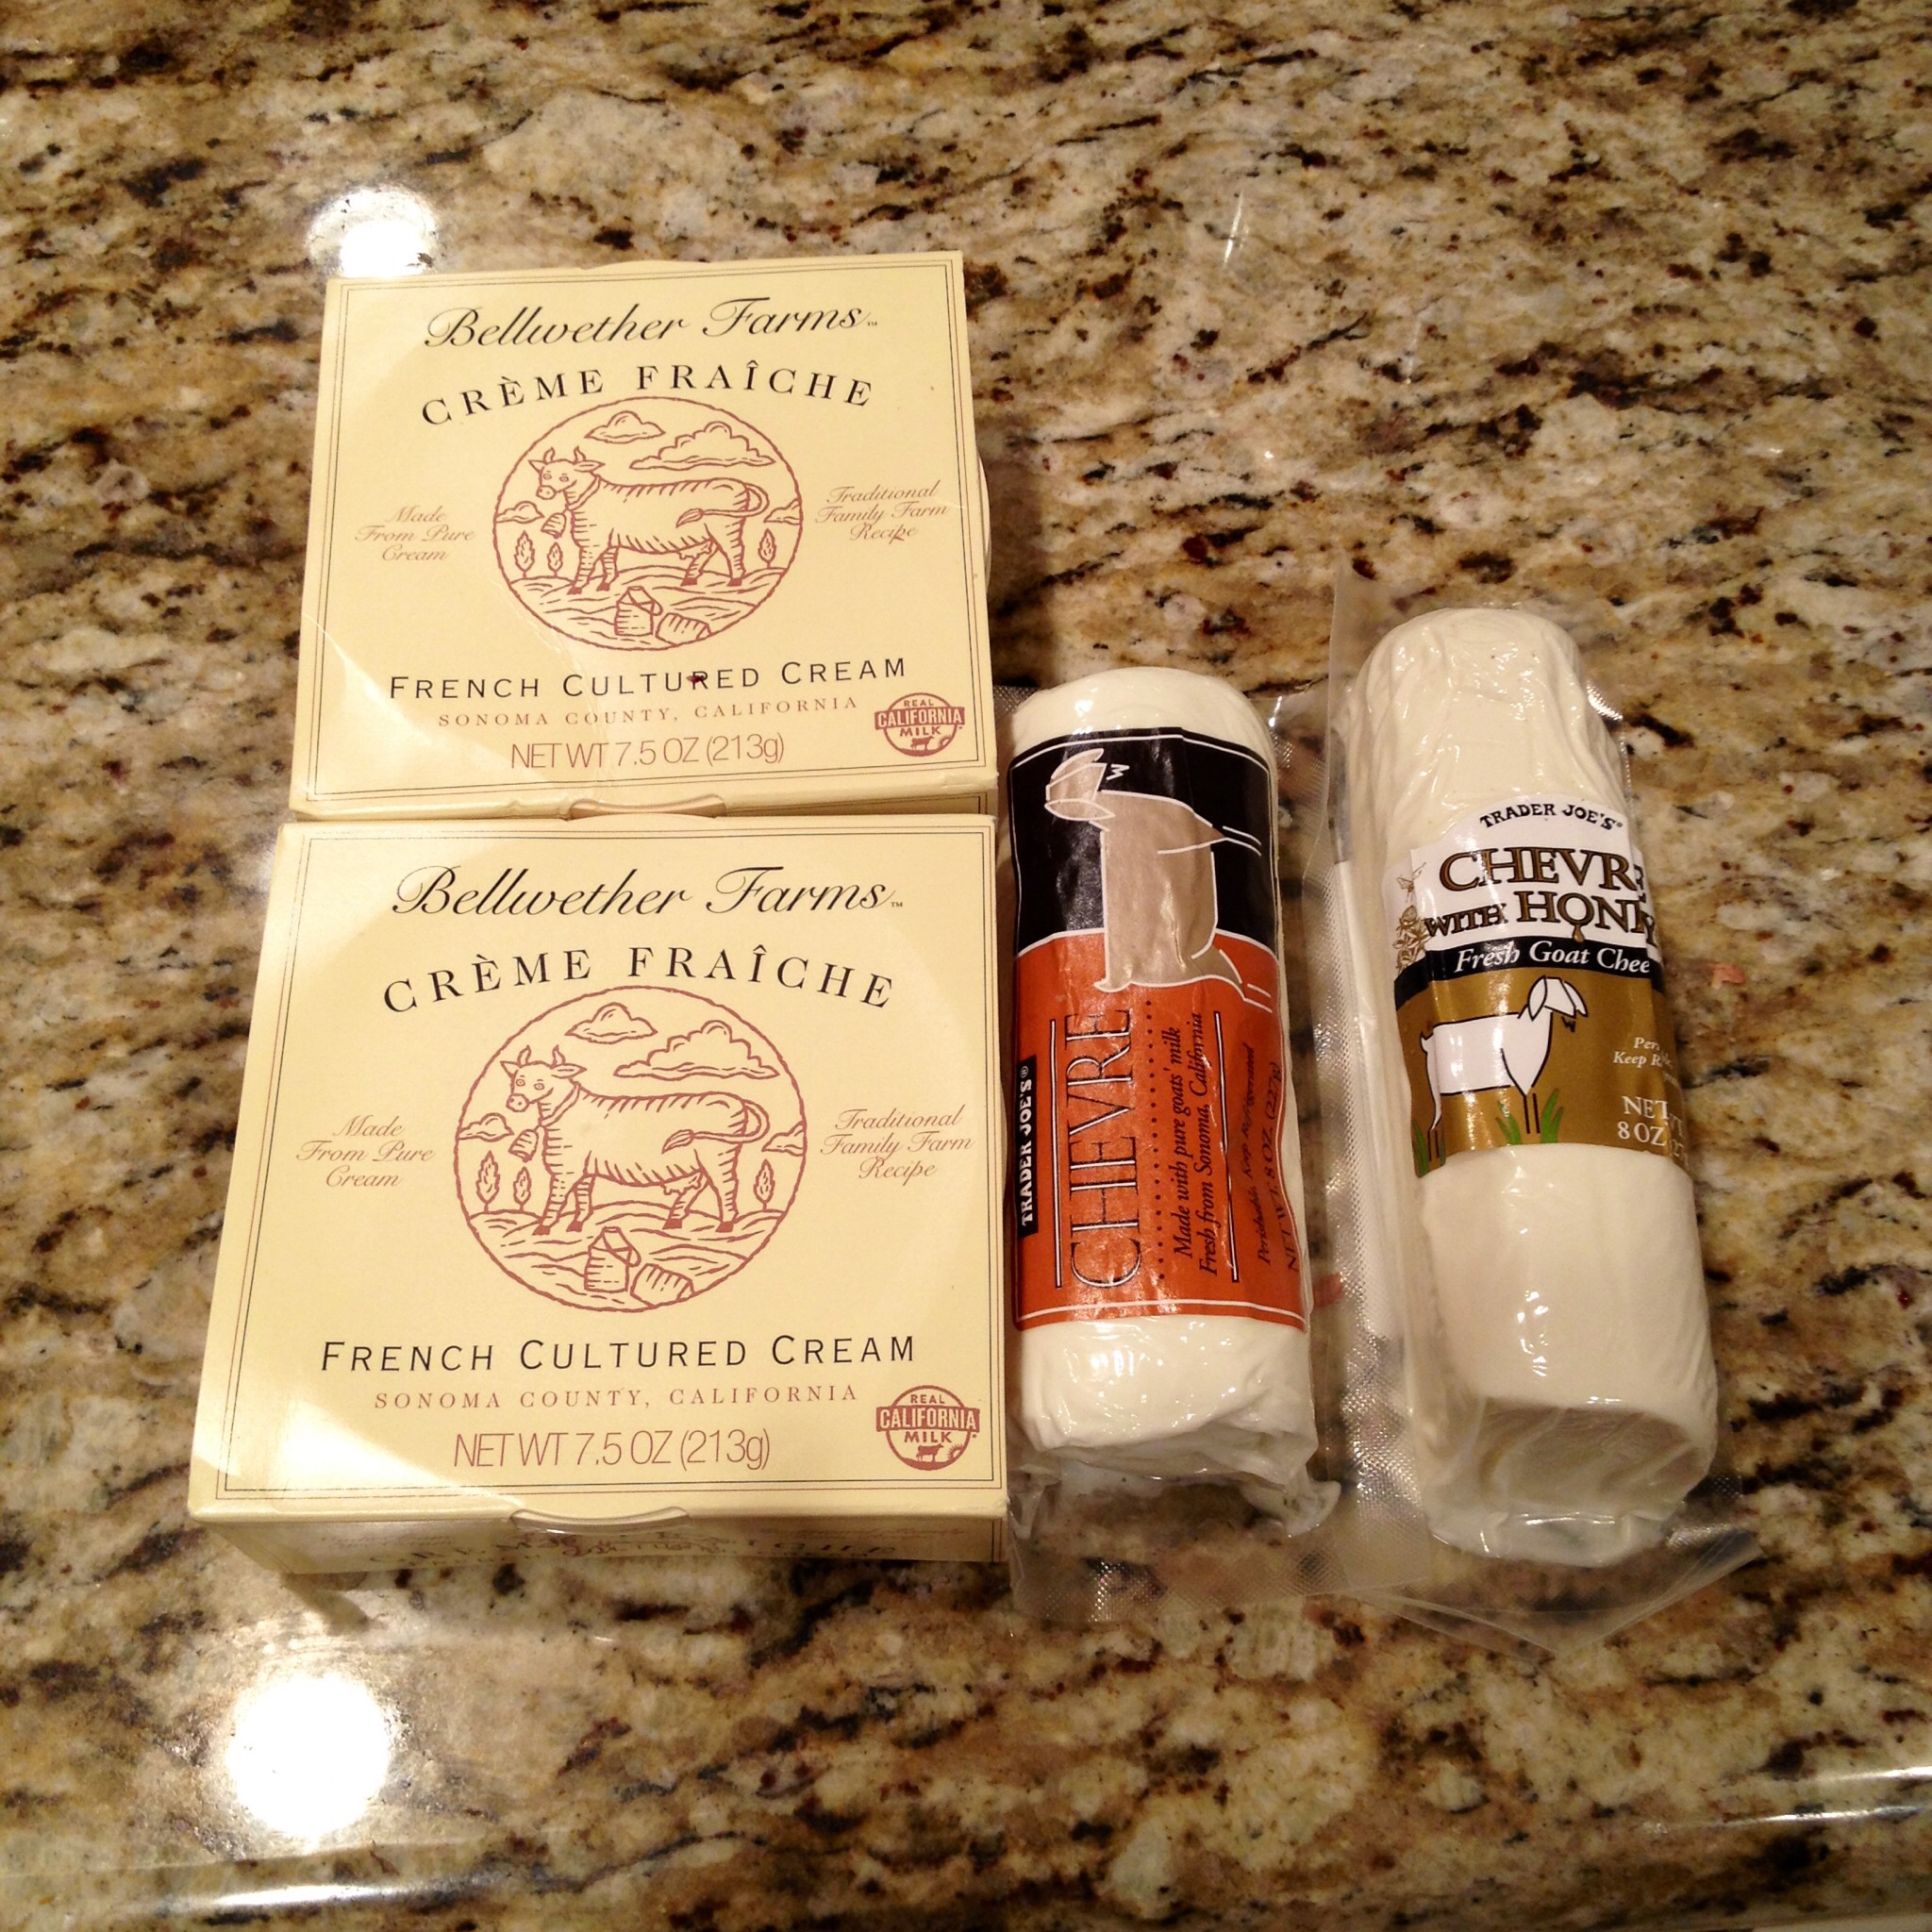
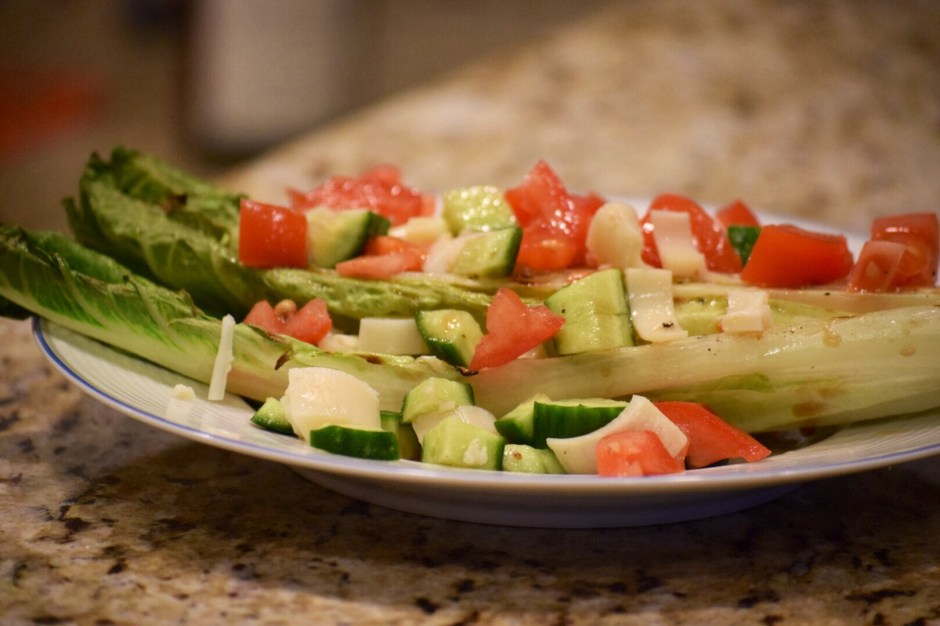
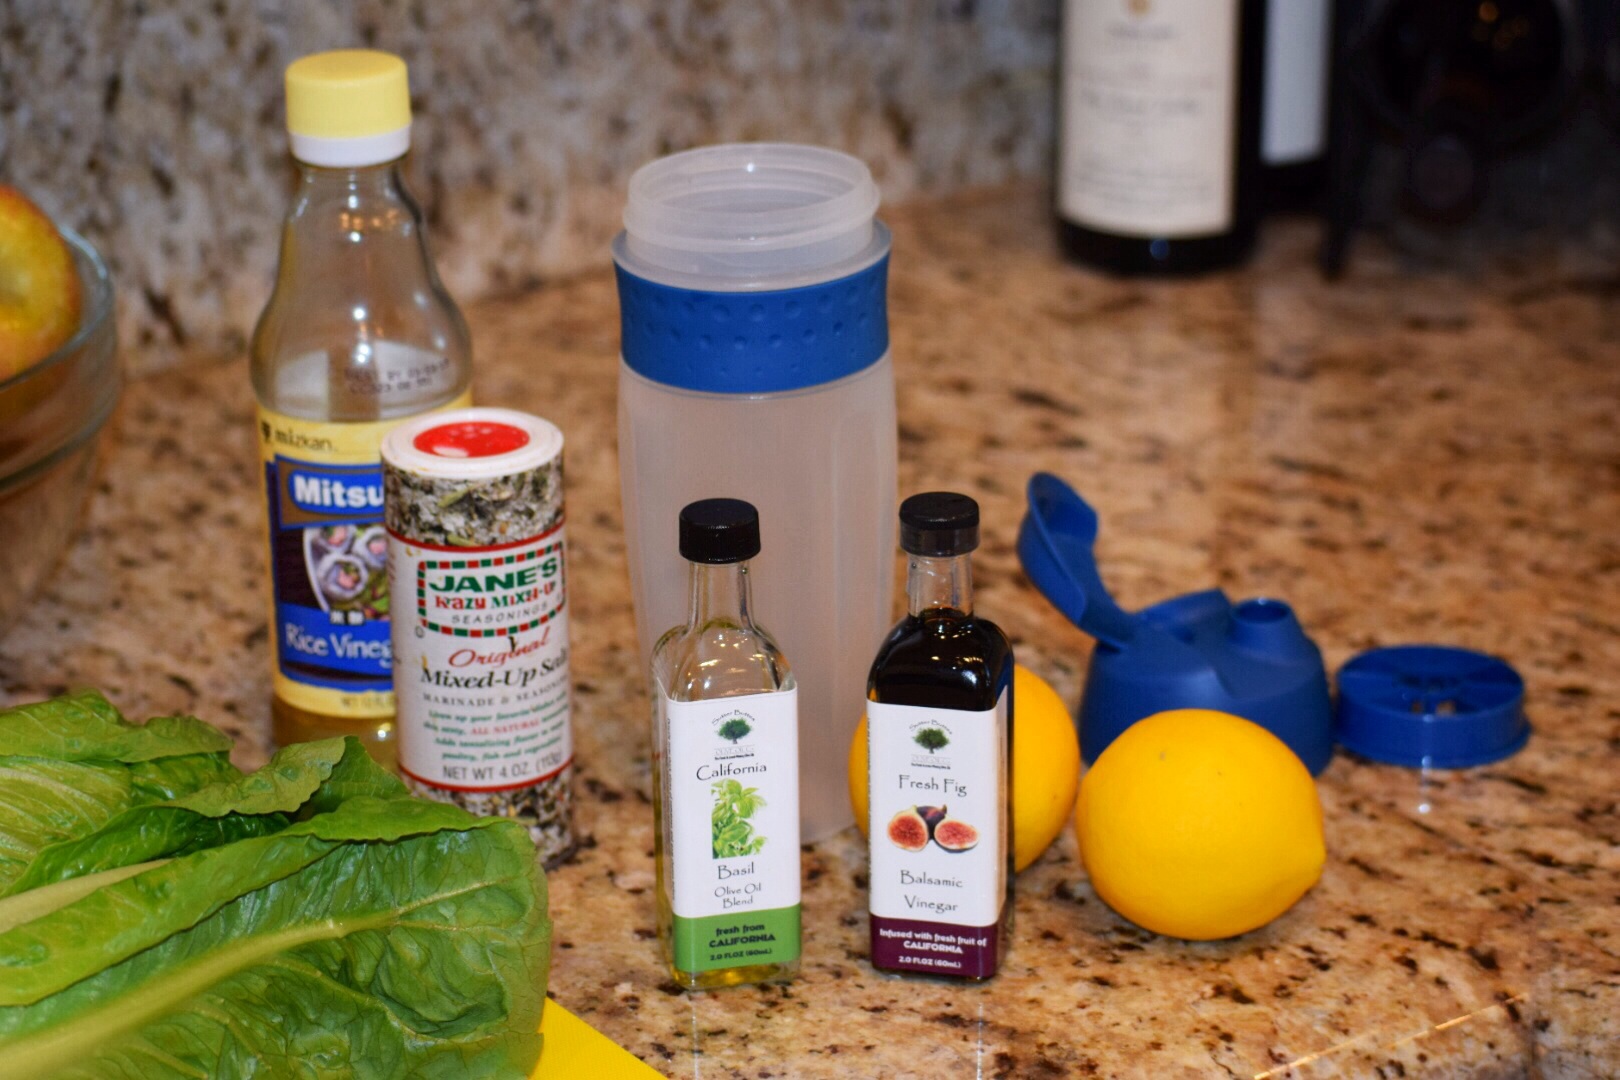
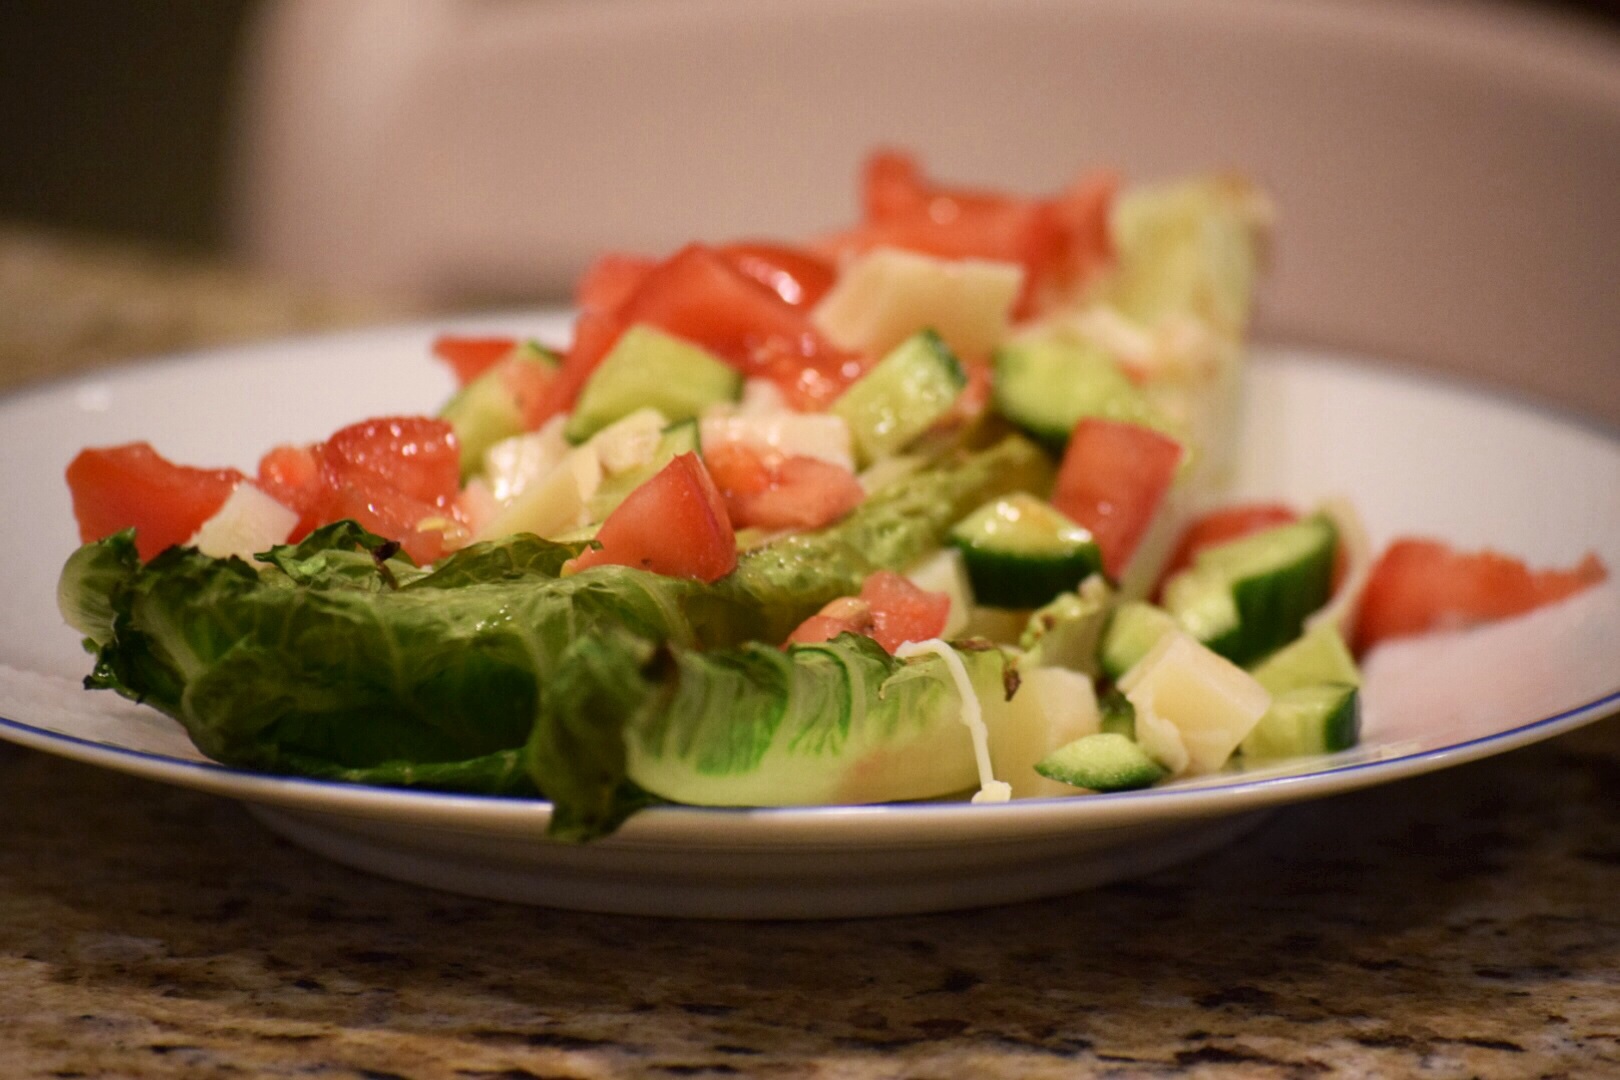
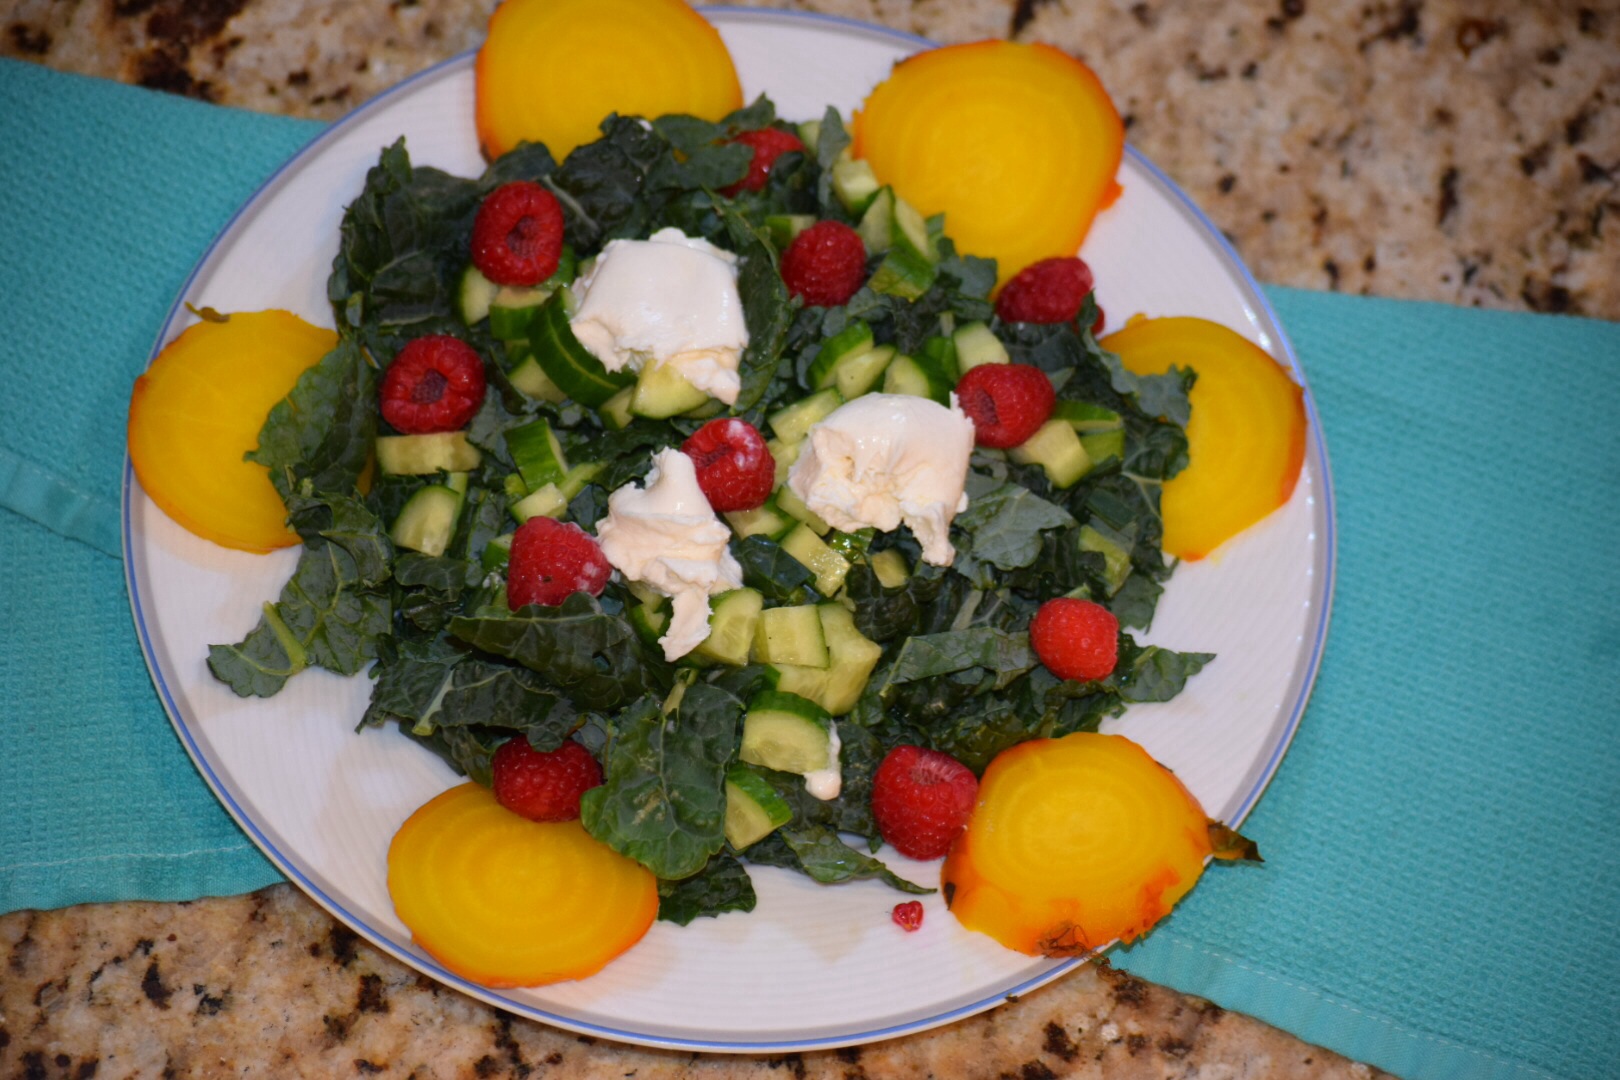
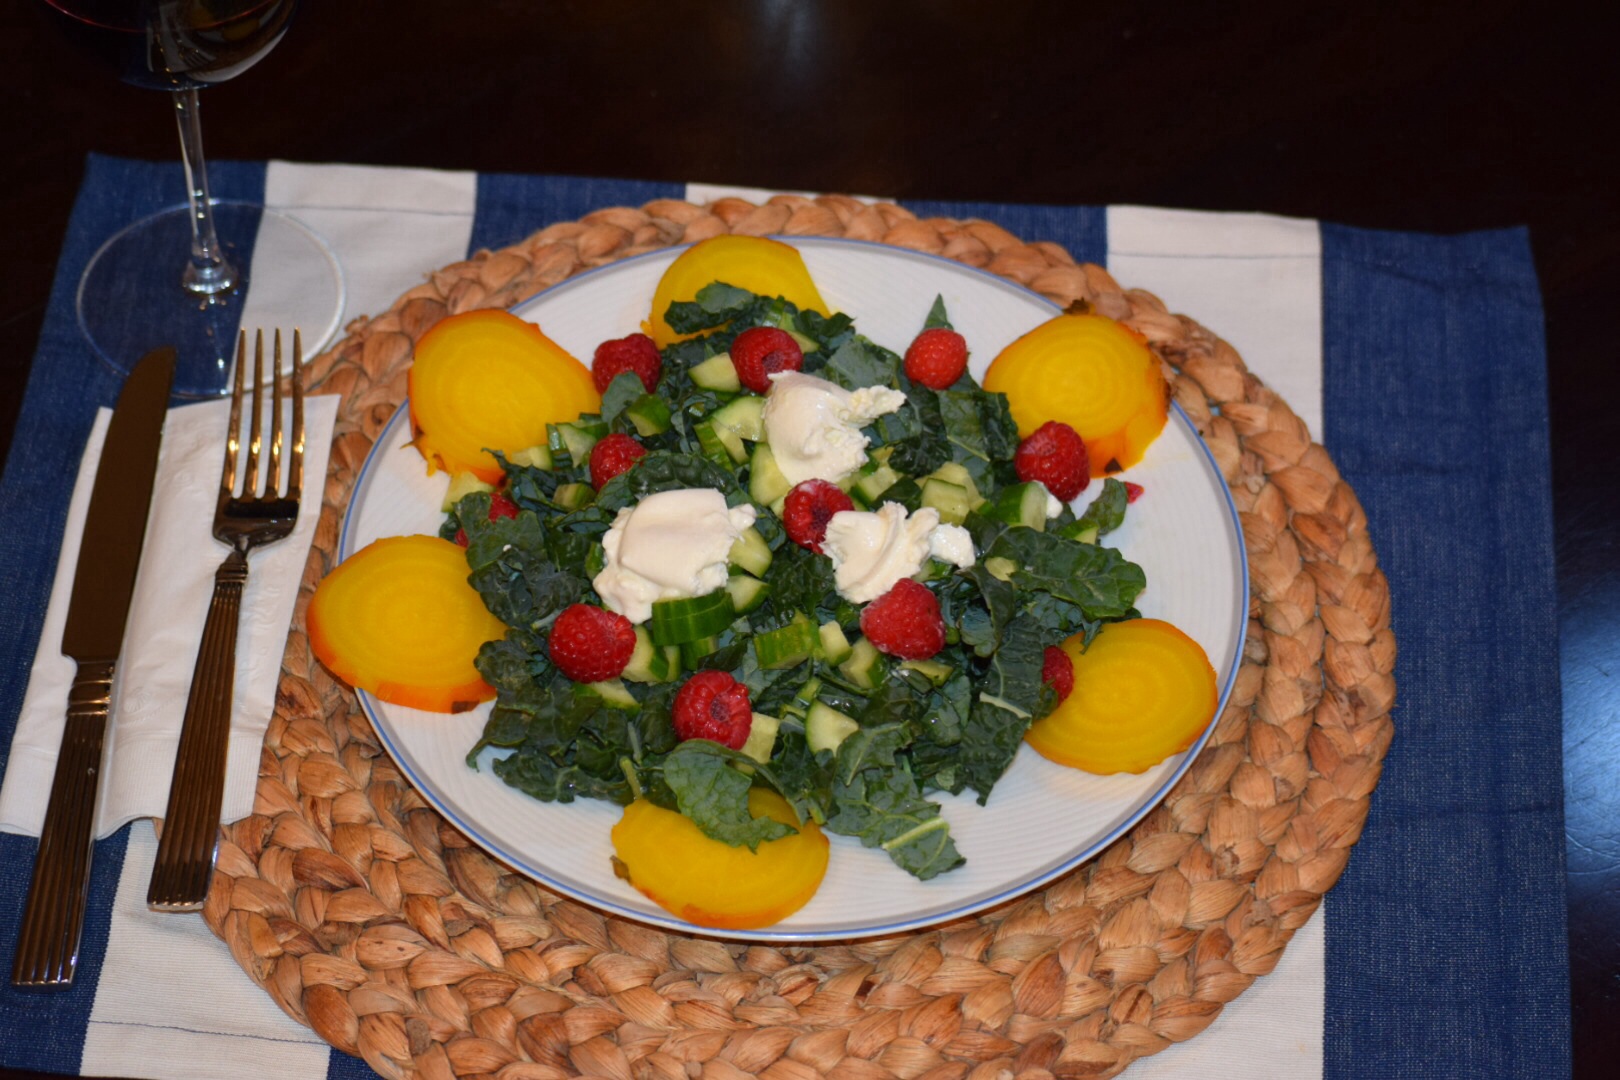
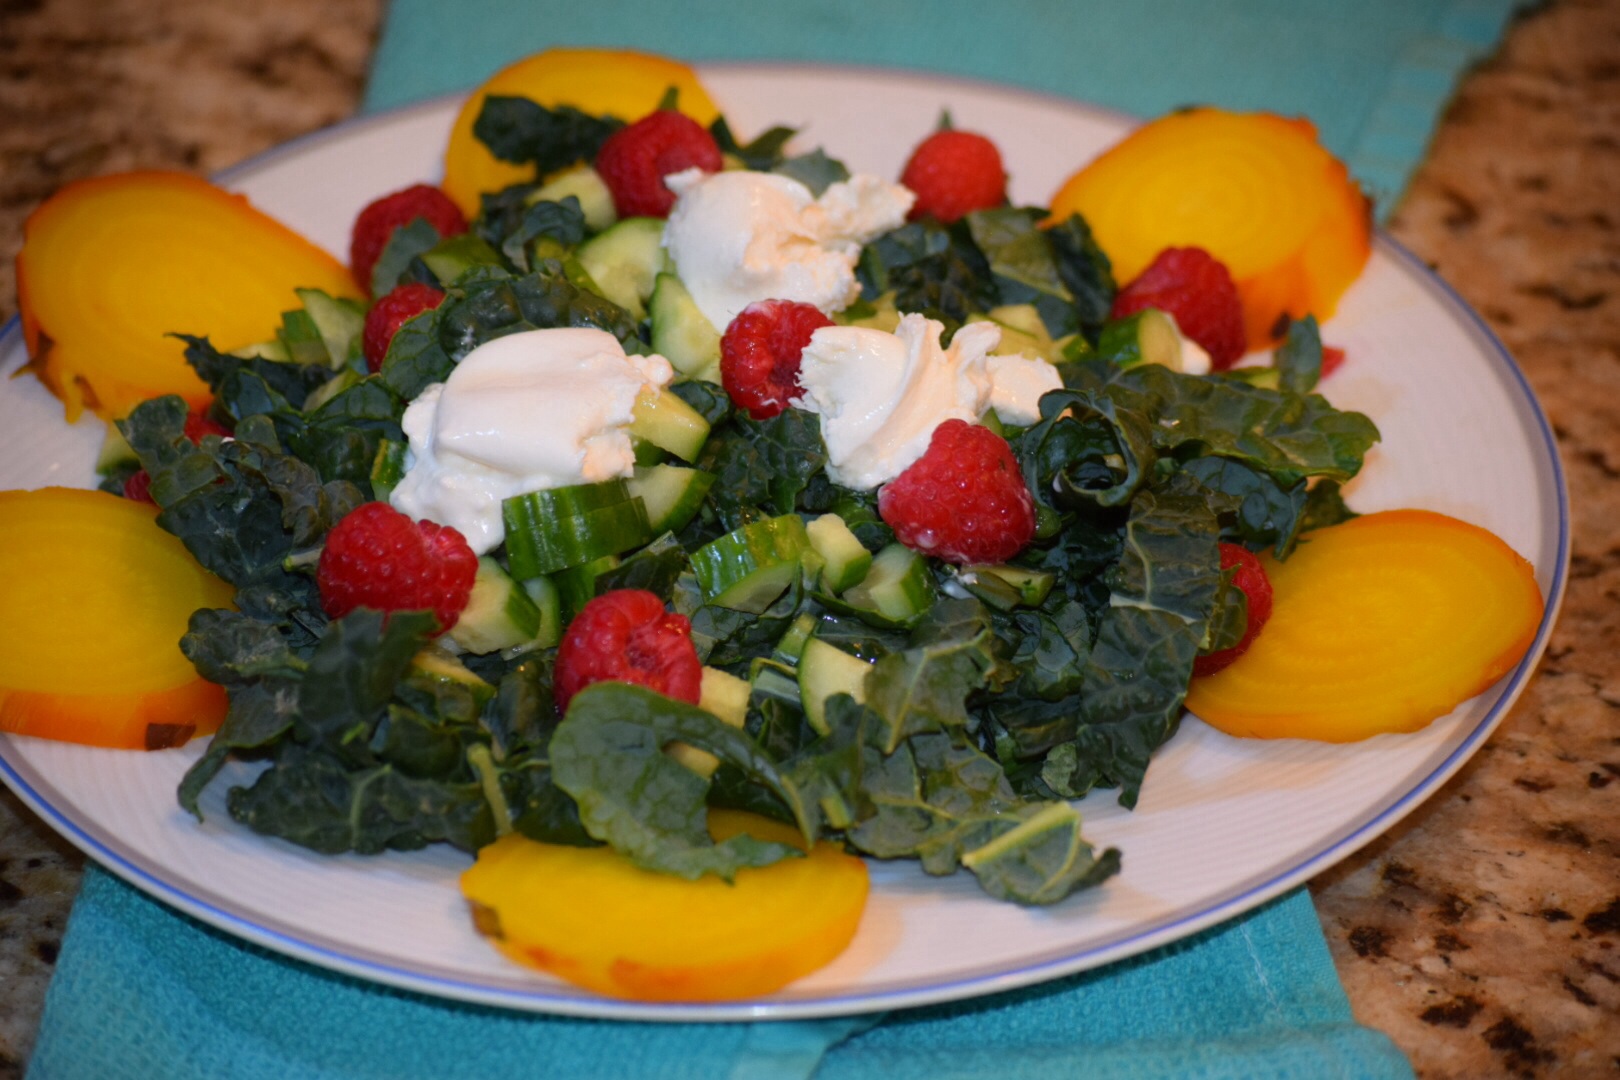 It’s been record breaking weather here in California and T.W.O. was in the mood for a light, delicious, refreshing salad. We combined fruit, vegetables and cheese to make this vegetarian meal. Bikini meal approved!!


 Happy Healthy Eating!