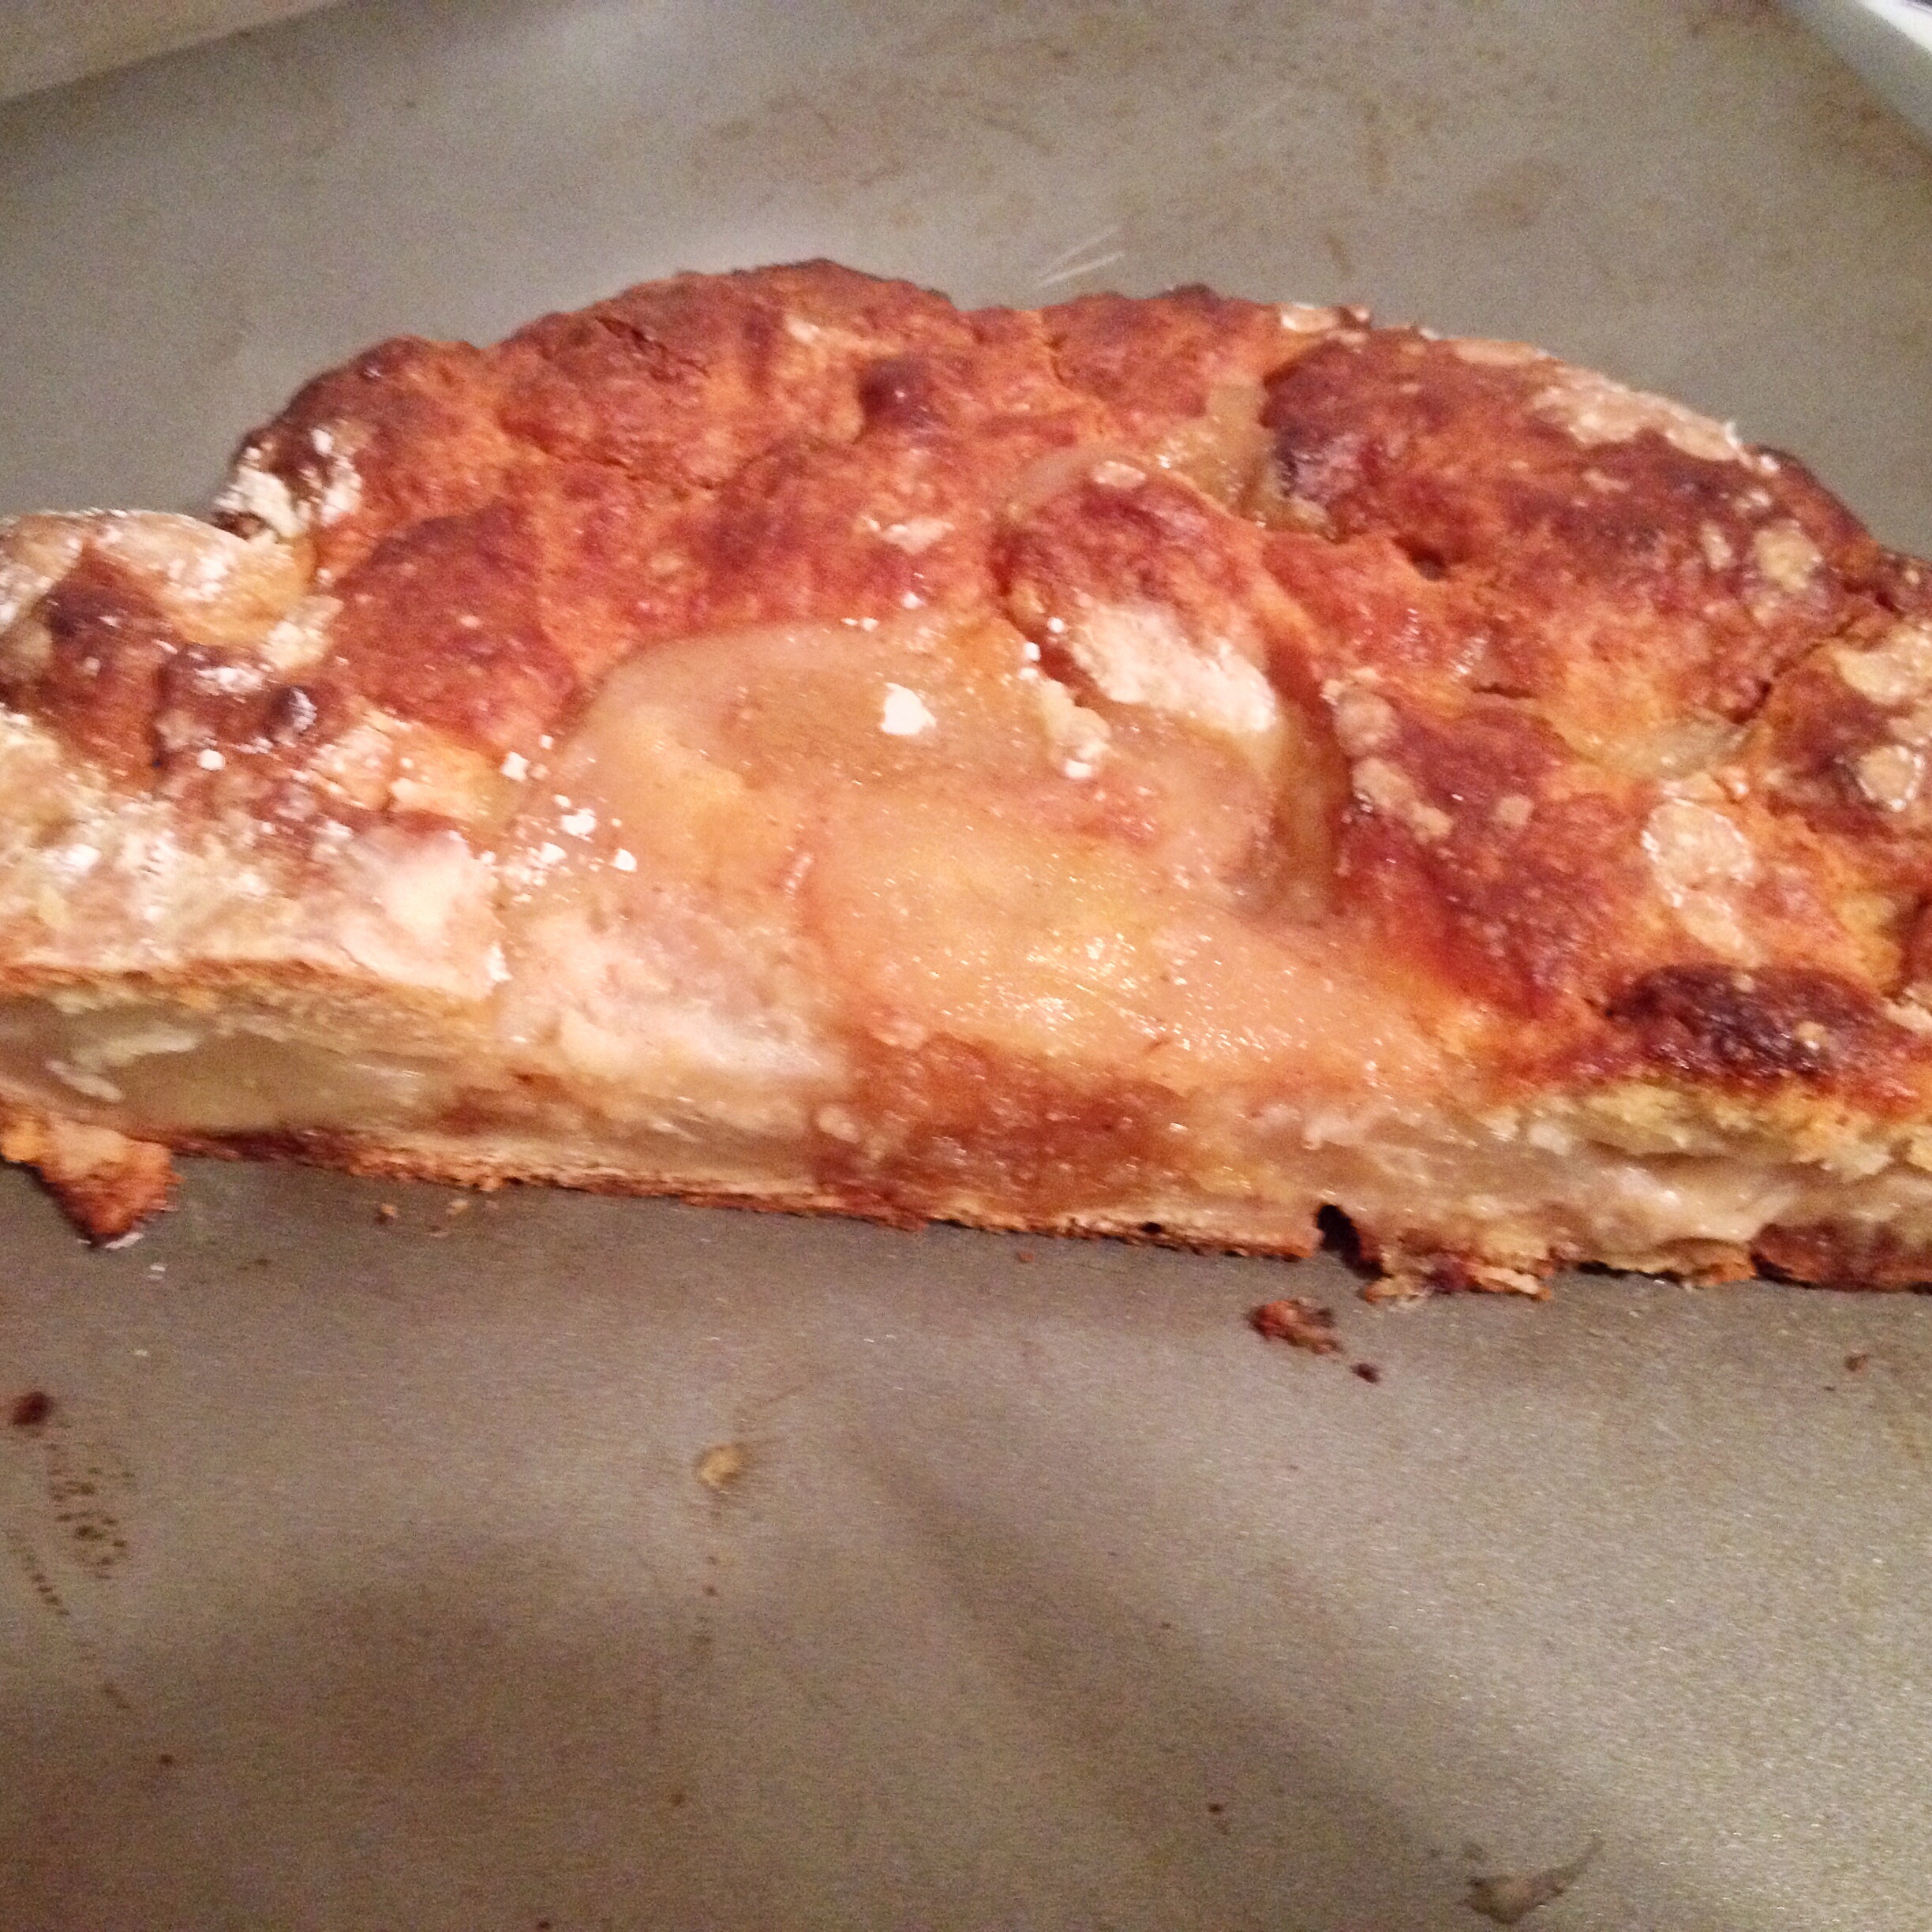

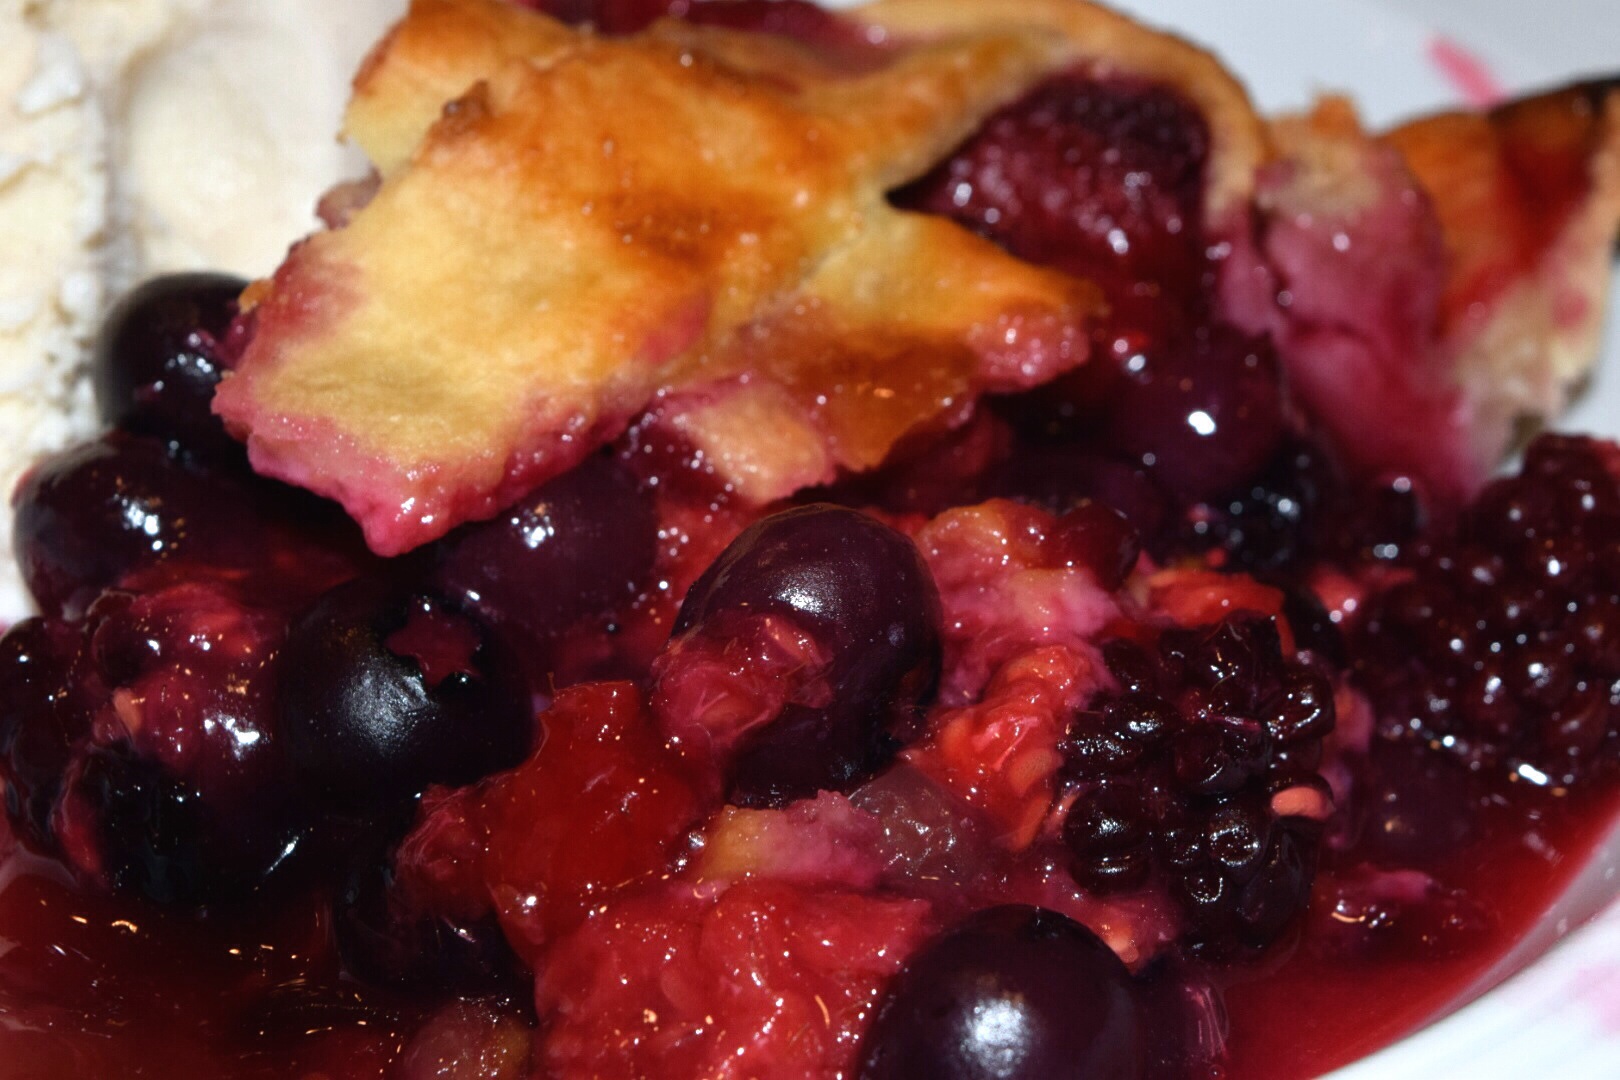
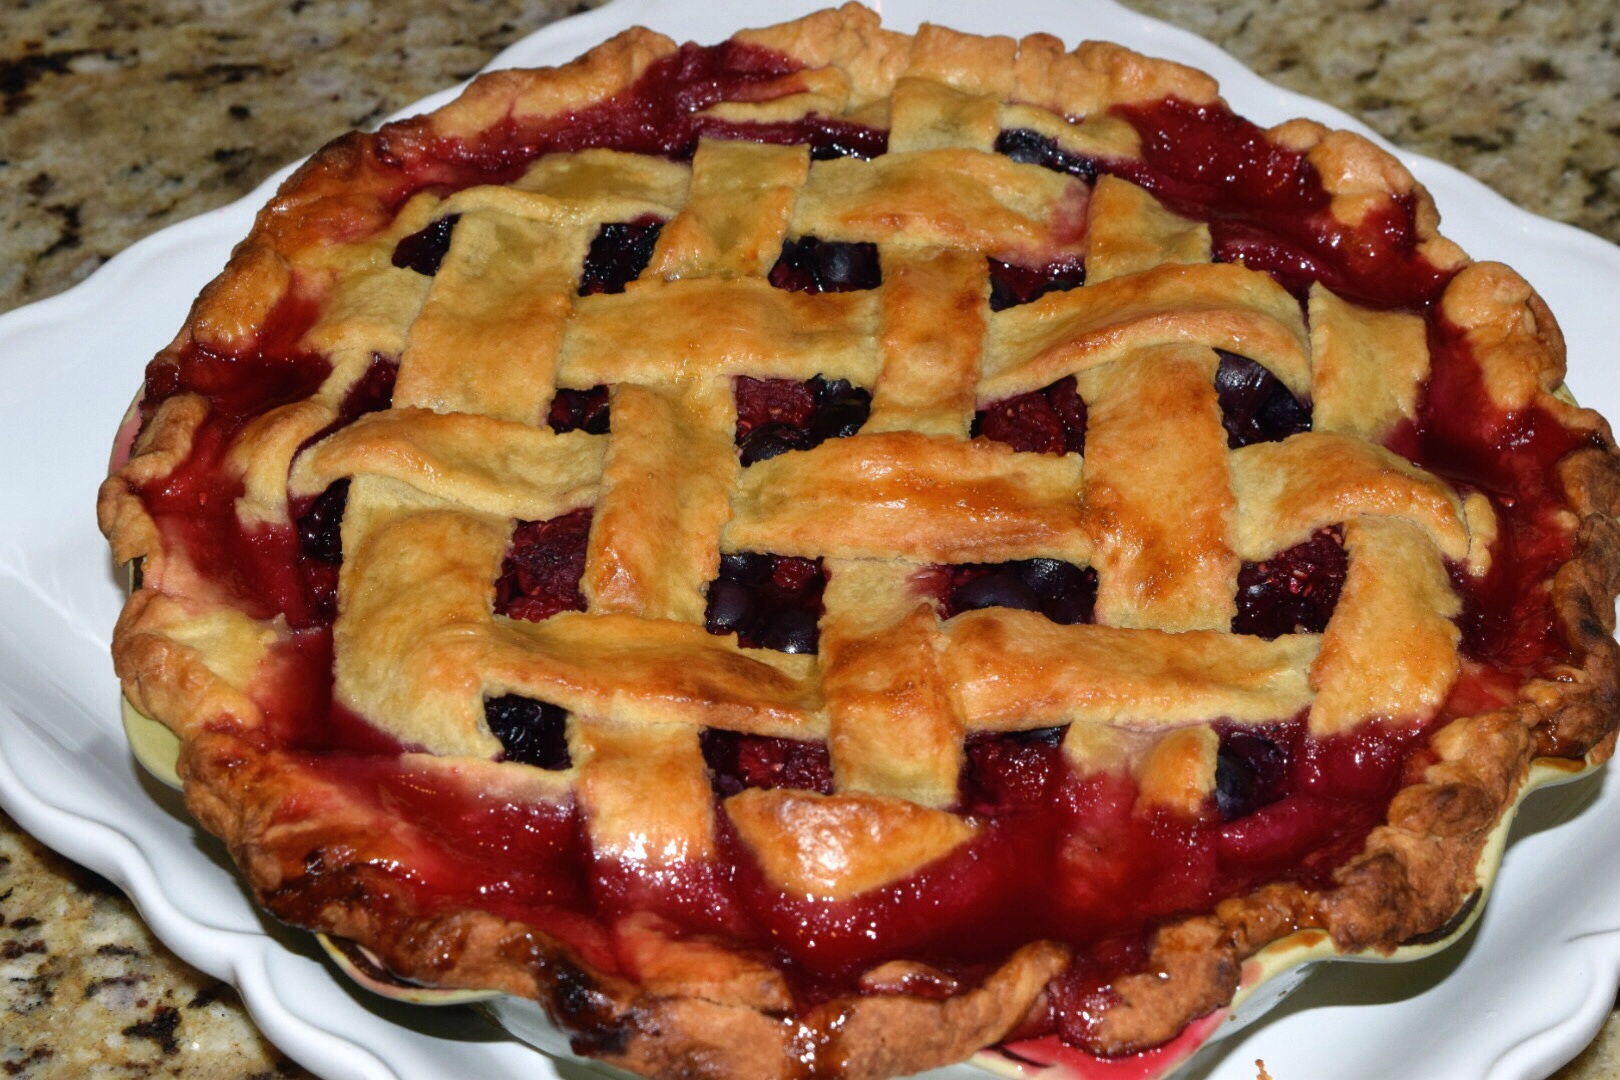
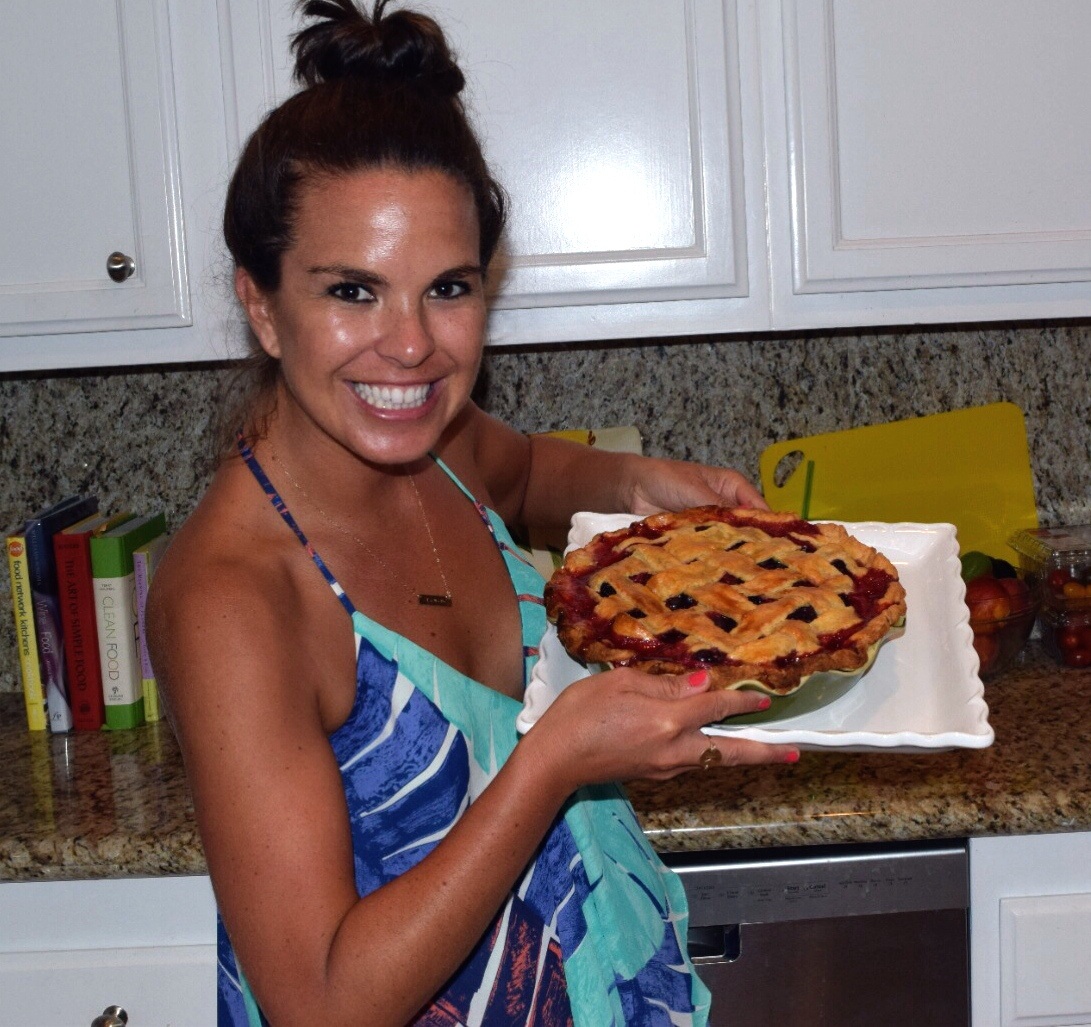
Berry Pie is a great dessert for those warm summer nights, cold winter evenings or even for breakfast. Pretty much anytime. T.W.O. decided to make a three berry pie for our girls night with our mom. We had so much fun in the kitchen prepping this creation. We perfected a crust that we will be using for years and years to come! Happy Baking!
Ingredients:
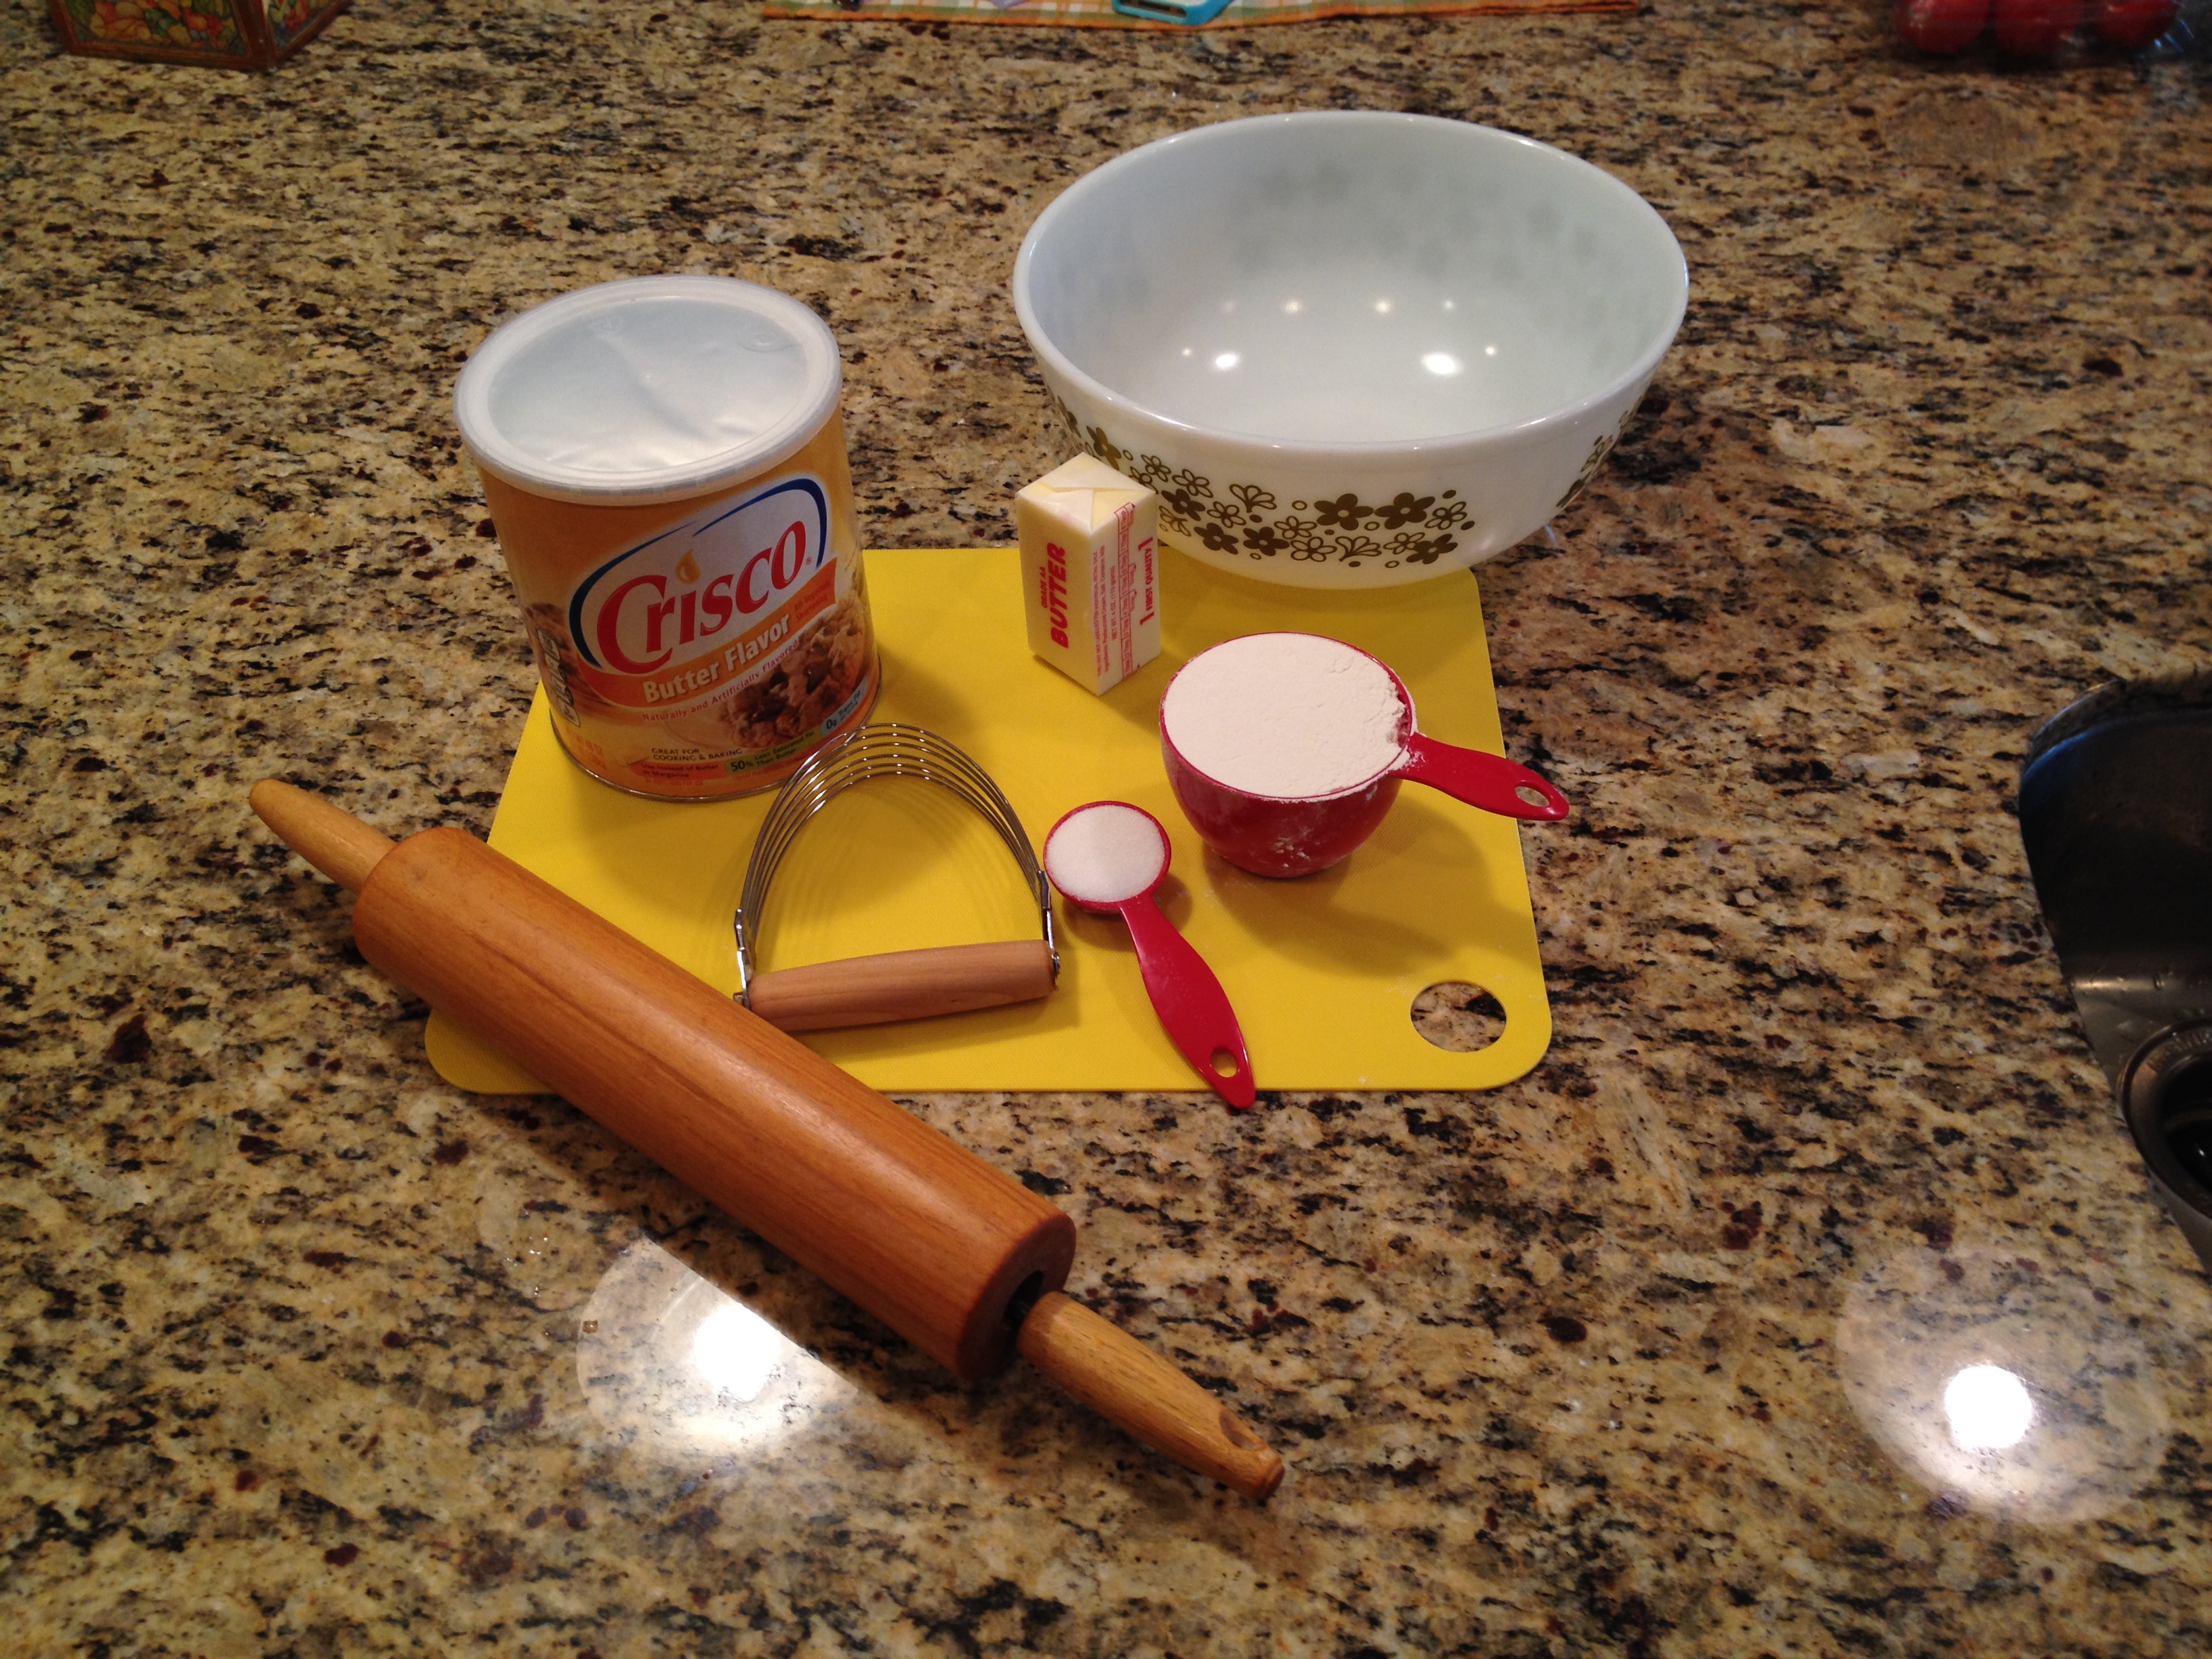
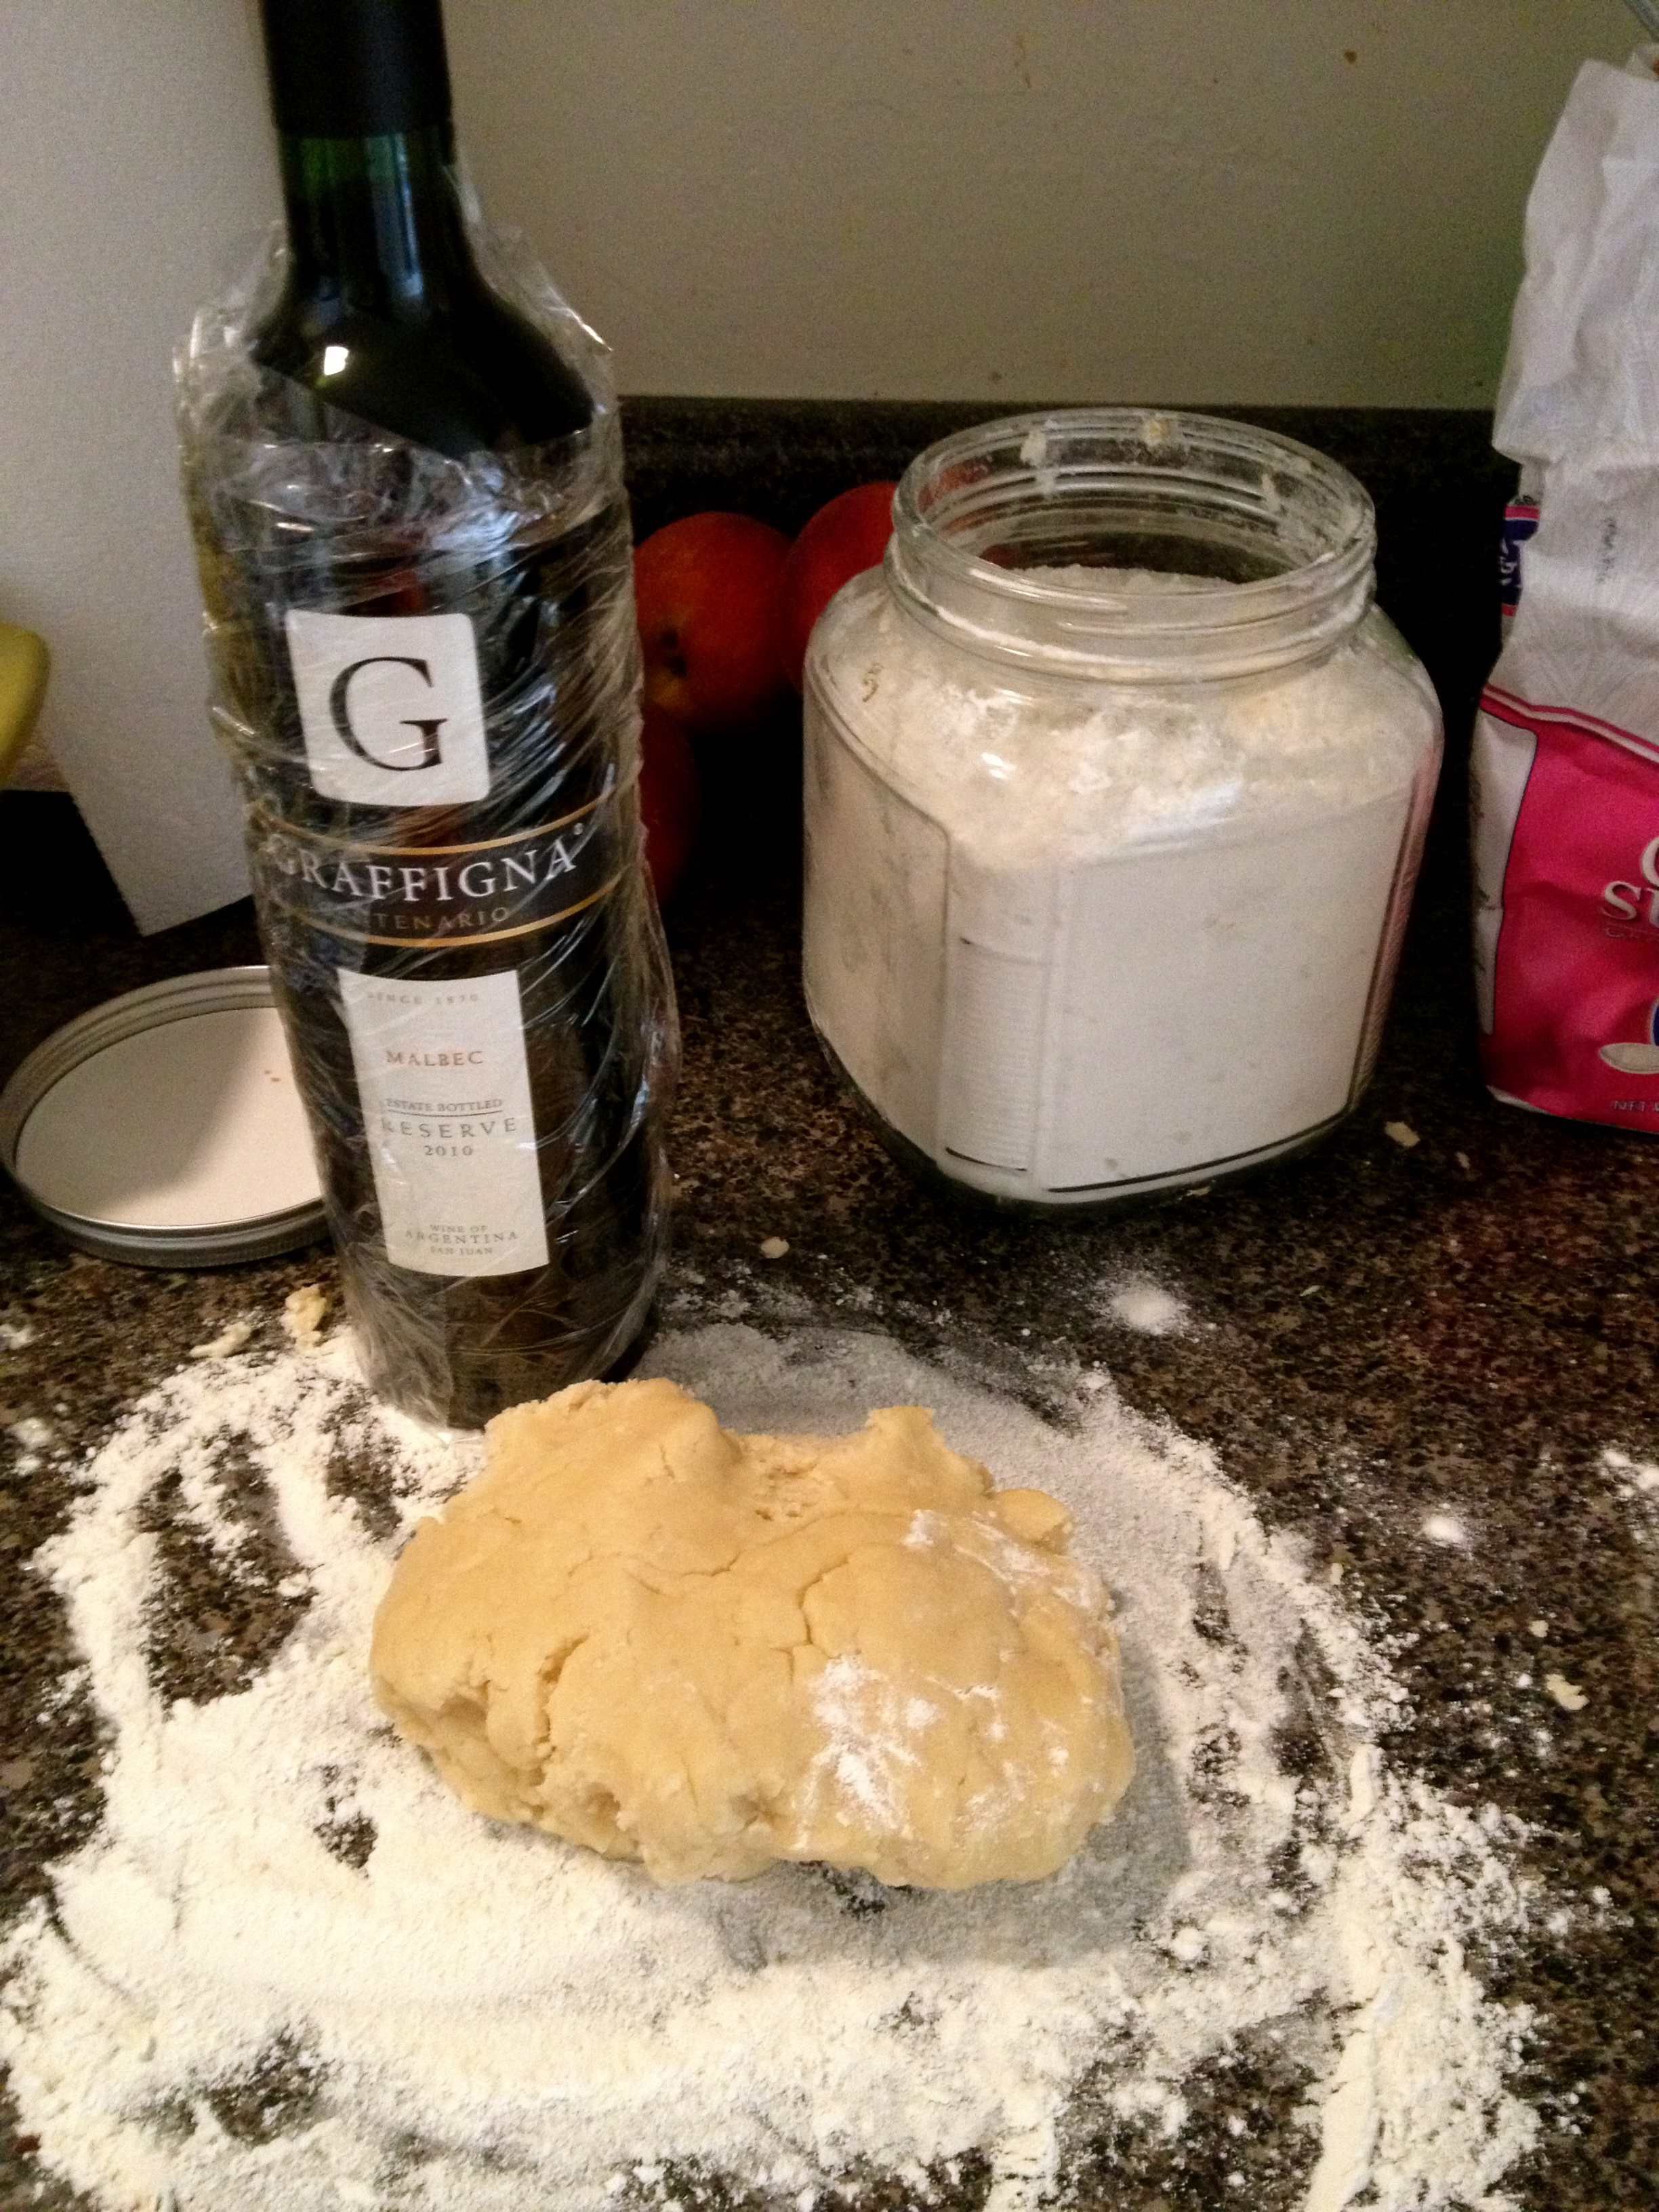
Pie Crust:
– 2½ cups flour
– 1 tablespoon sugar
– 1 cup unsalted European butter, cubed (you can use regular butter too)
– 5-6 tablespoons ice water
– 1 egg, beaten for pie crust top
– 1 tablespoon sugar to sprinkle on top of crust
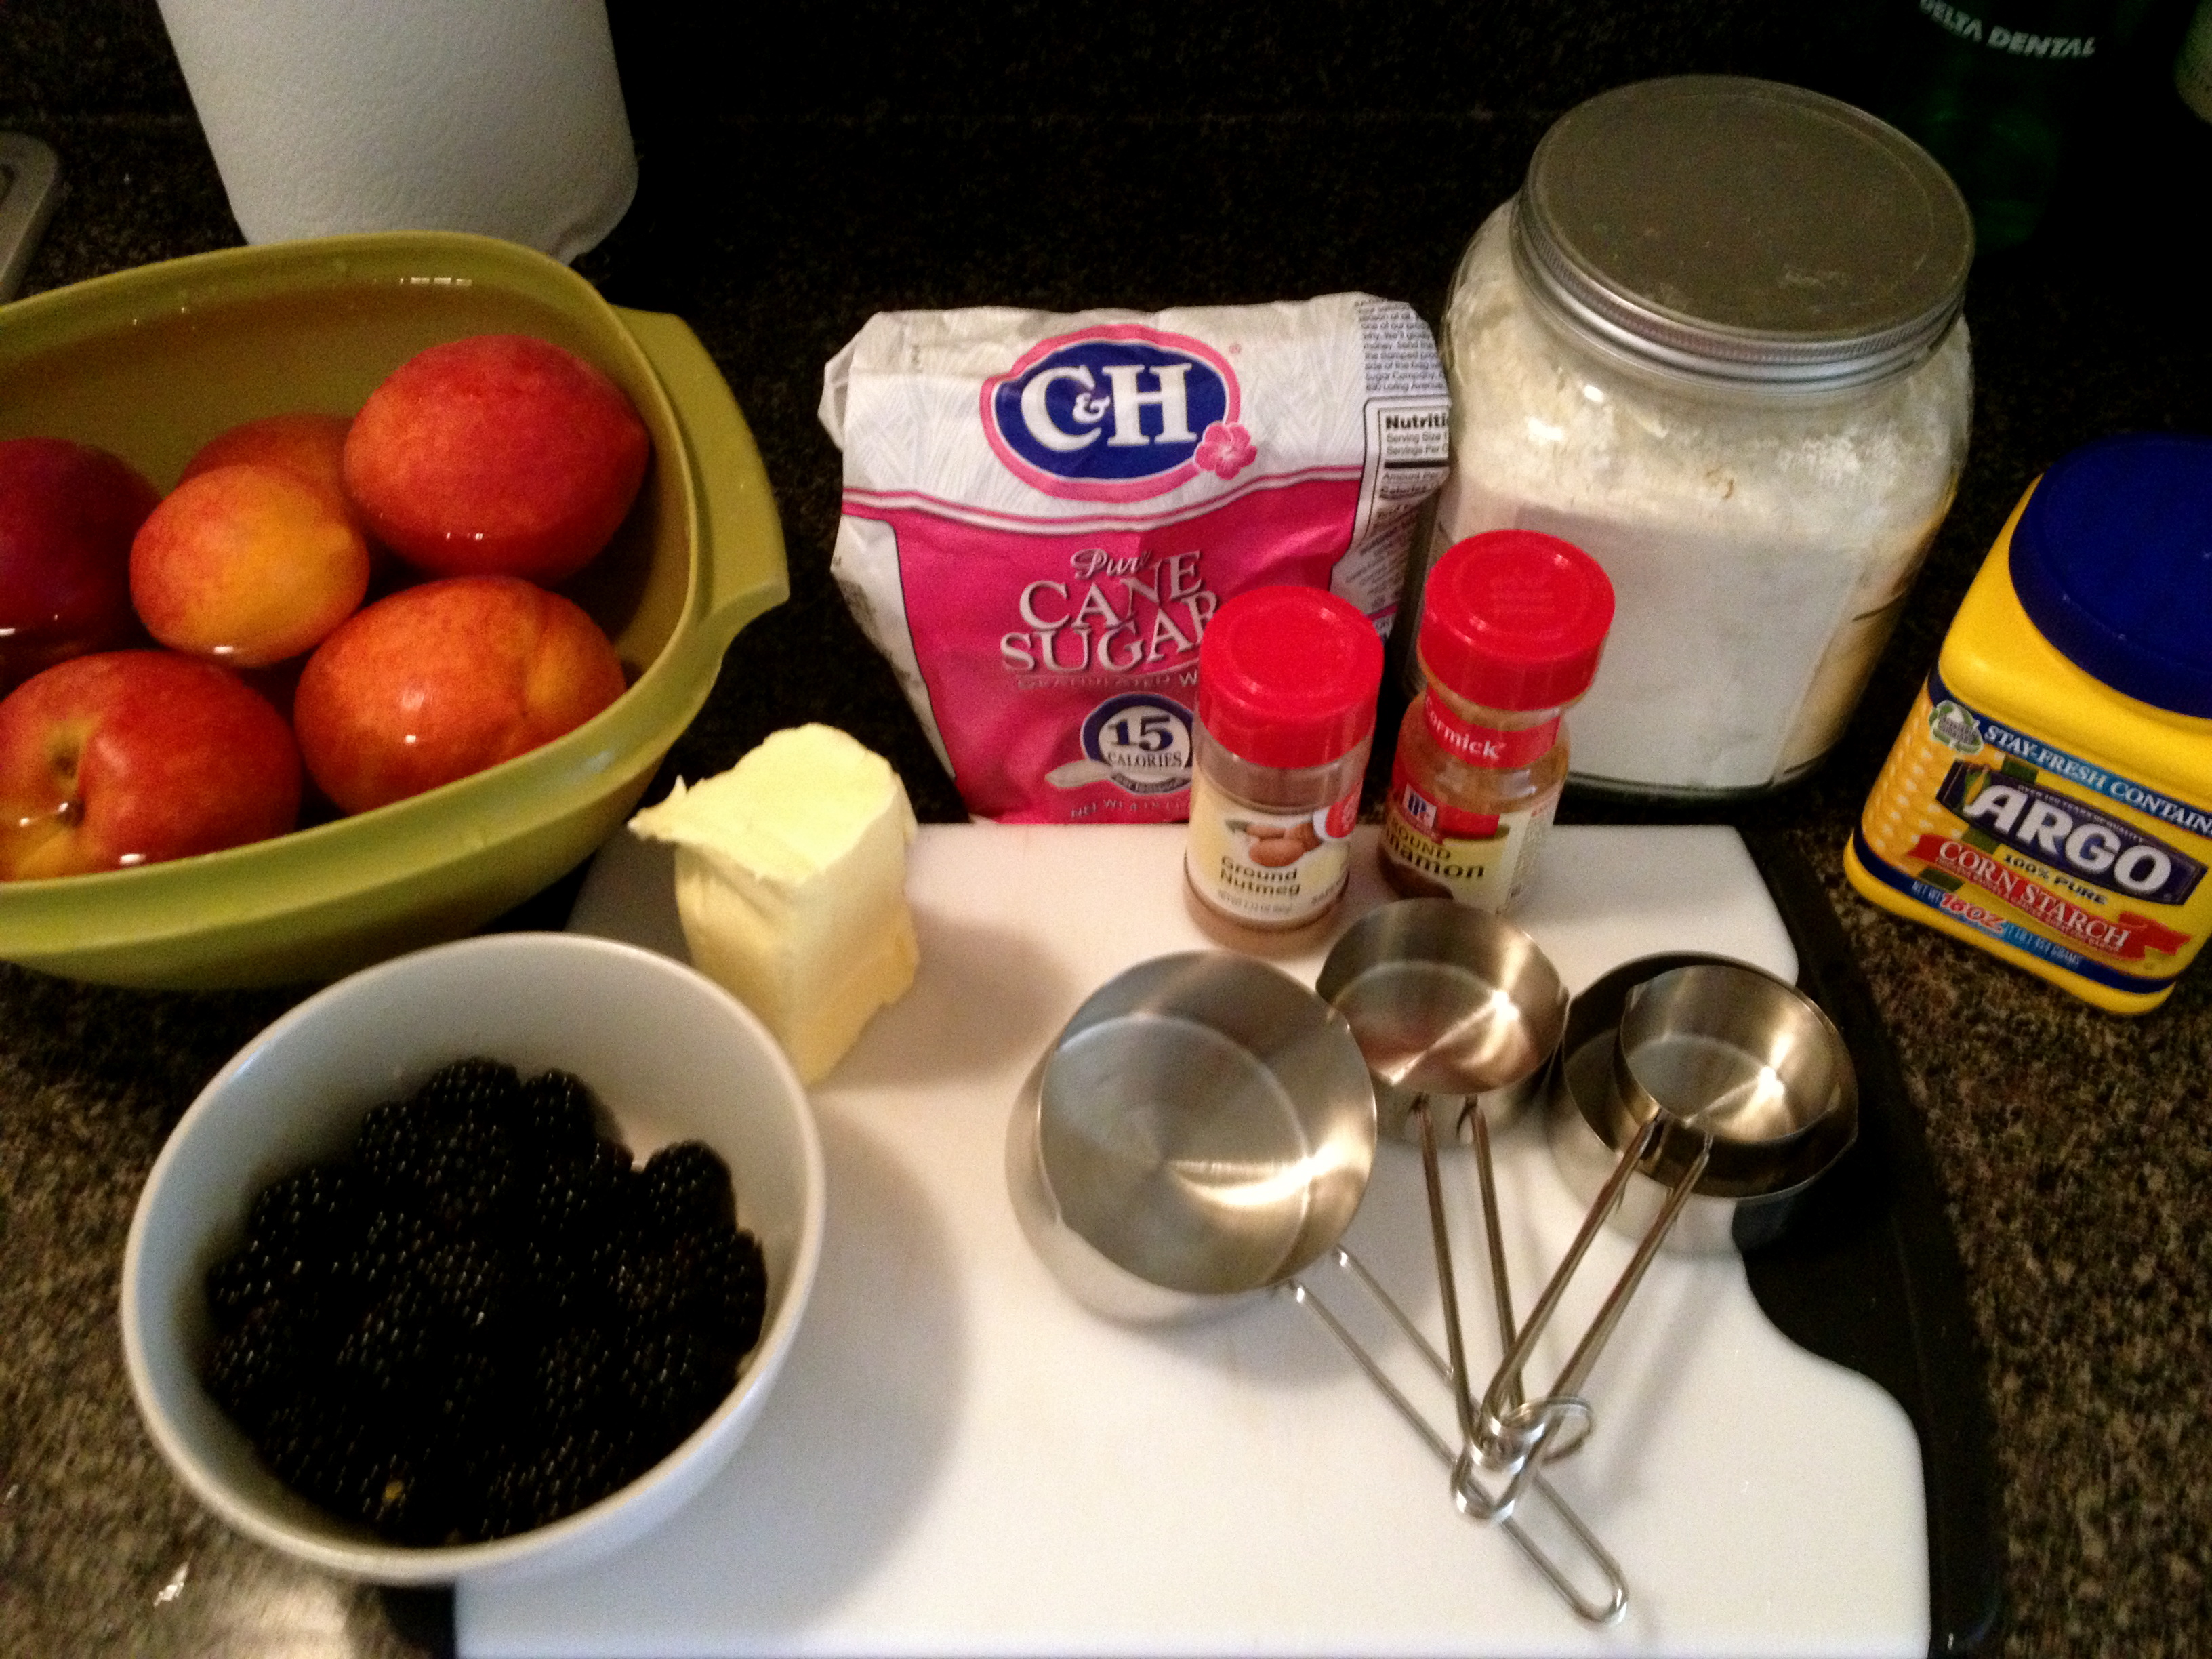
Filling:
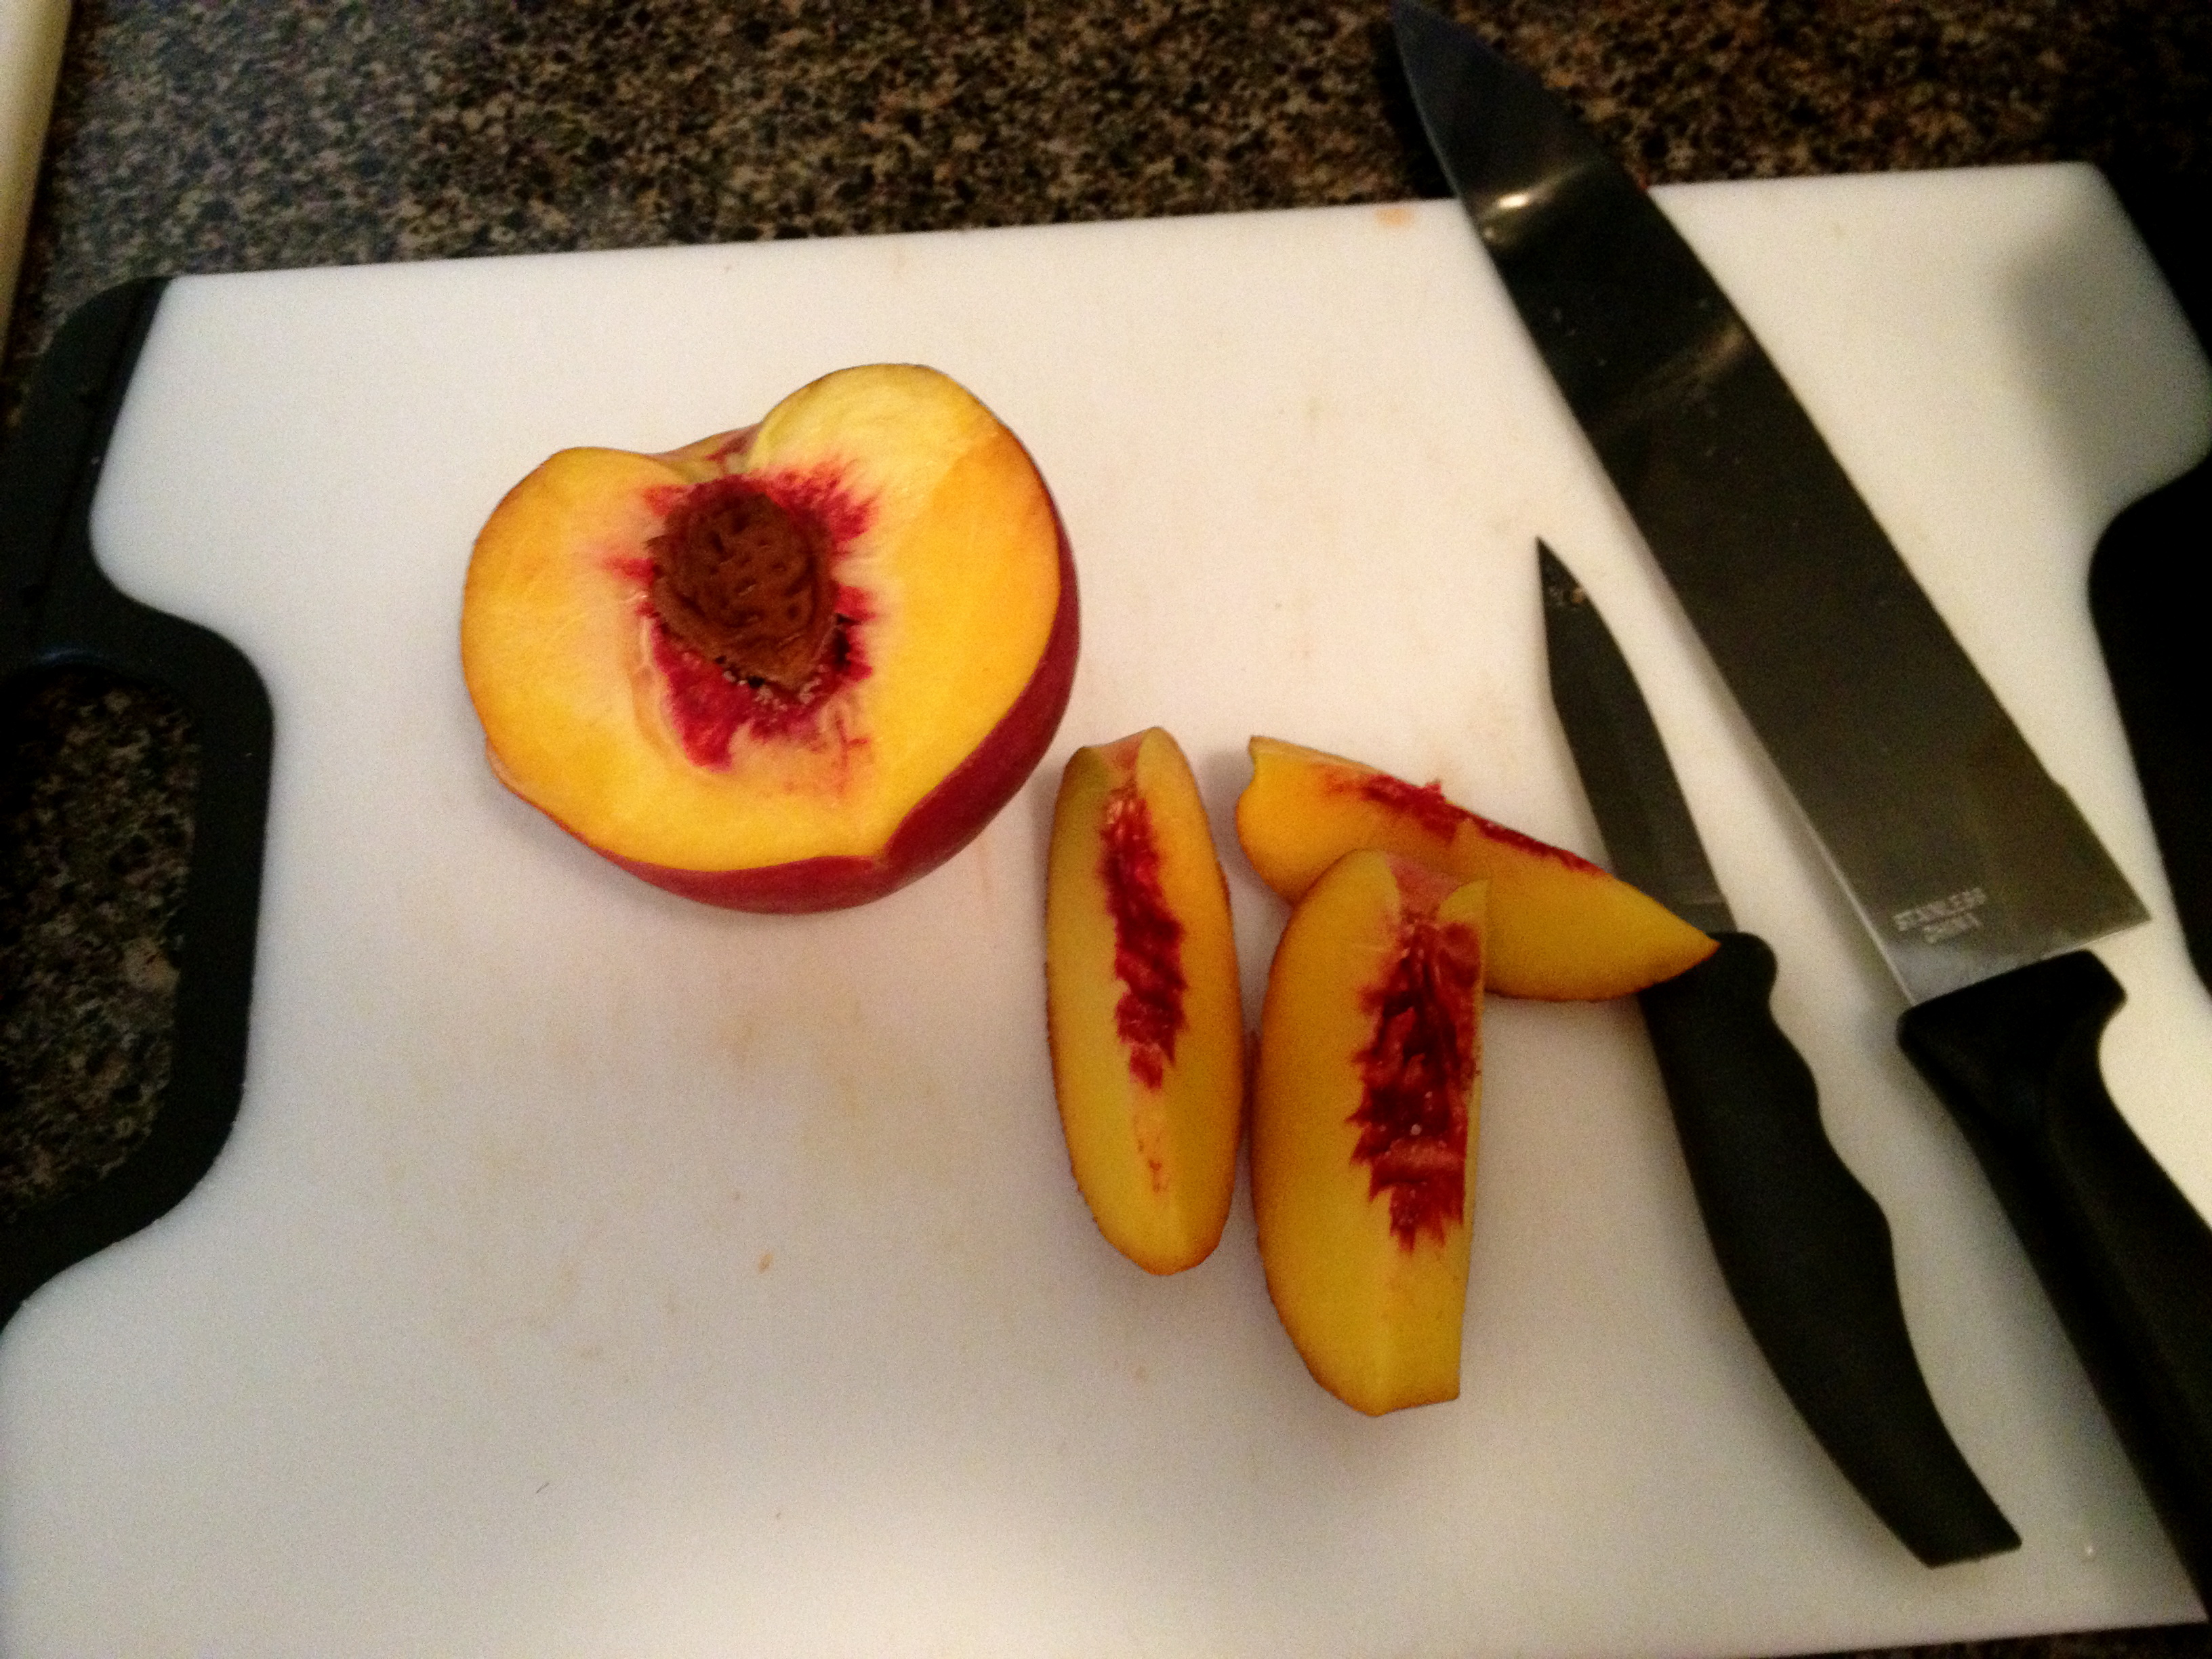
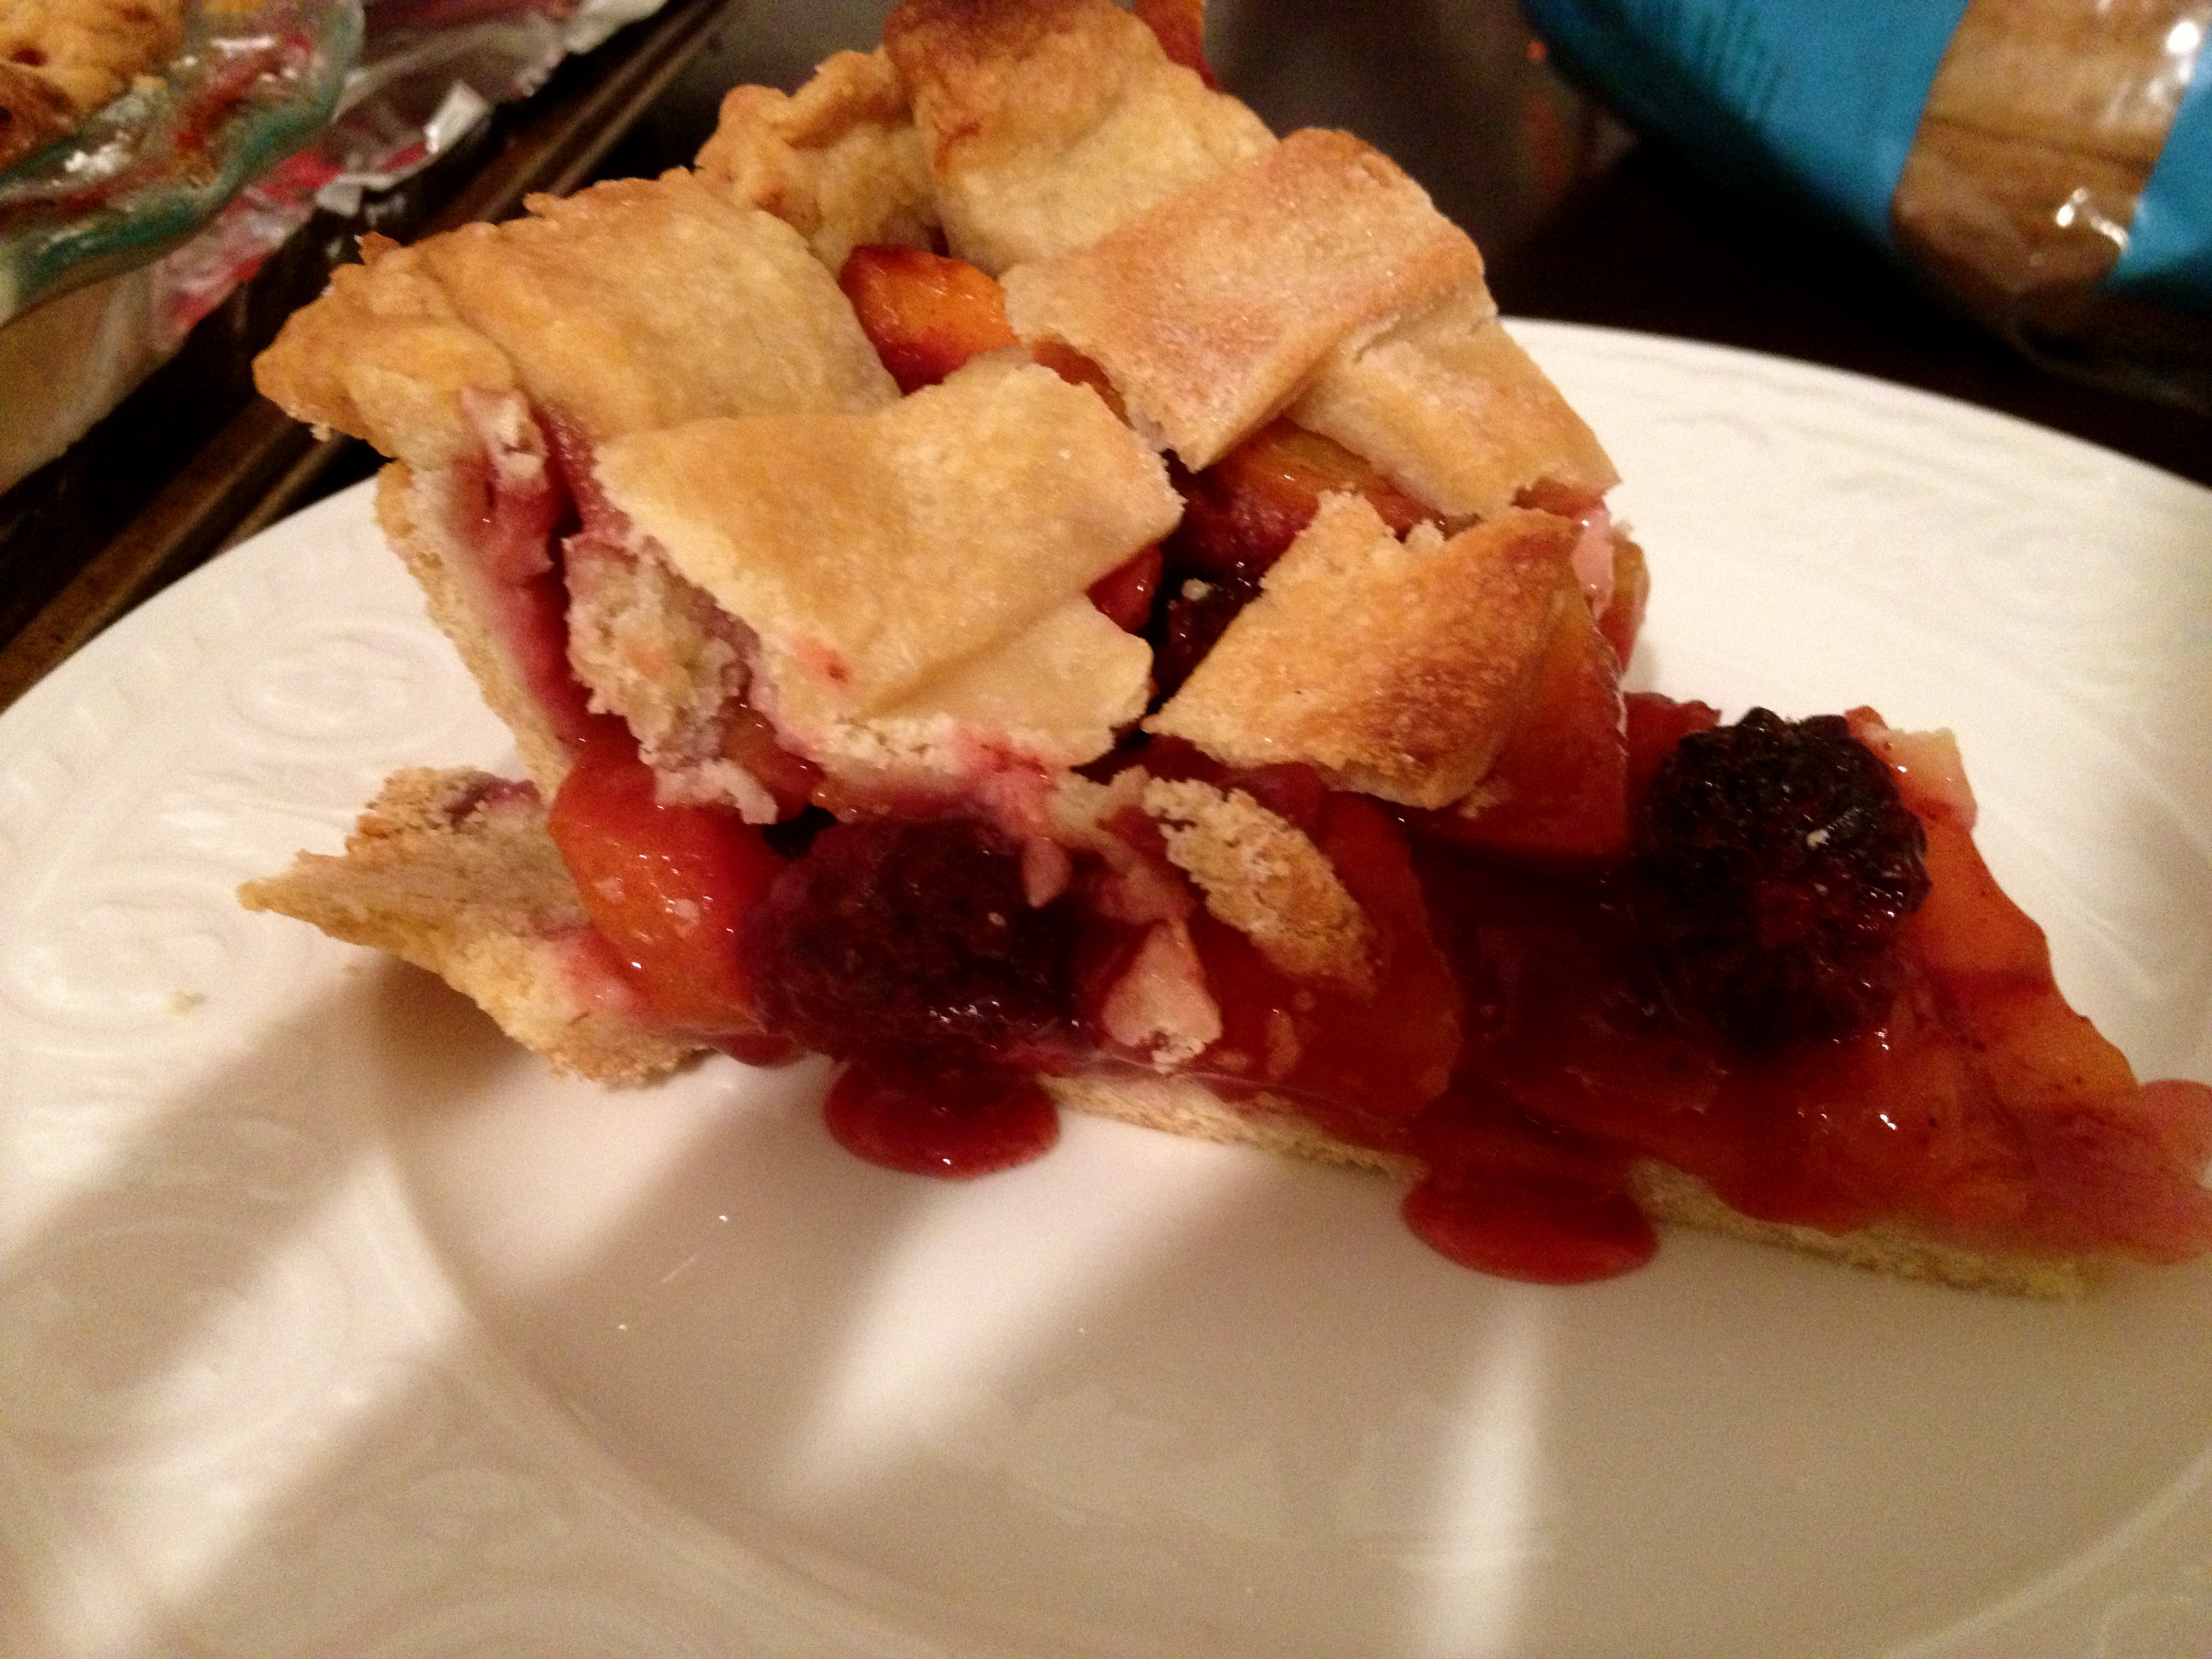
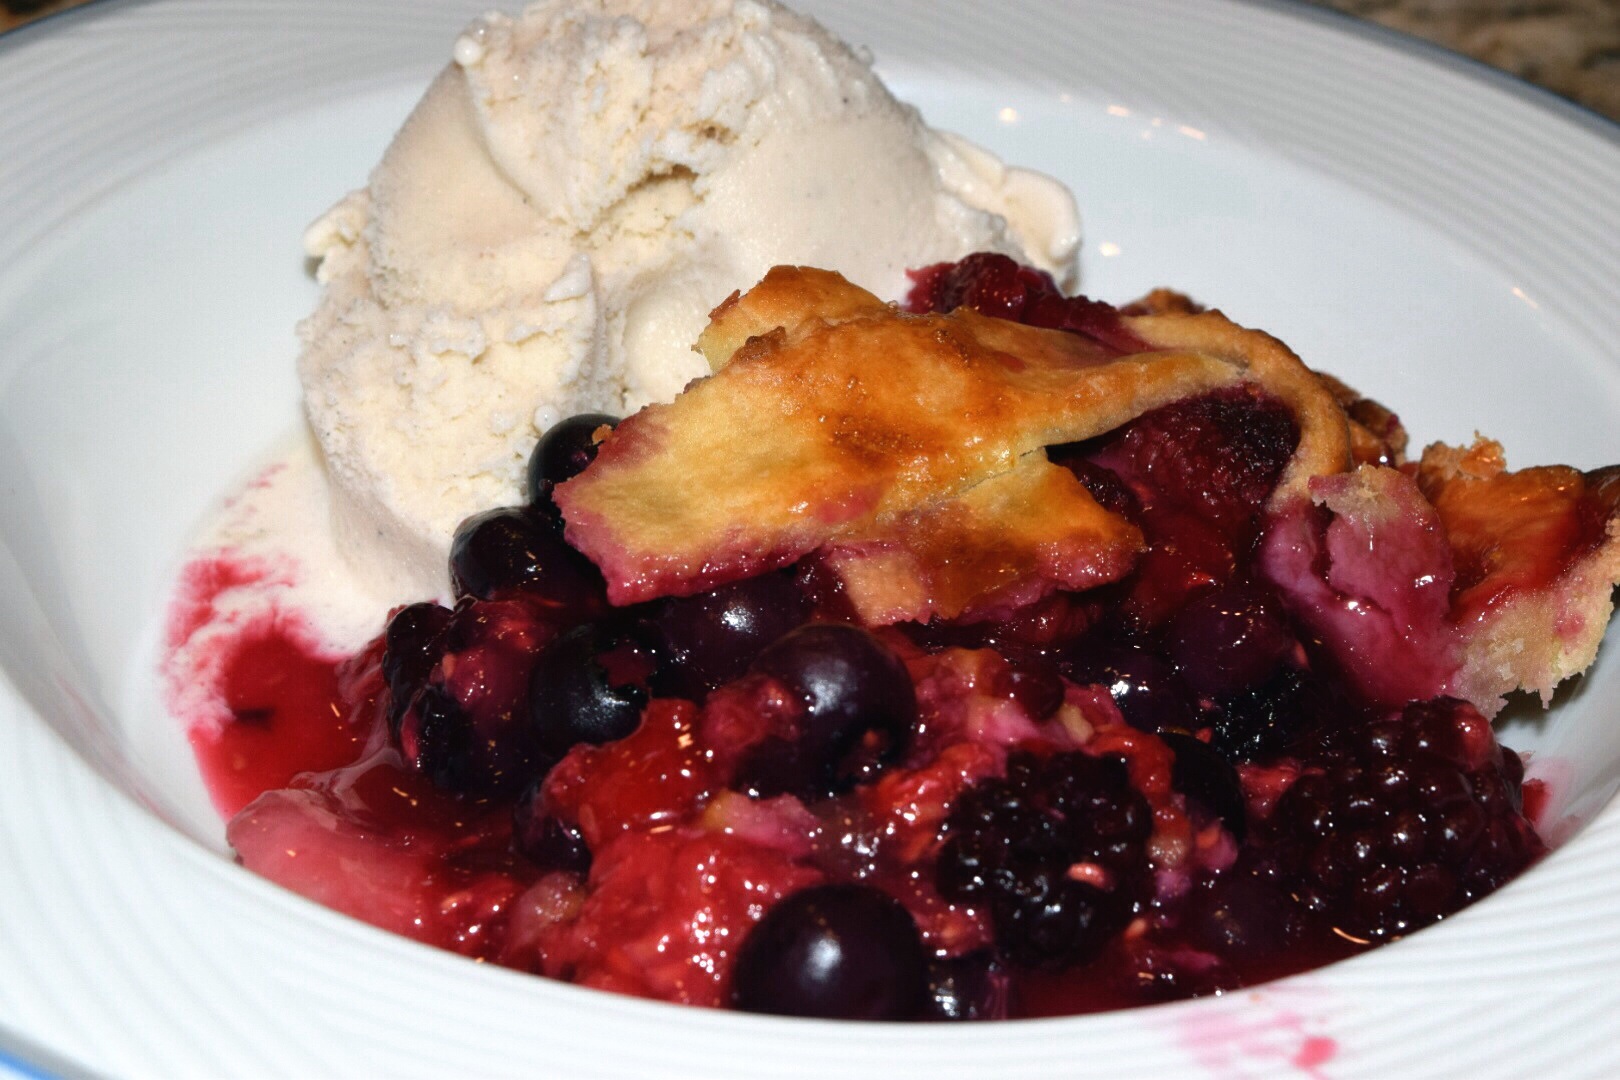
– 2 cups blueberries
– 2-3 cups blackberries
– 2-3 cups raspberries
– 1½ cups sugar
– ⅓ cup cornstarch
– 2 teaspoons cinnamon
Directions:
For the crust:
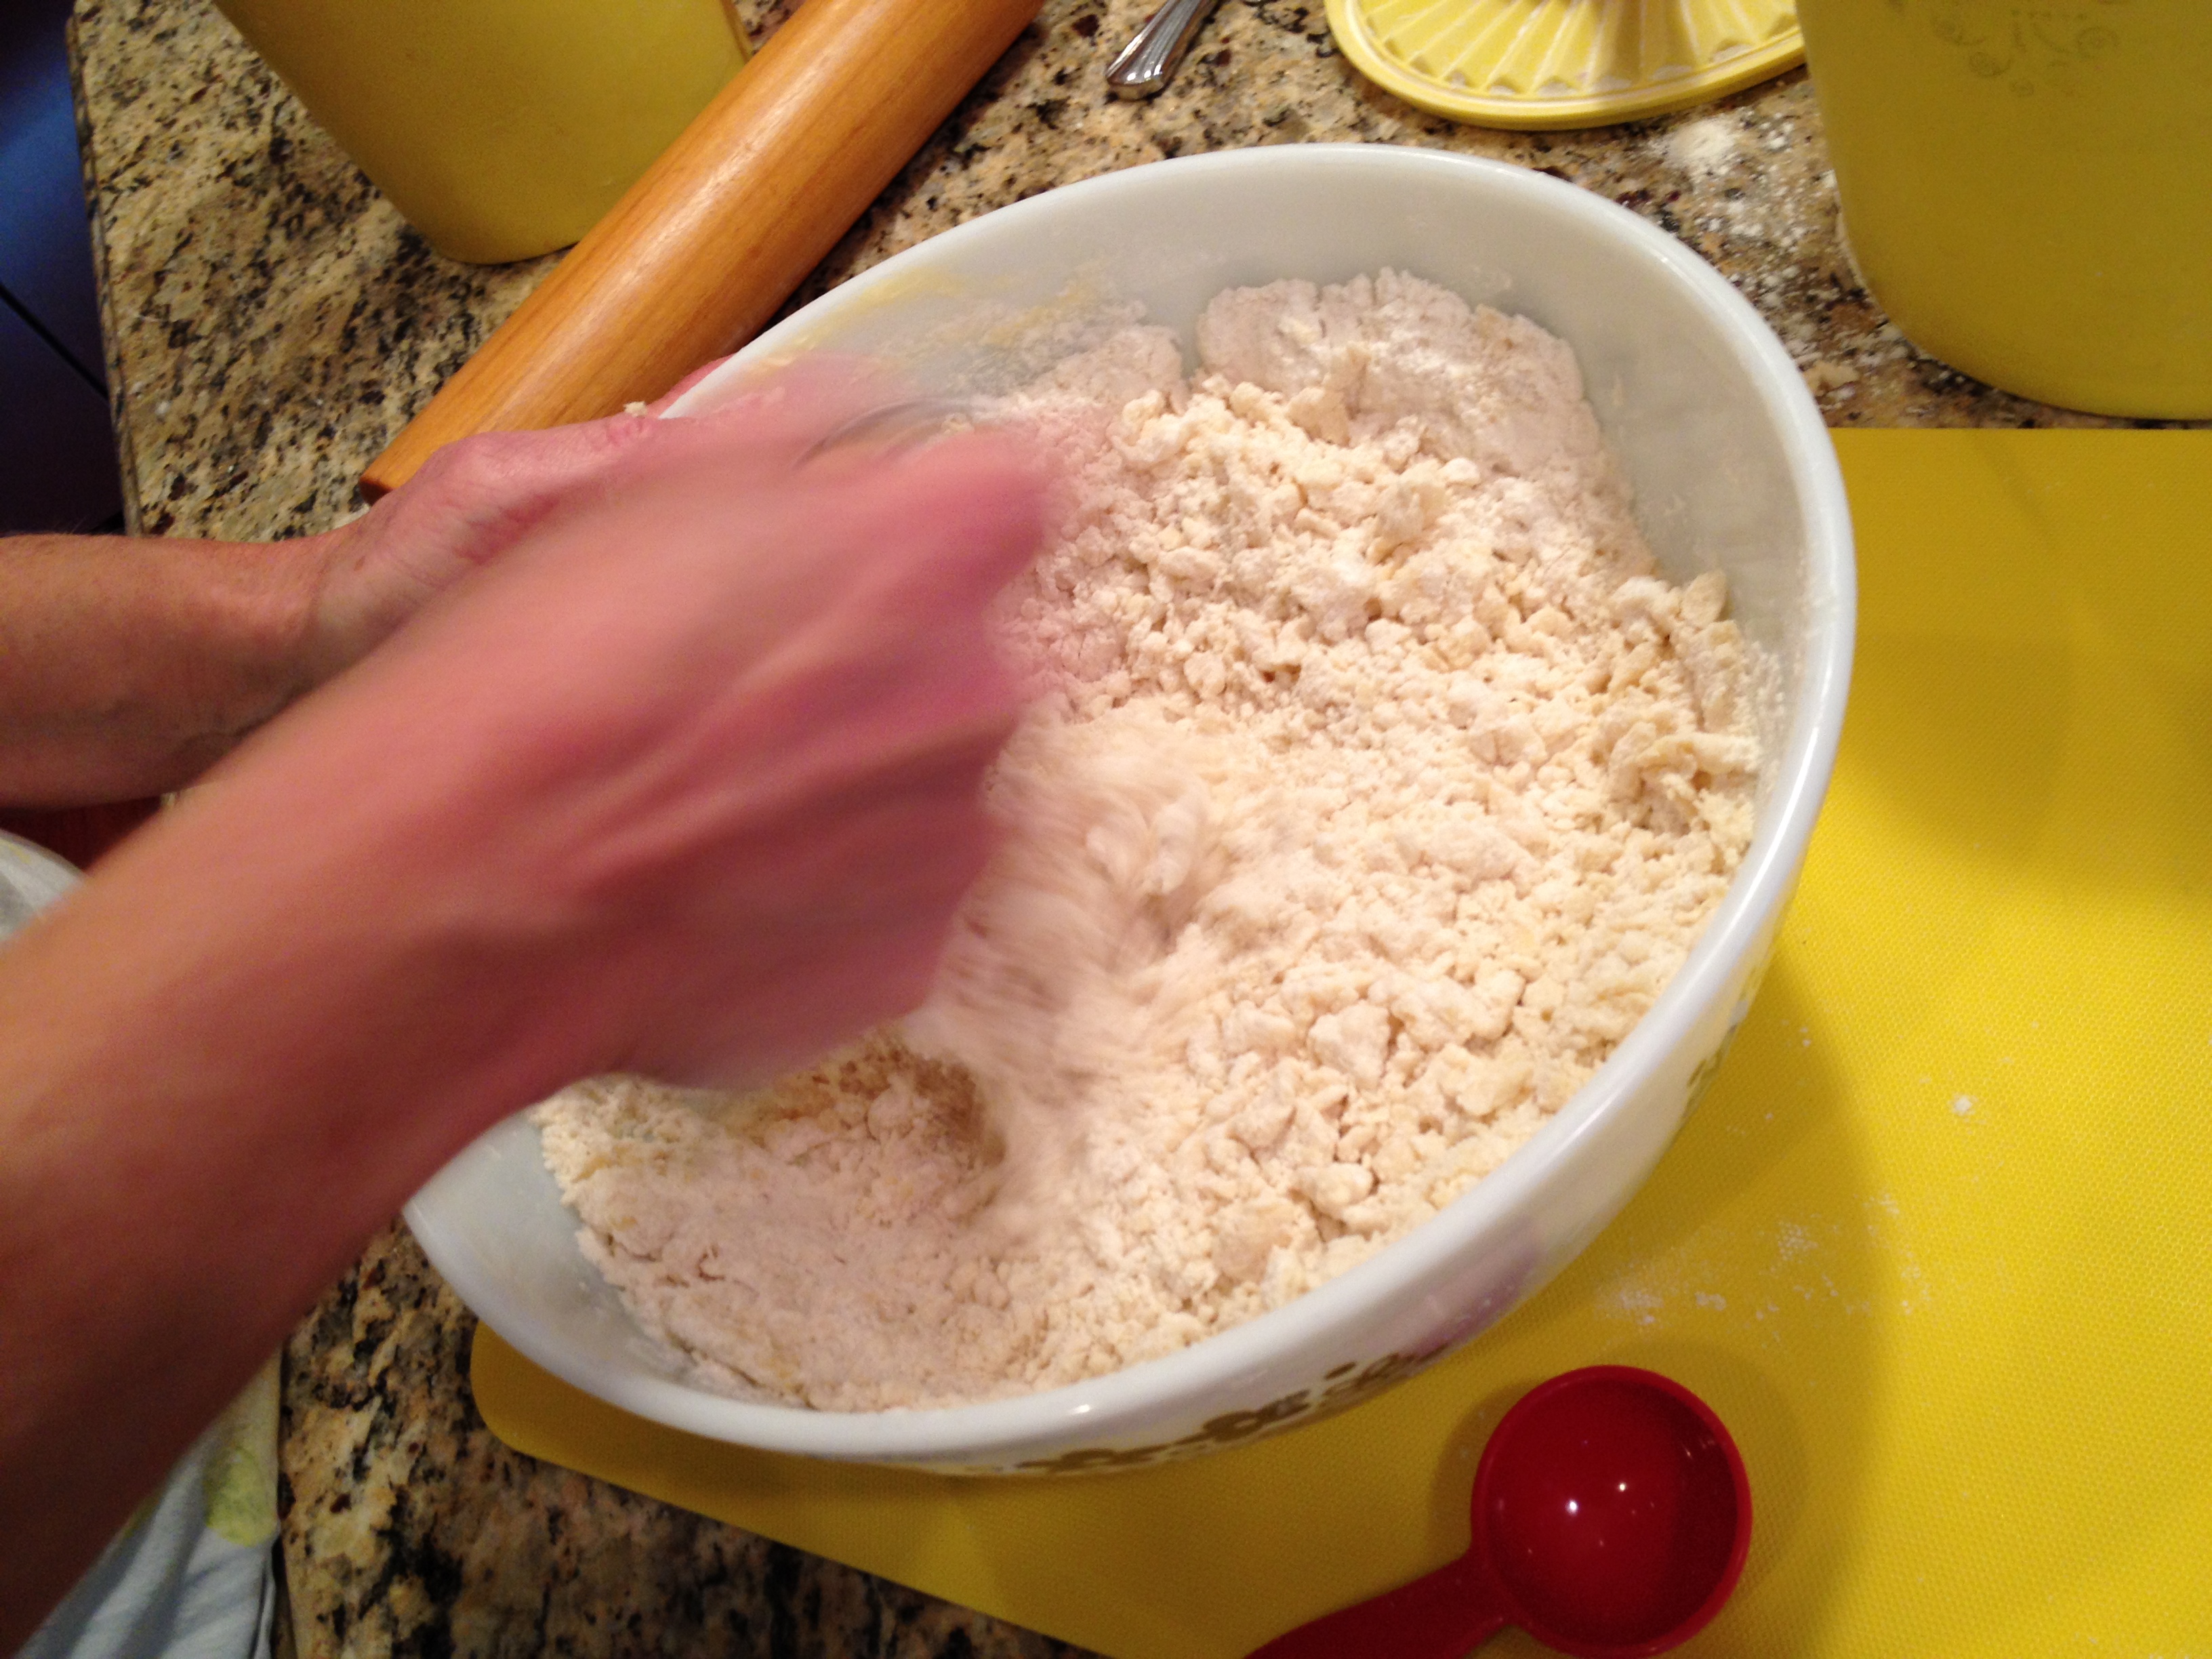
1. Combine flour, sugar, and in a large bowl. Add cubed butter till mixture is sandy.
2. Add water by the tablespoon, stirring with a fork after each addition. Make sure not to add too much water – you don’t want the dough become too wet.
3. Form dough into two discs, wrap, and refrigerate for at least an hour.
For the filling:
4. Combine the sugar, cornstarch and cinnamon then toss with the berries. Make sure to not over mix – you don’t want the berries to break.
To assemble:
5. Preheat oven to 350°.
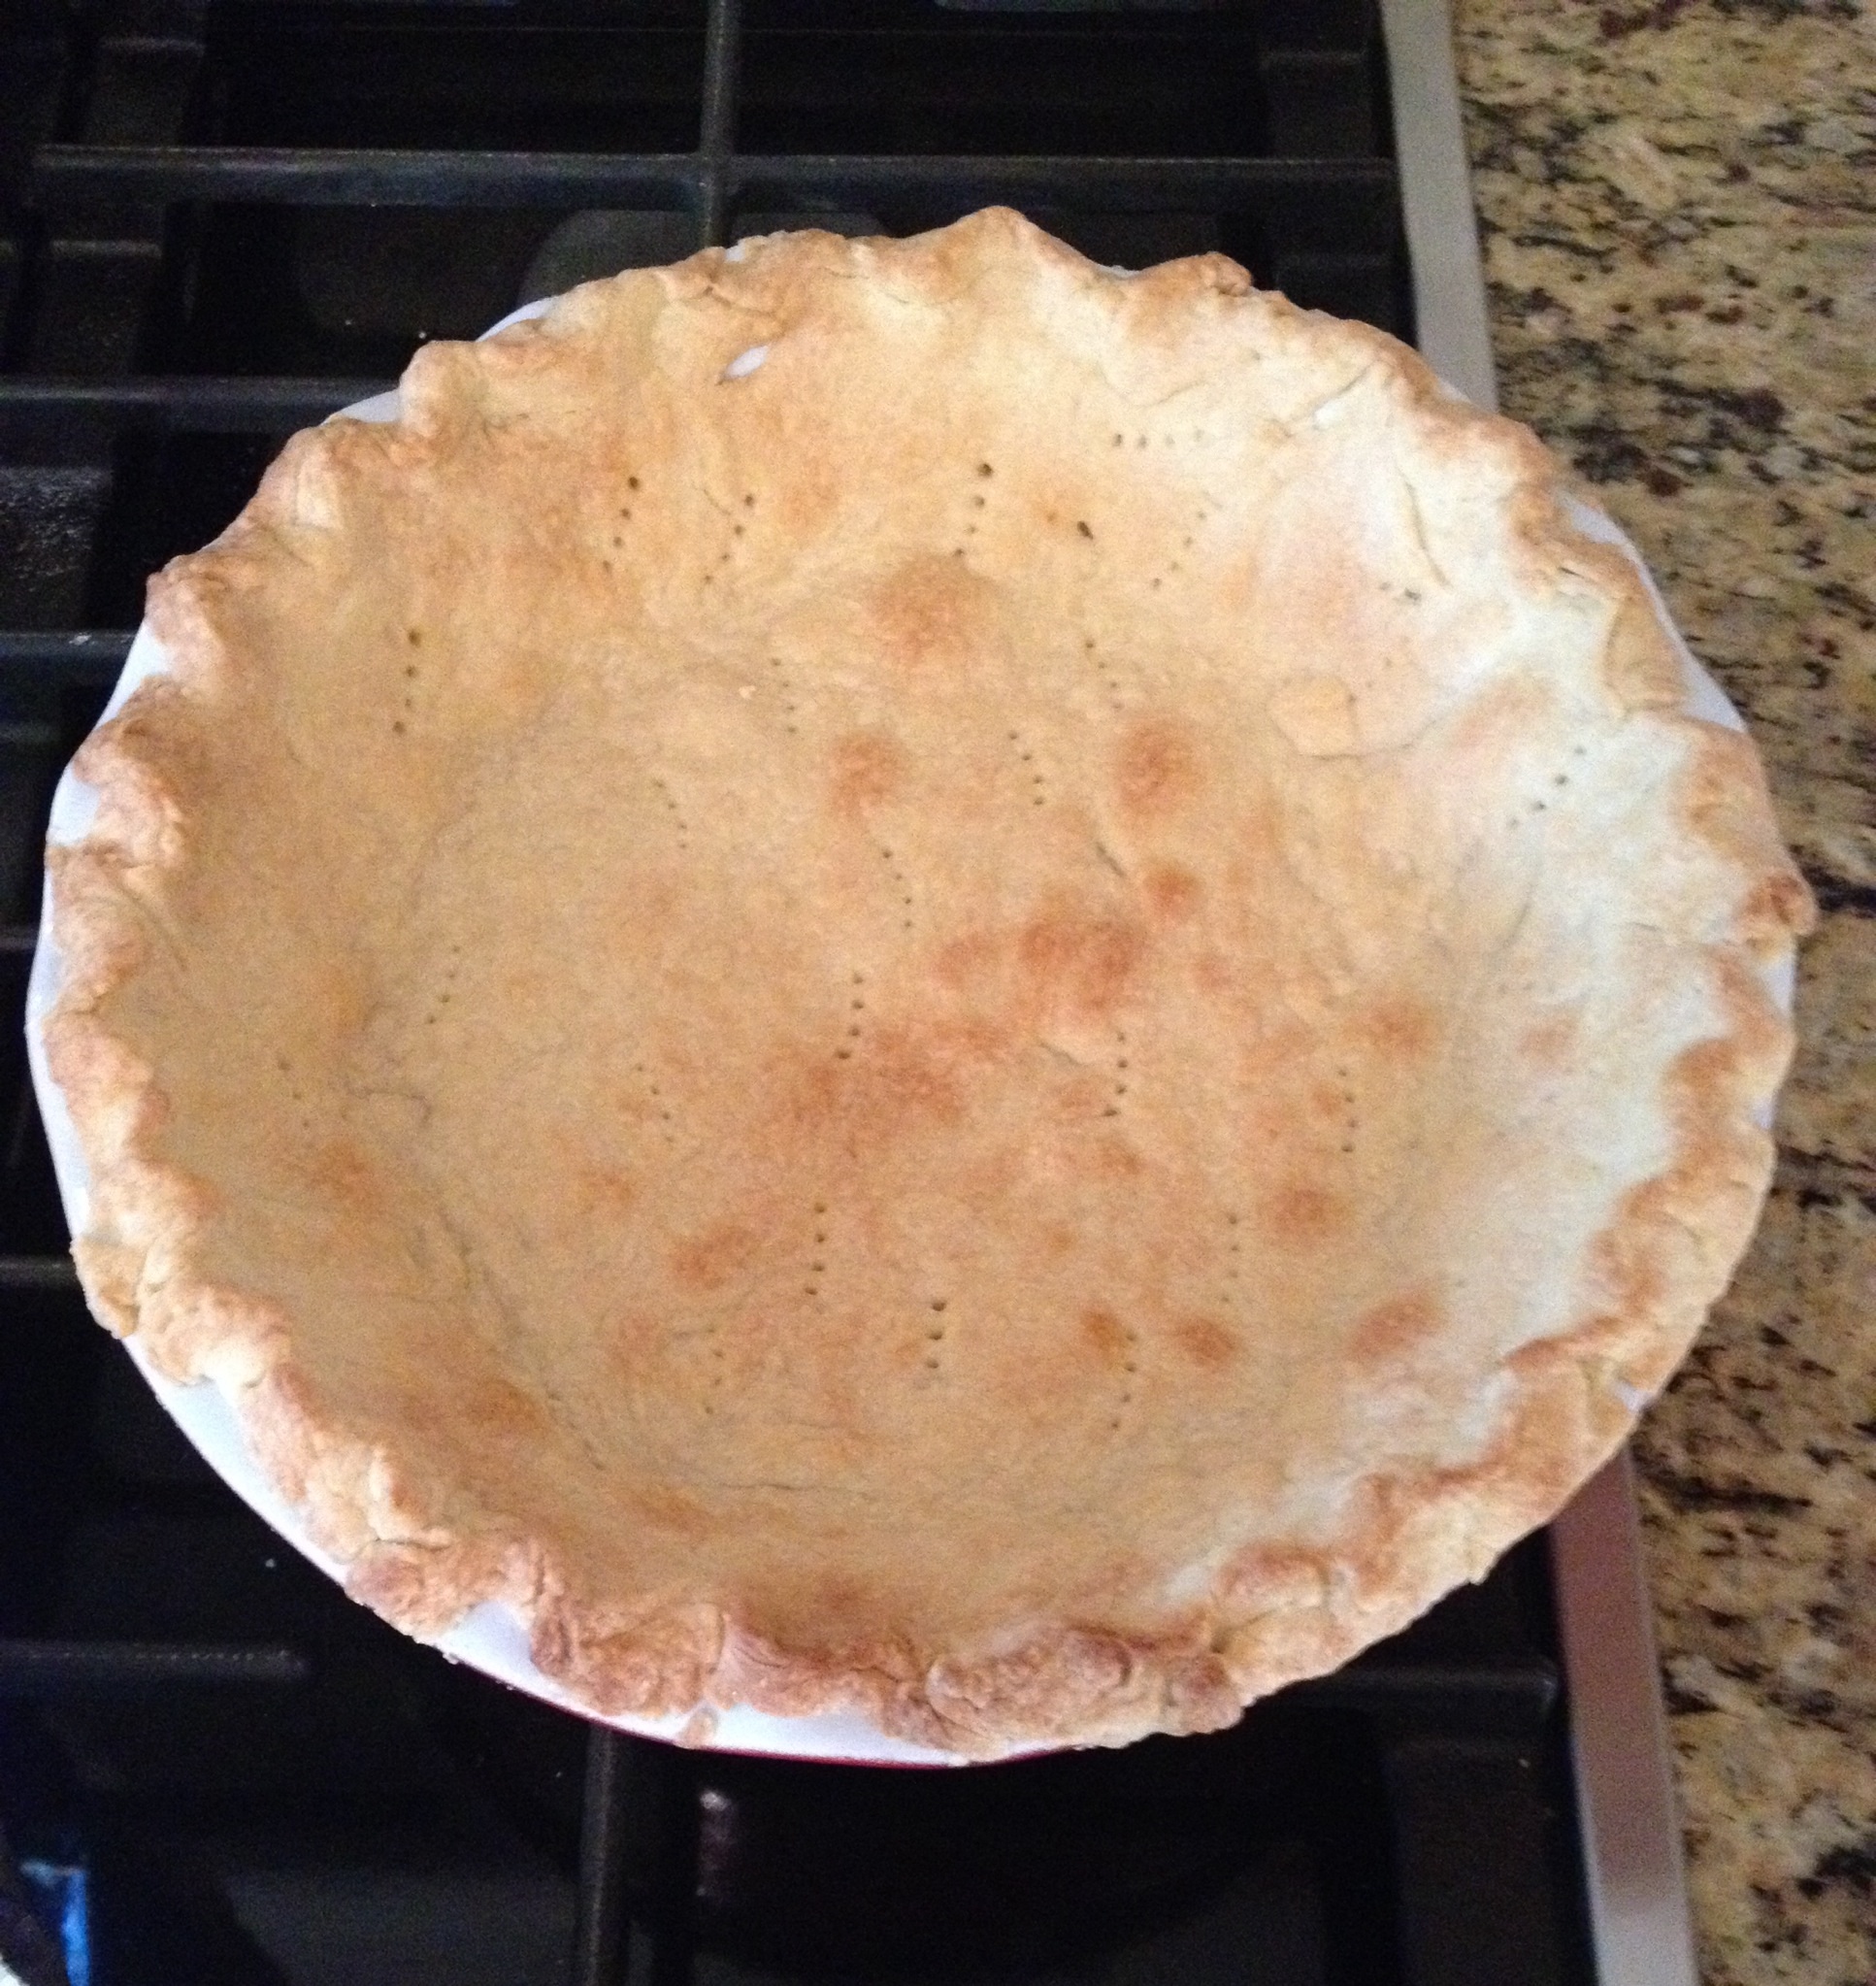
6. Roll one disc to an 11″ round. Lay in the bottom of a 9″ pie pan and crimp the edges. If your filling is liquidy, add some cornstarch to the bottom. Pour filling over.
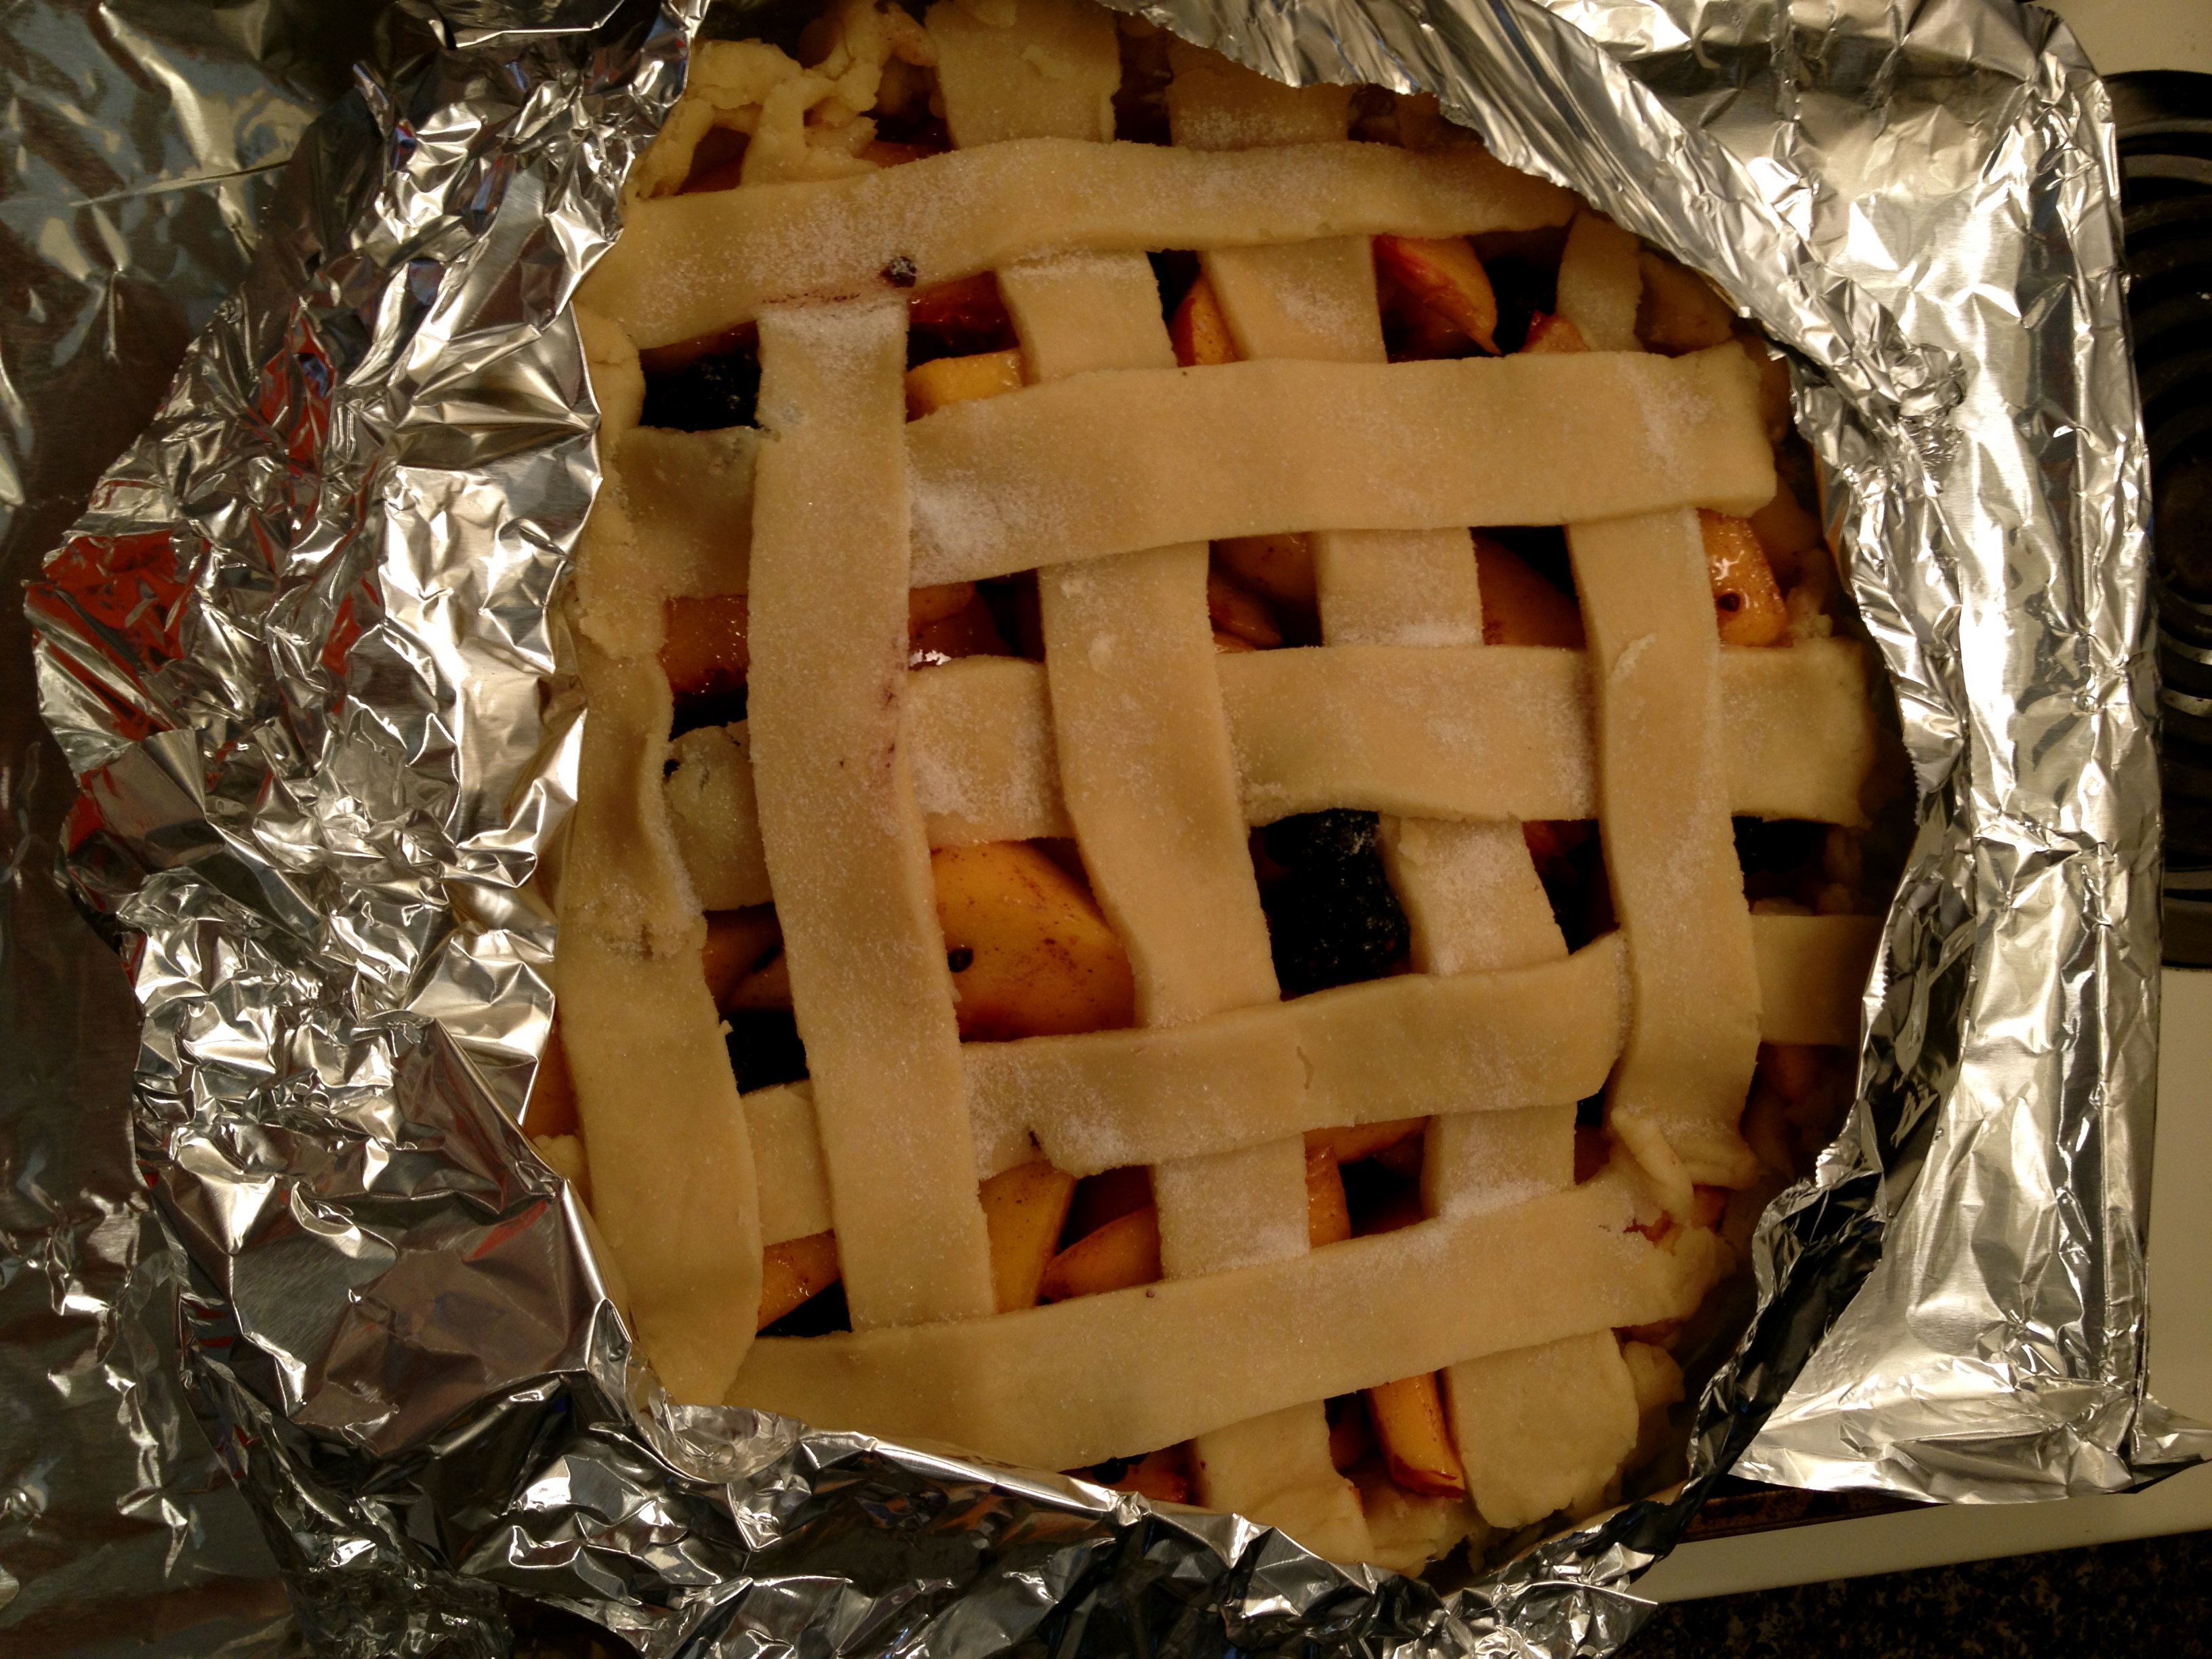
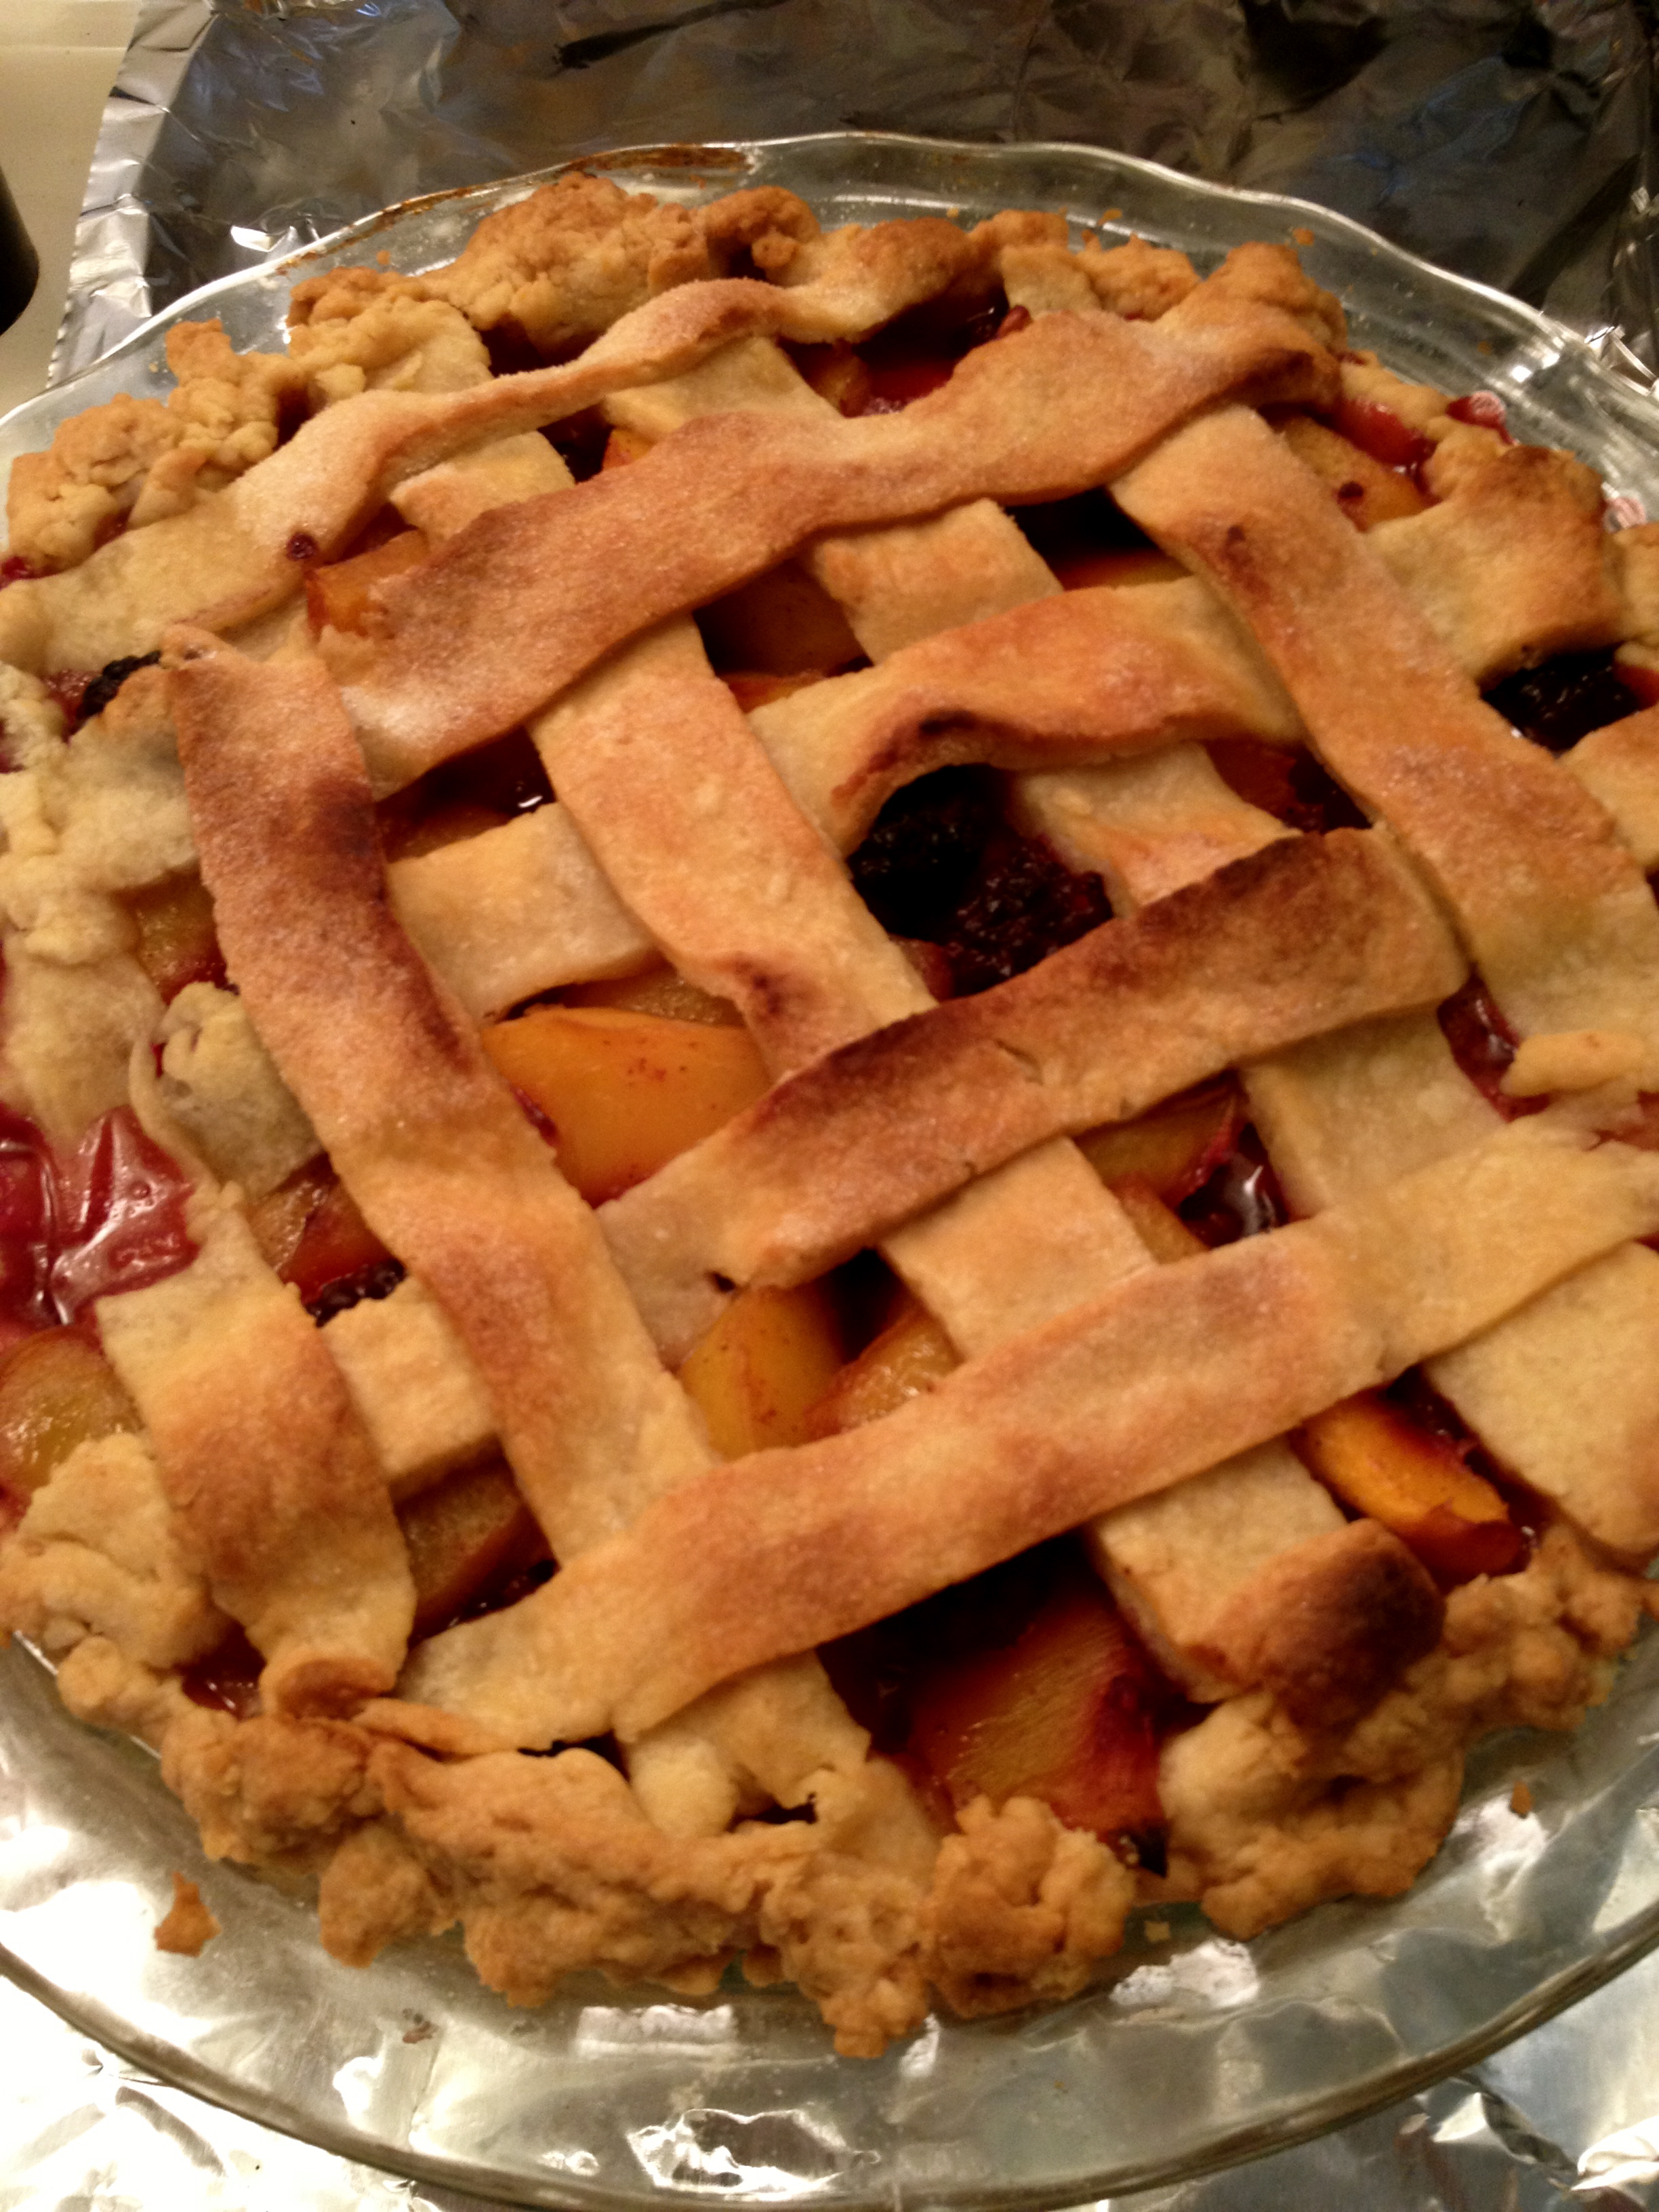
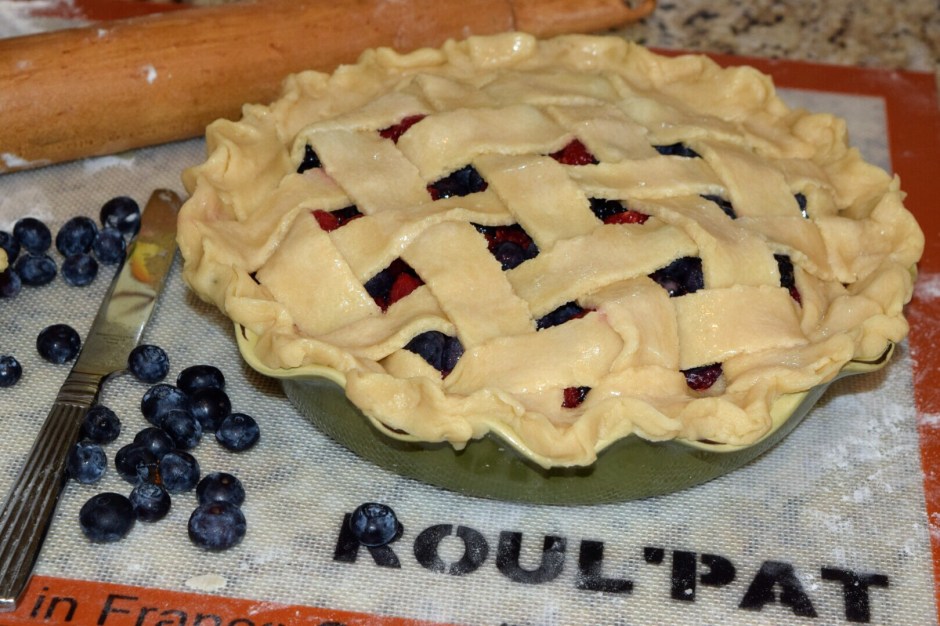
7. Roll out the other disc till it is even. Cut long strips to make the lattice. Carefully place on the pie top, weaving the strips in and out.
8. Brush top with an egg wash and sprinkle with coarse sugar.
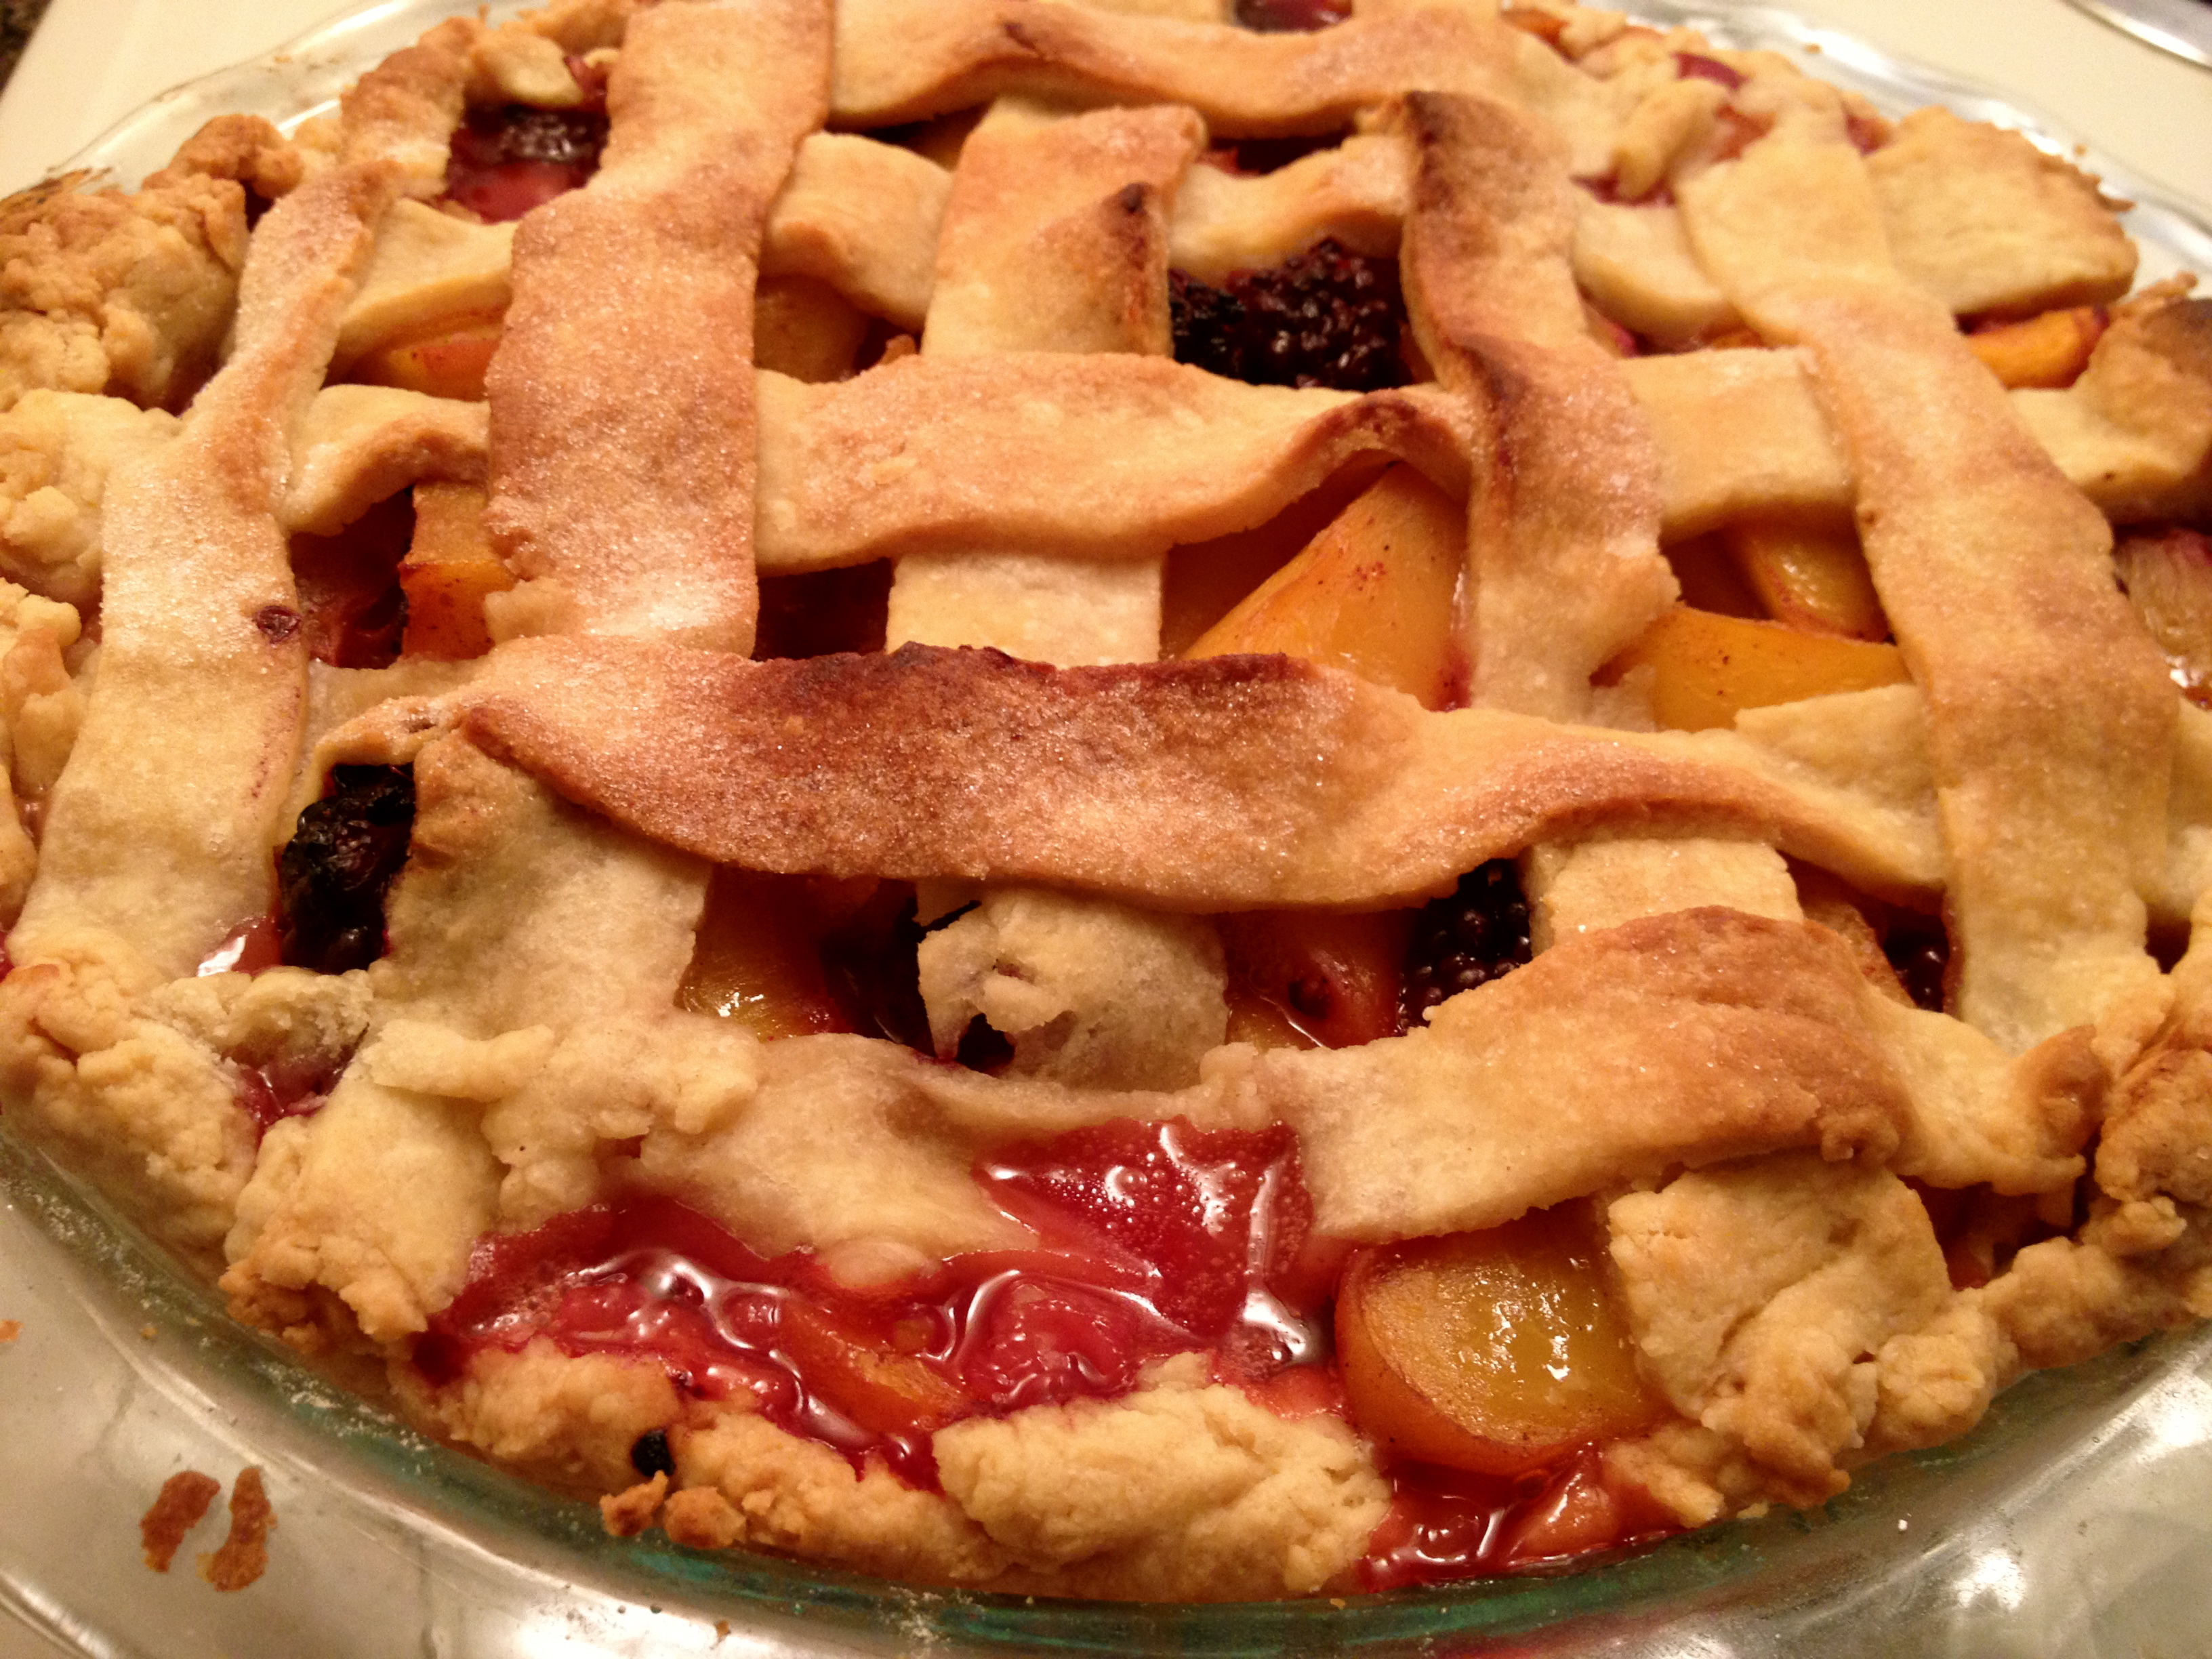
9. Place pie on rimmed baking sheet and bake 45 minutes to an hour or till pie is golden and bubbly. Watch carefully and if the edges are turning brown, cover with foil.
10. Let cool well before cutting.


Cheers,