
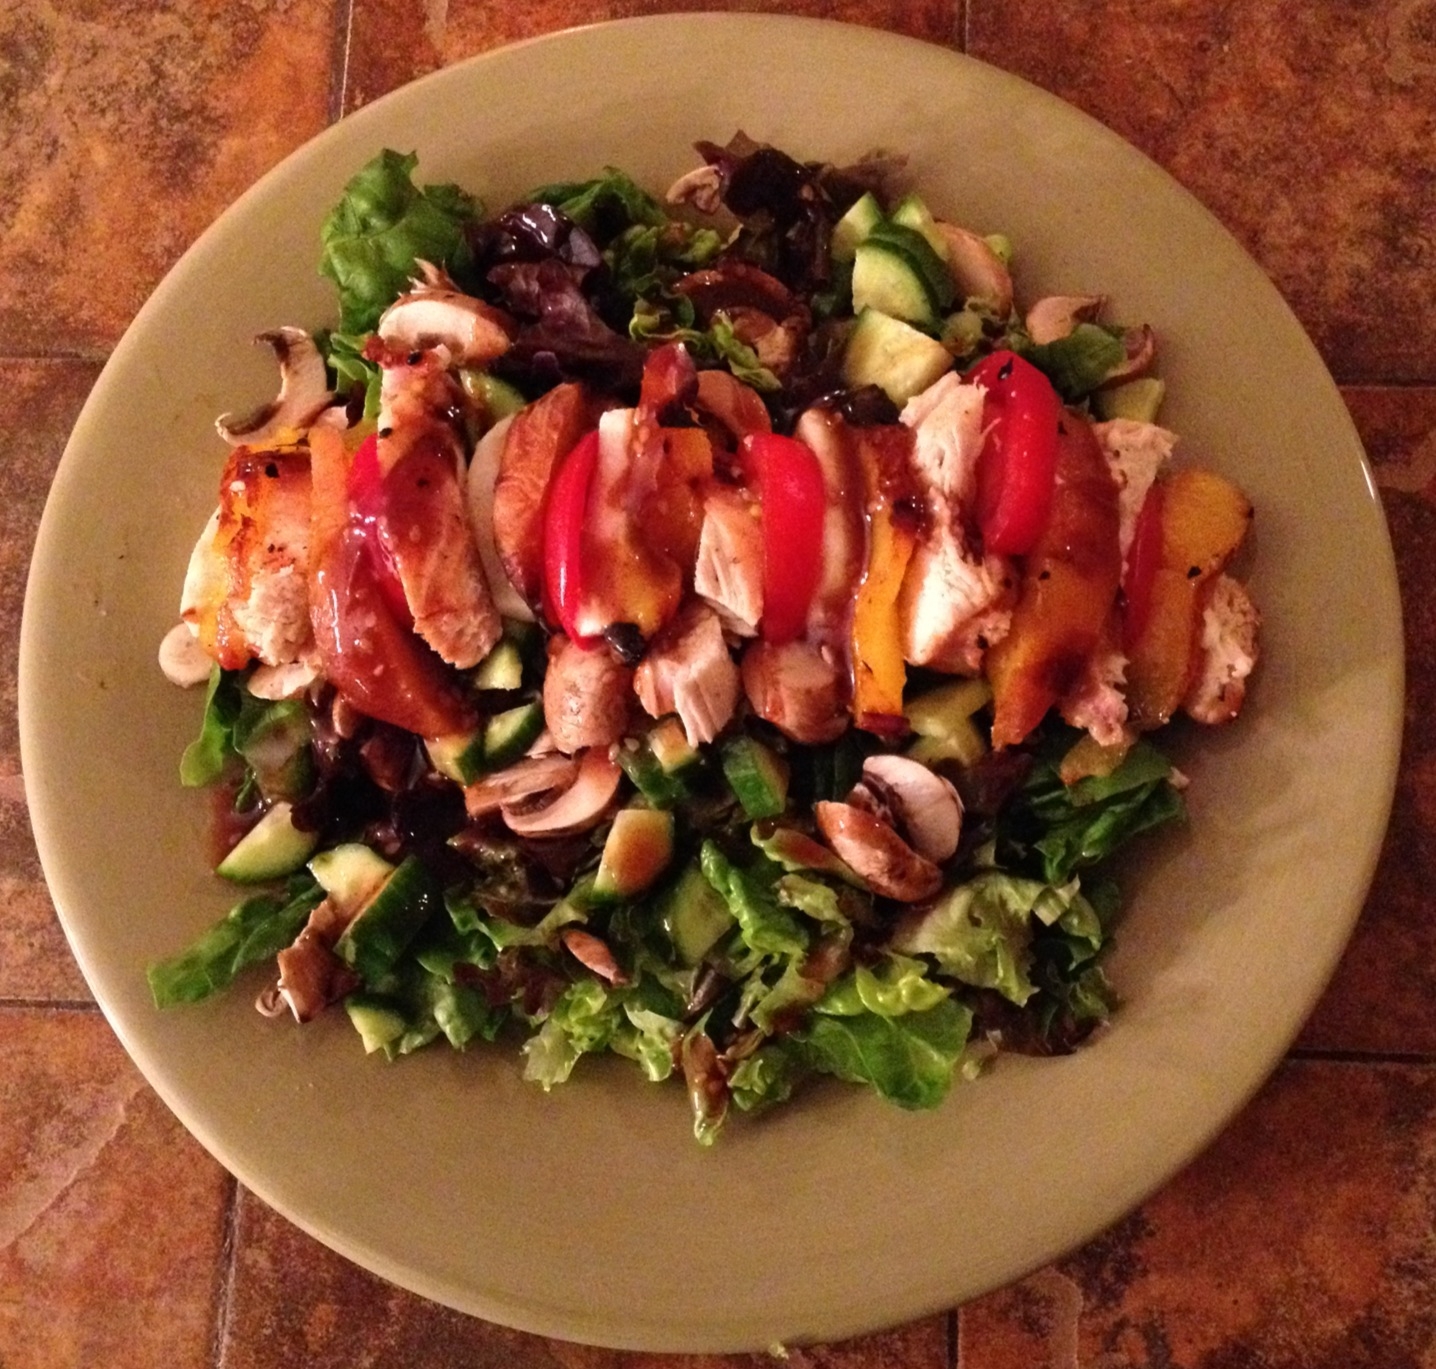
Labor Day weekend is almost here, so get that BBQ fired up because T.W.O. is ready to grill a Peach Caprese Chicken Salad with you! T.W.O. decided to put a little spin to the traditional caprese salad and add grilled peaches for some sweetness and chicken for extra protein. It is a healthy, refreshing dish that everyone can enjoy!
Grilled Peach Caprese Chicken Salad
Ingredients
– Boneless, skinless chicken breasts
– Fresh peaches
– Fresh buffalo mozzarella
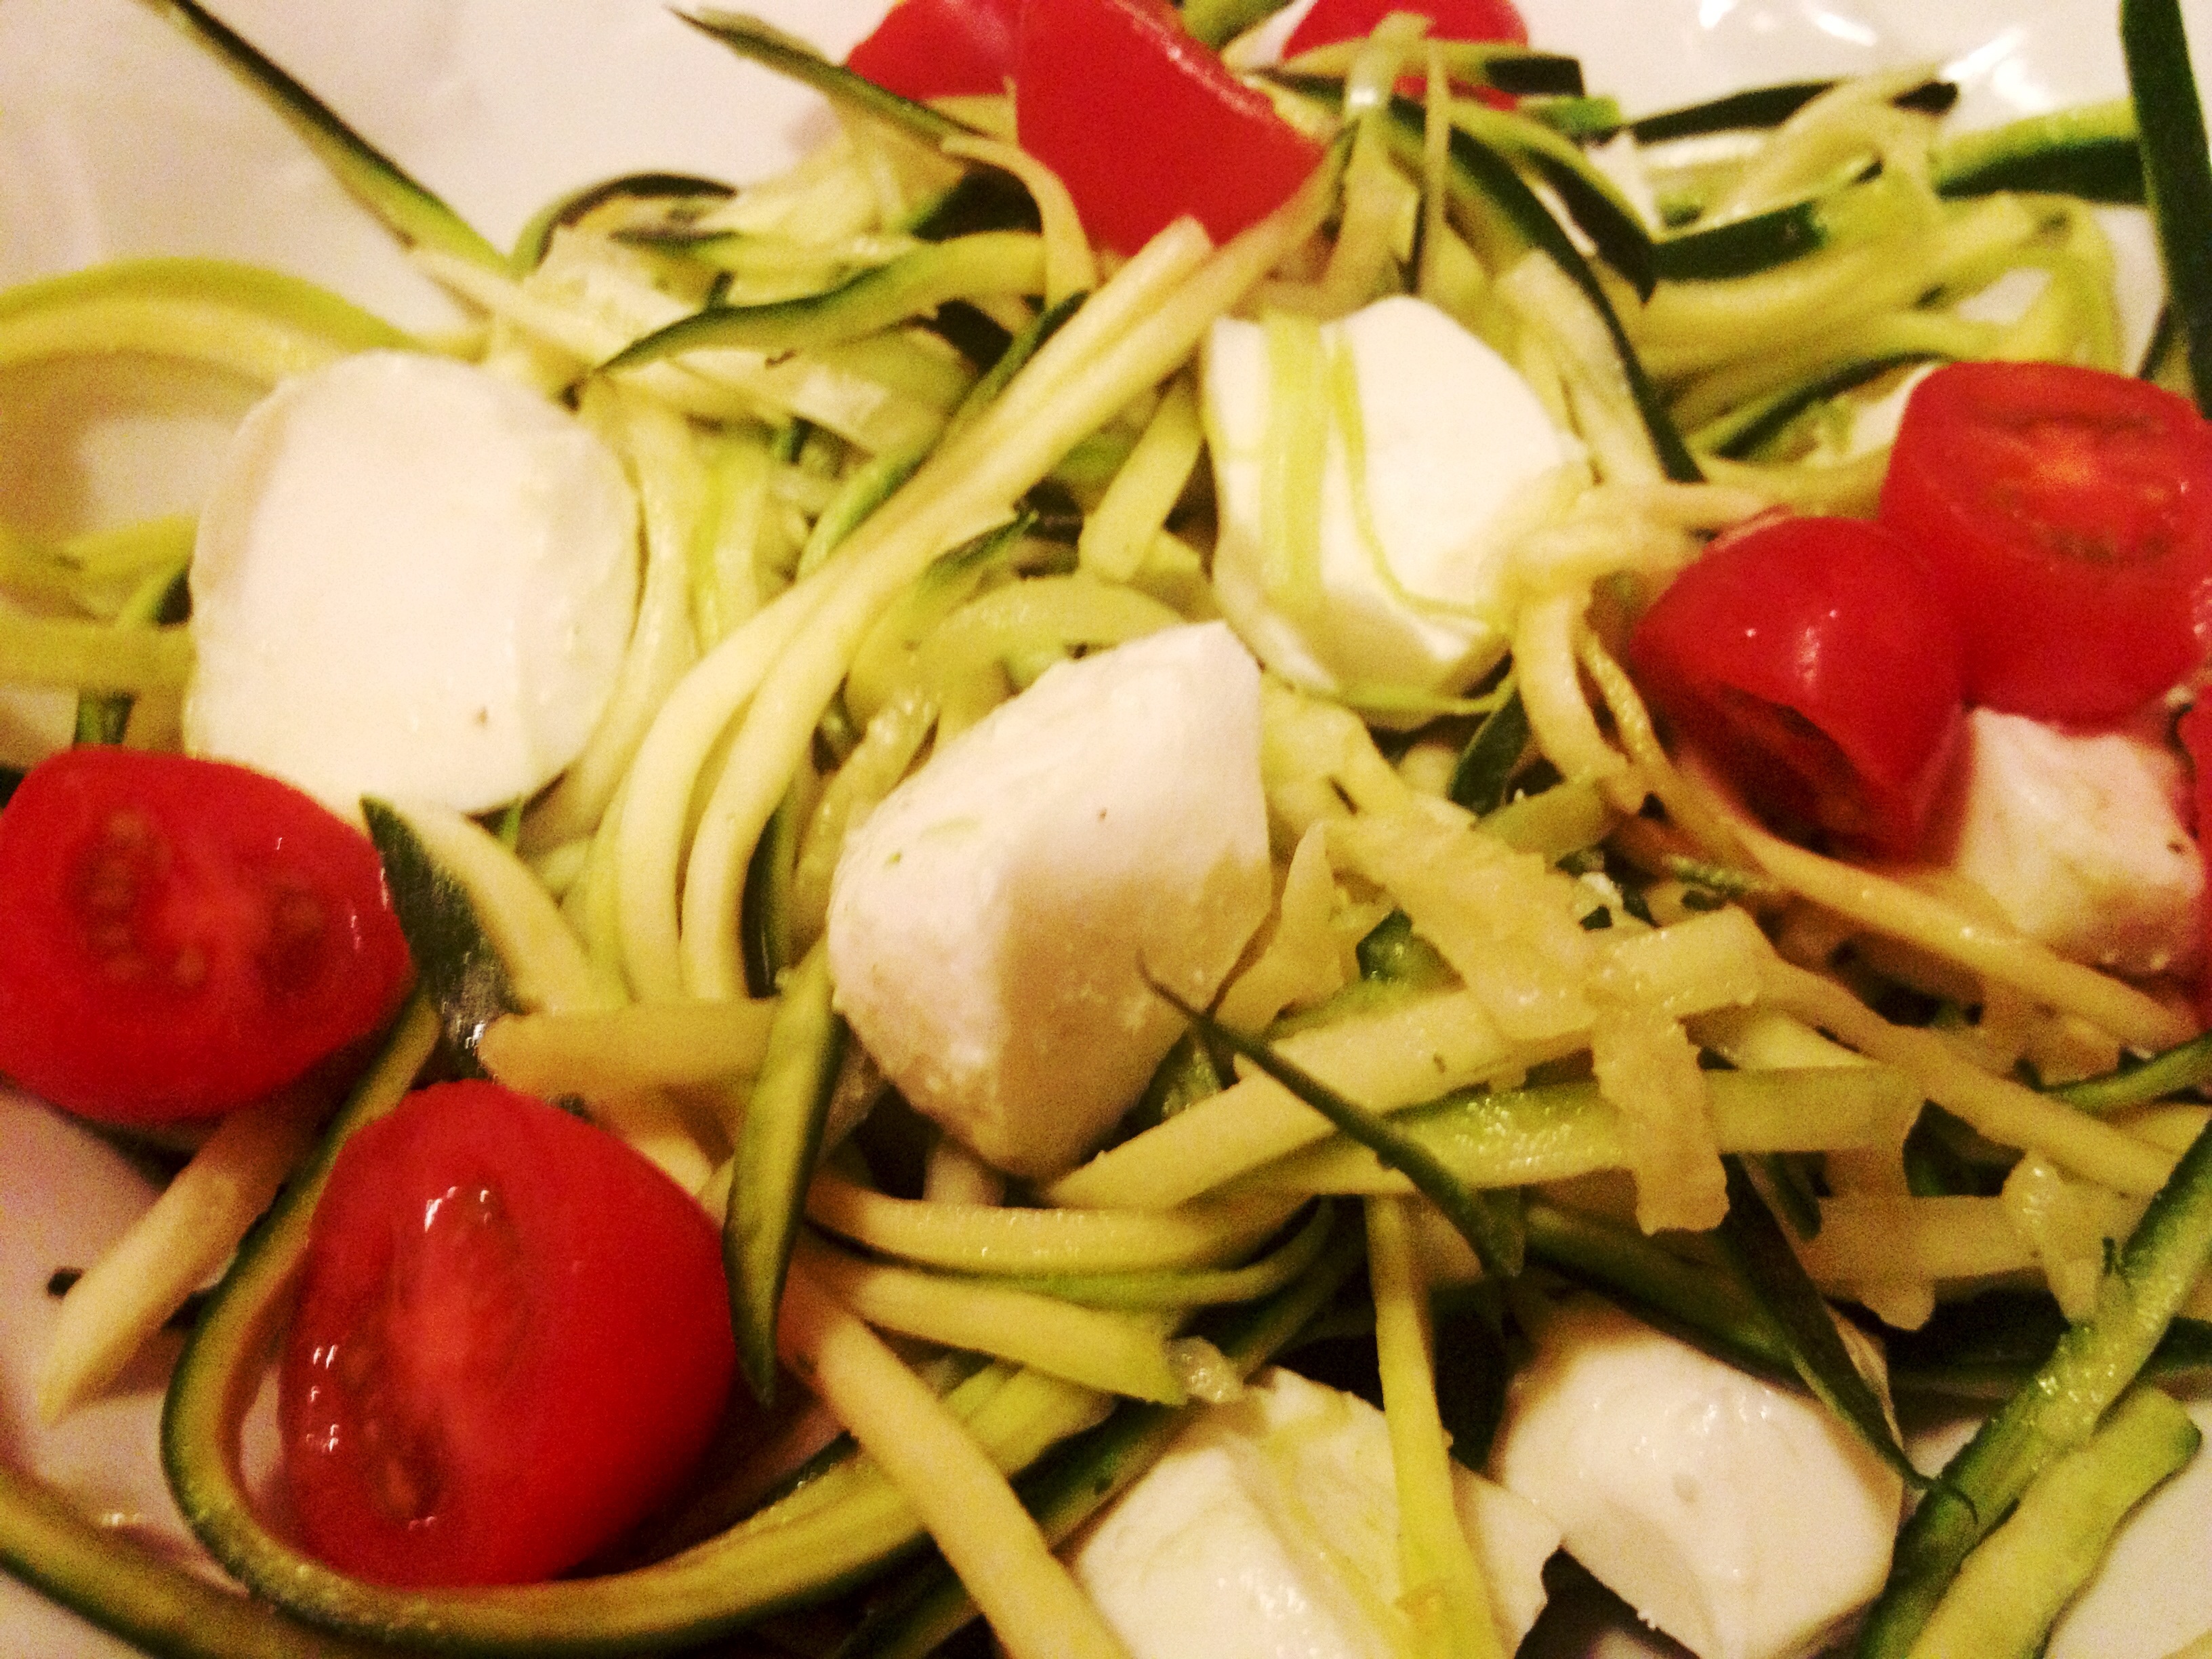
– Tomatoes
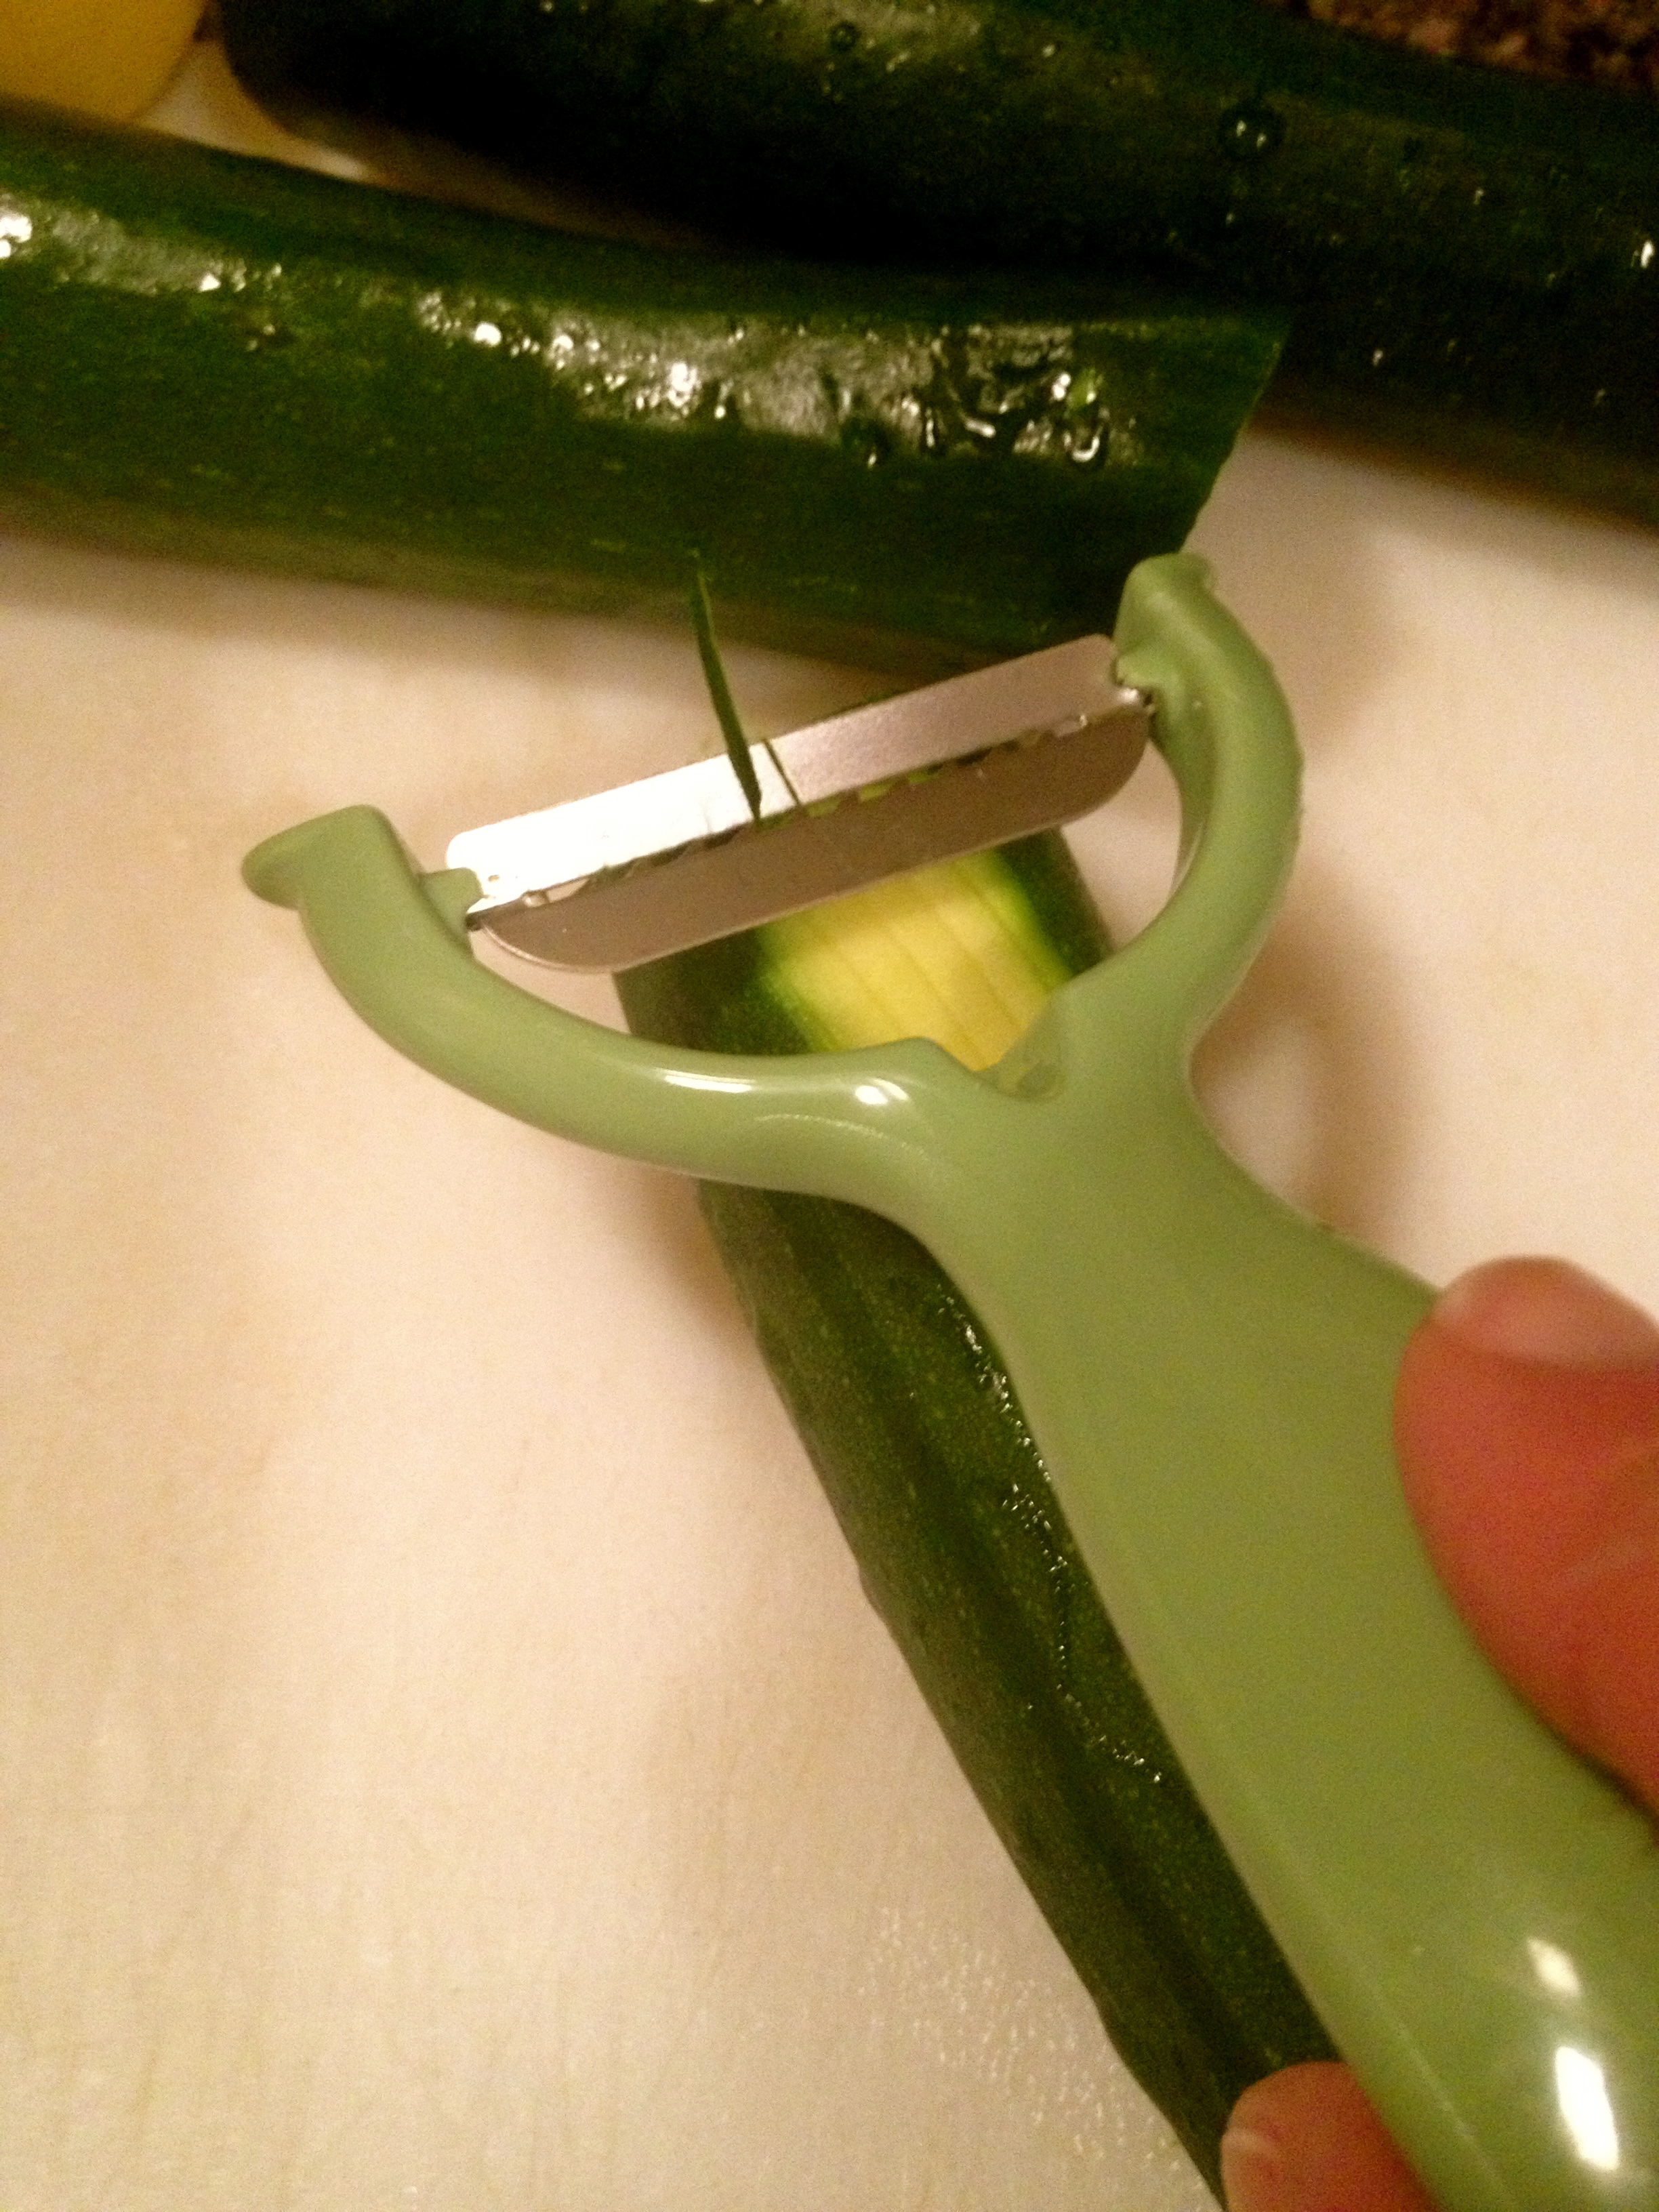
– Cucumbers
– Crimini Mushrooms
– Lettuce of your choice
– Balsamic dressing
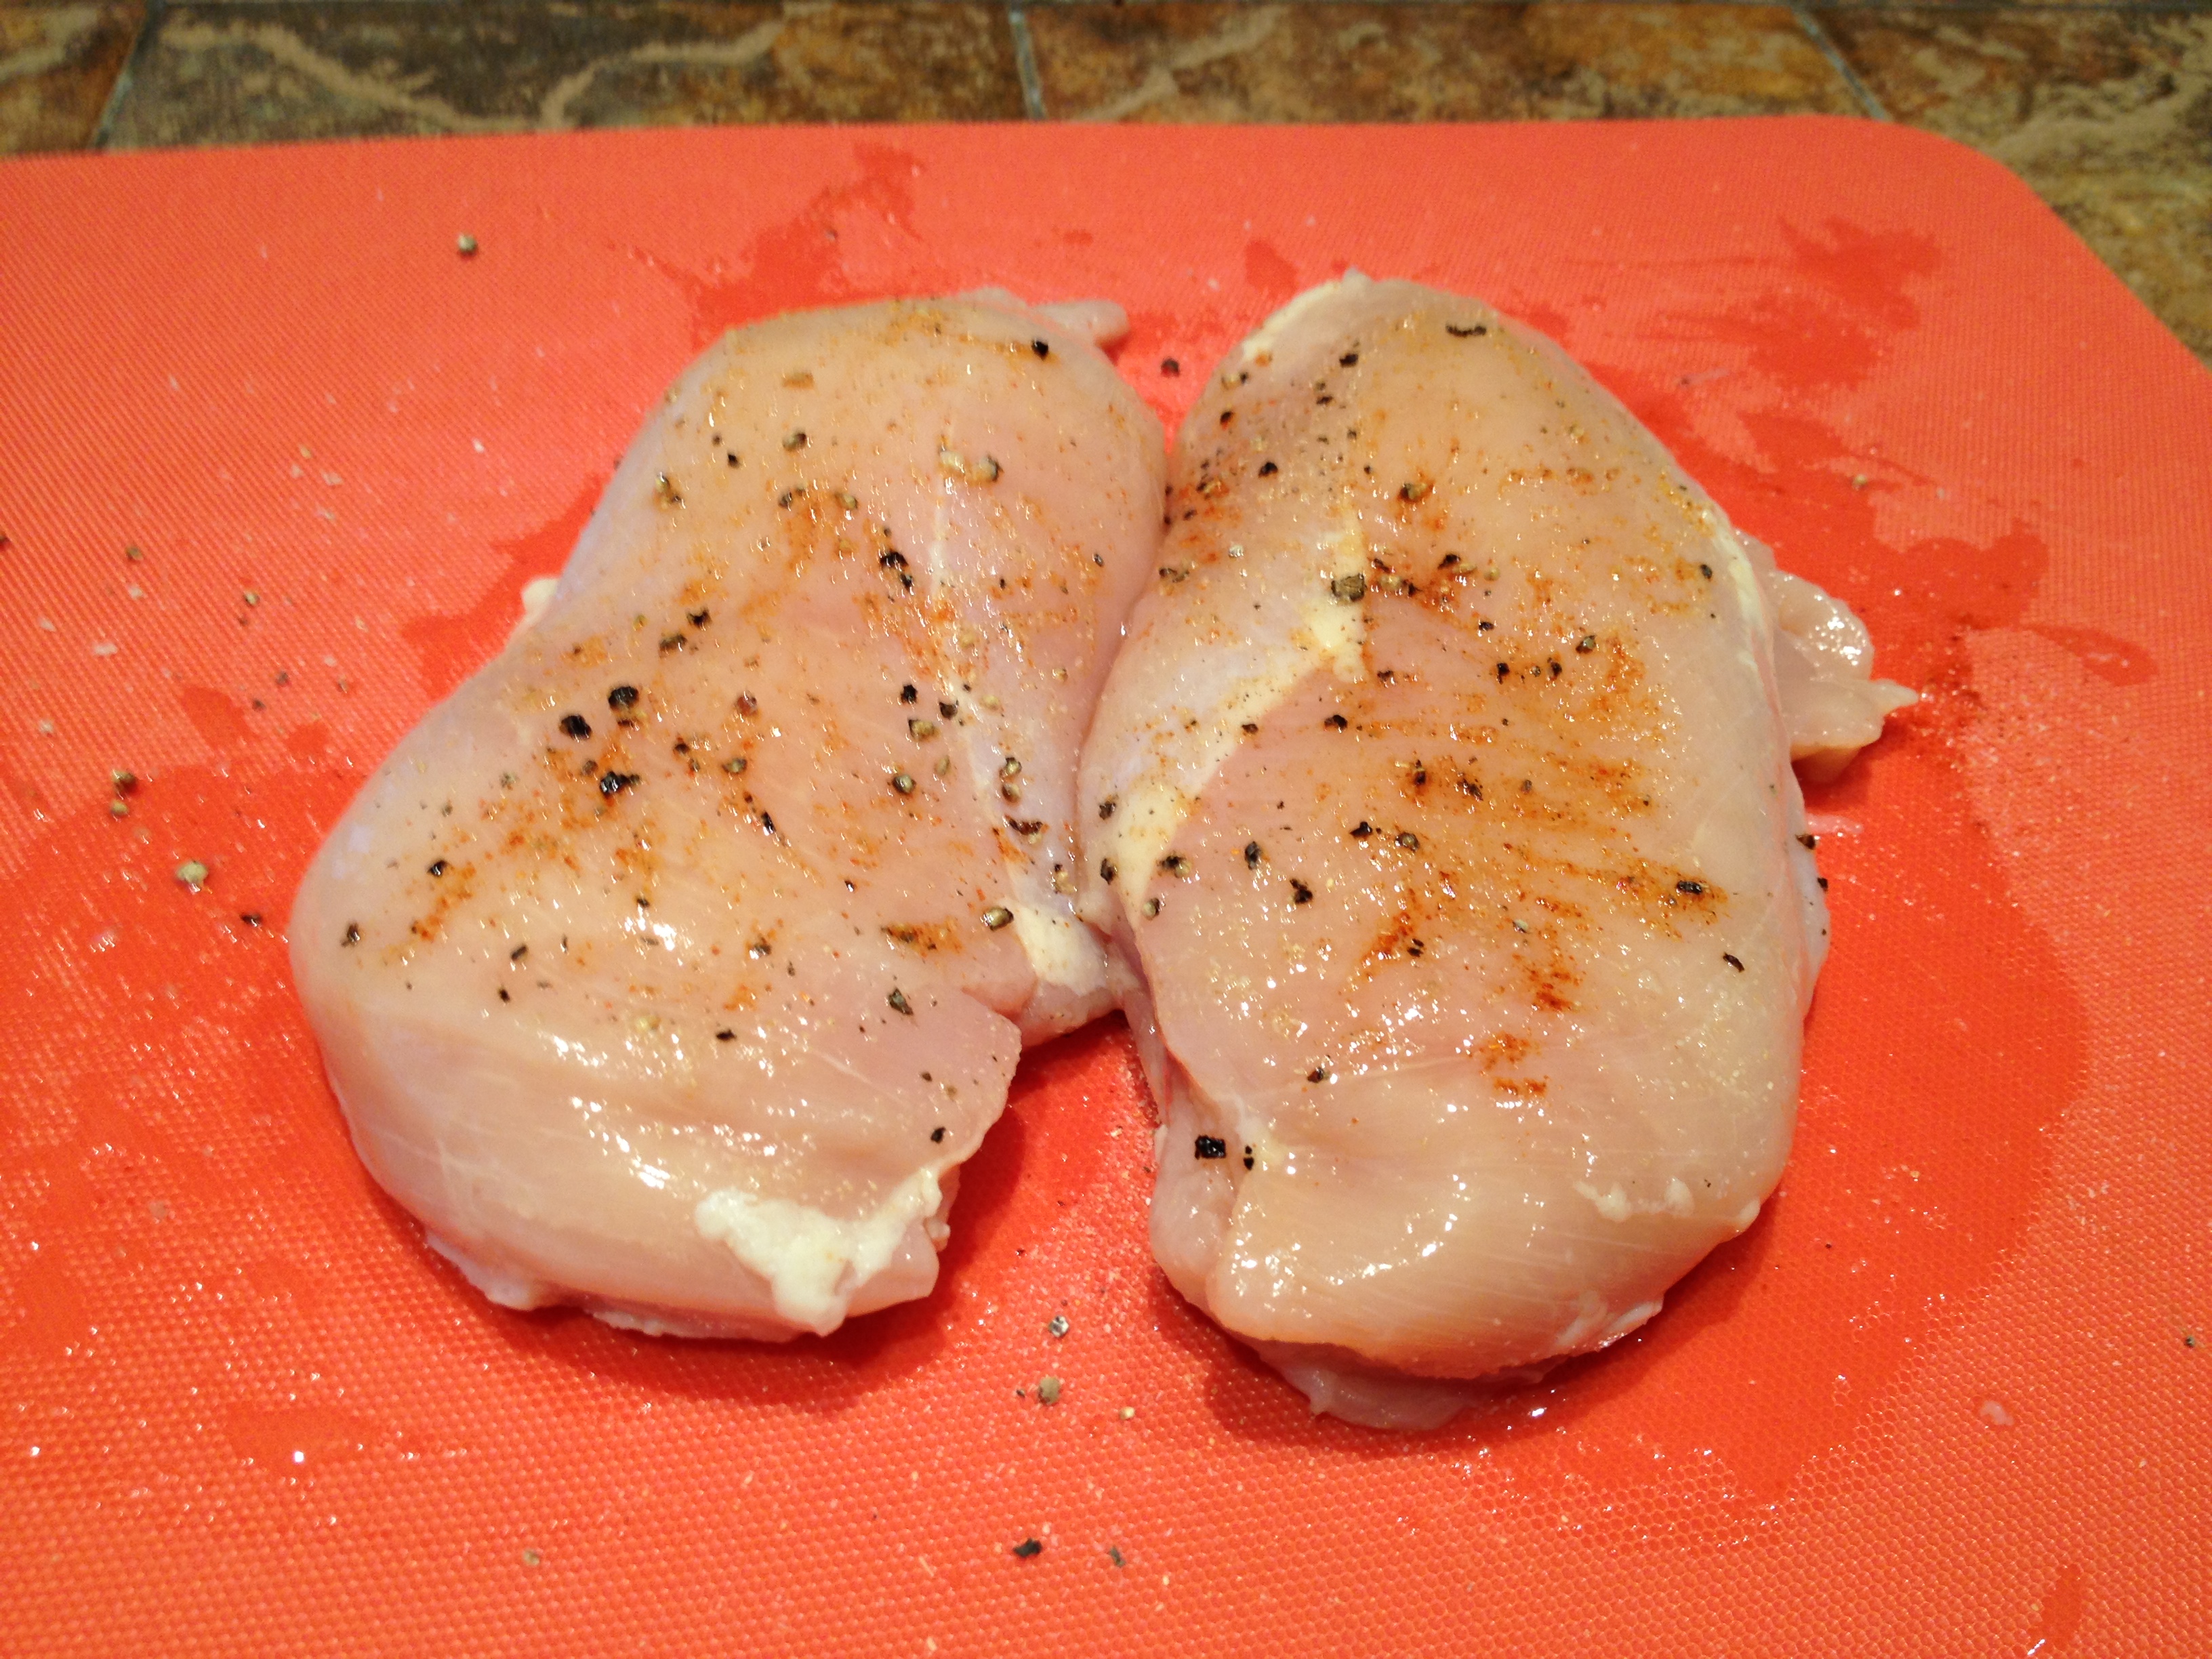
First, season your chicken breast with your choice of spices. T.W.O. used Krazy salt, pepper and cayenne pepper. Let the chicken season for about 8-10 minutes.
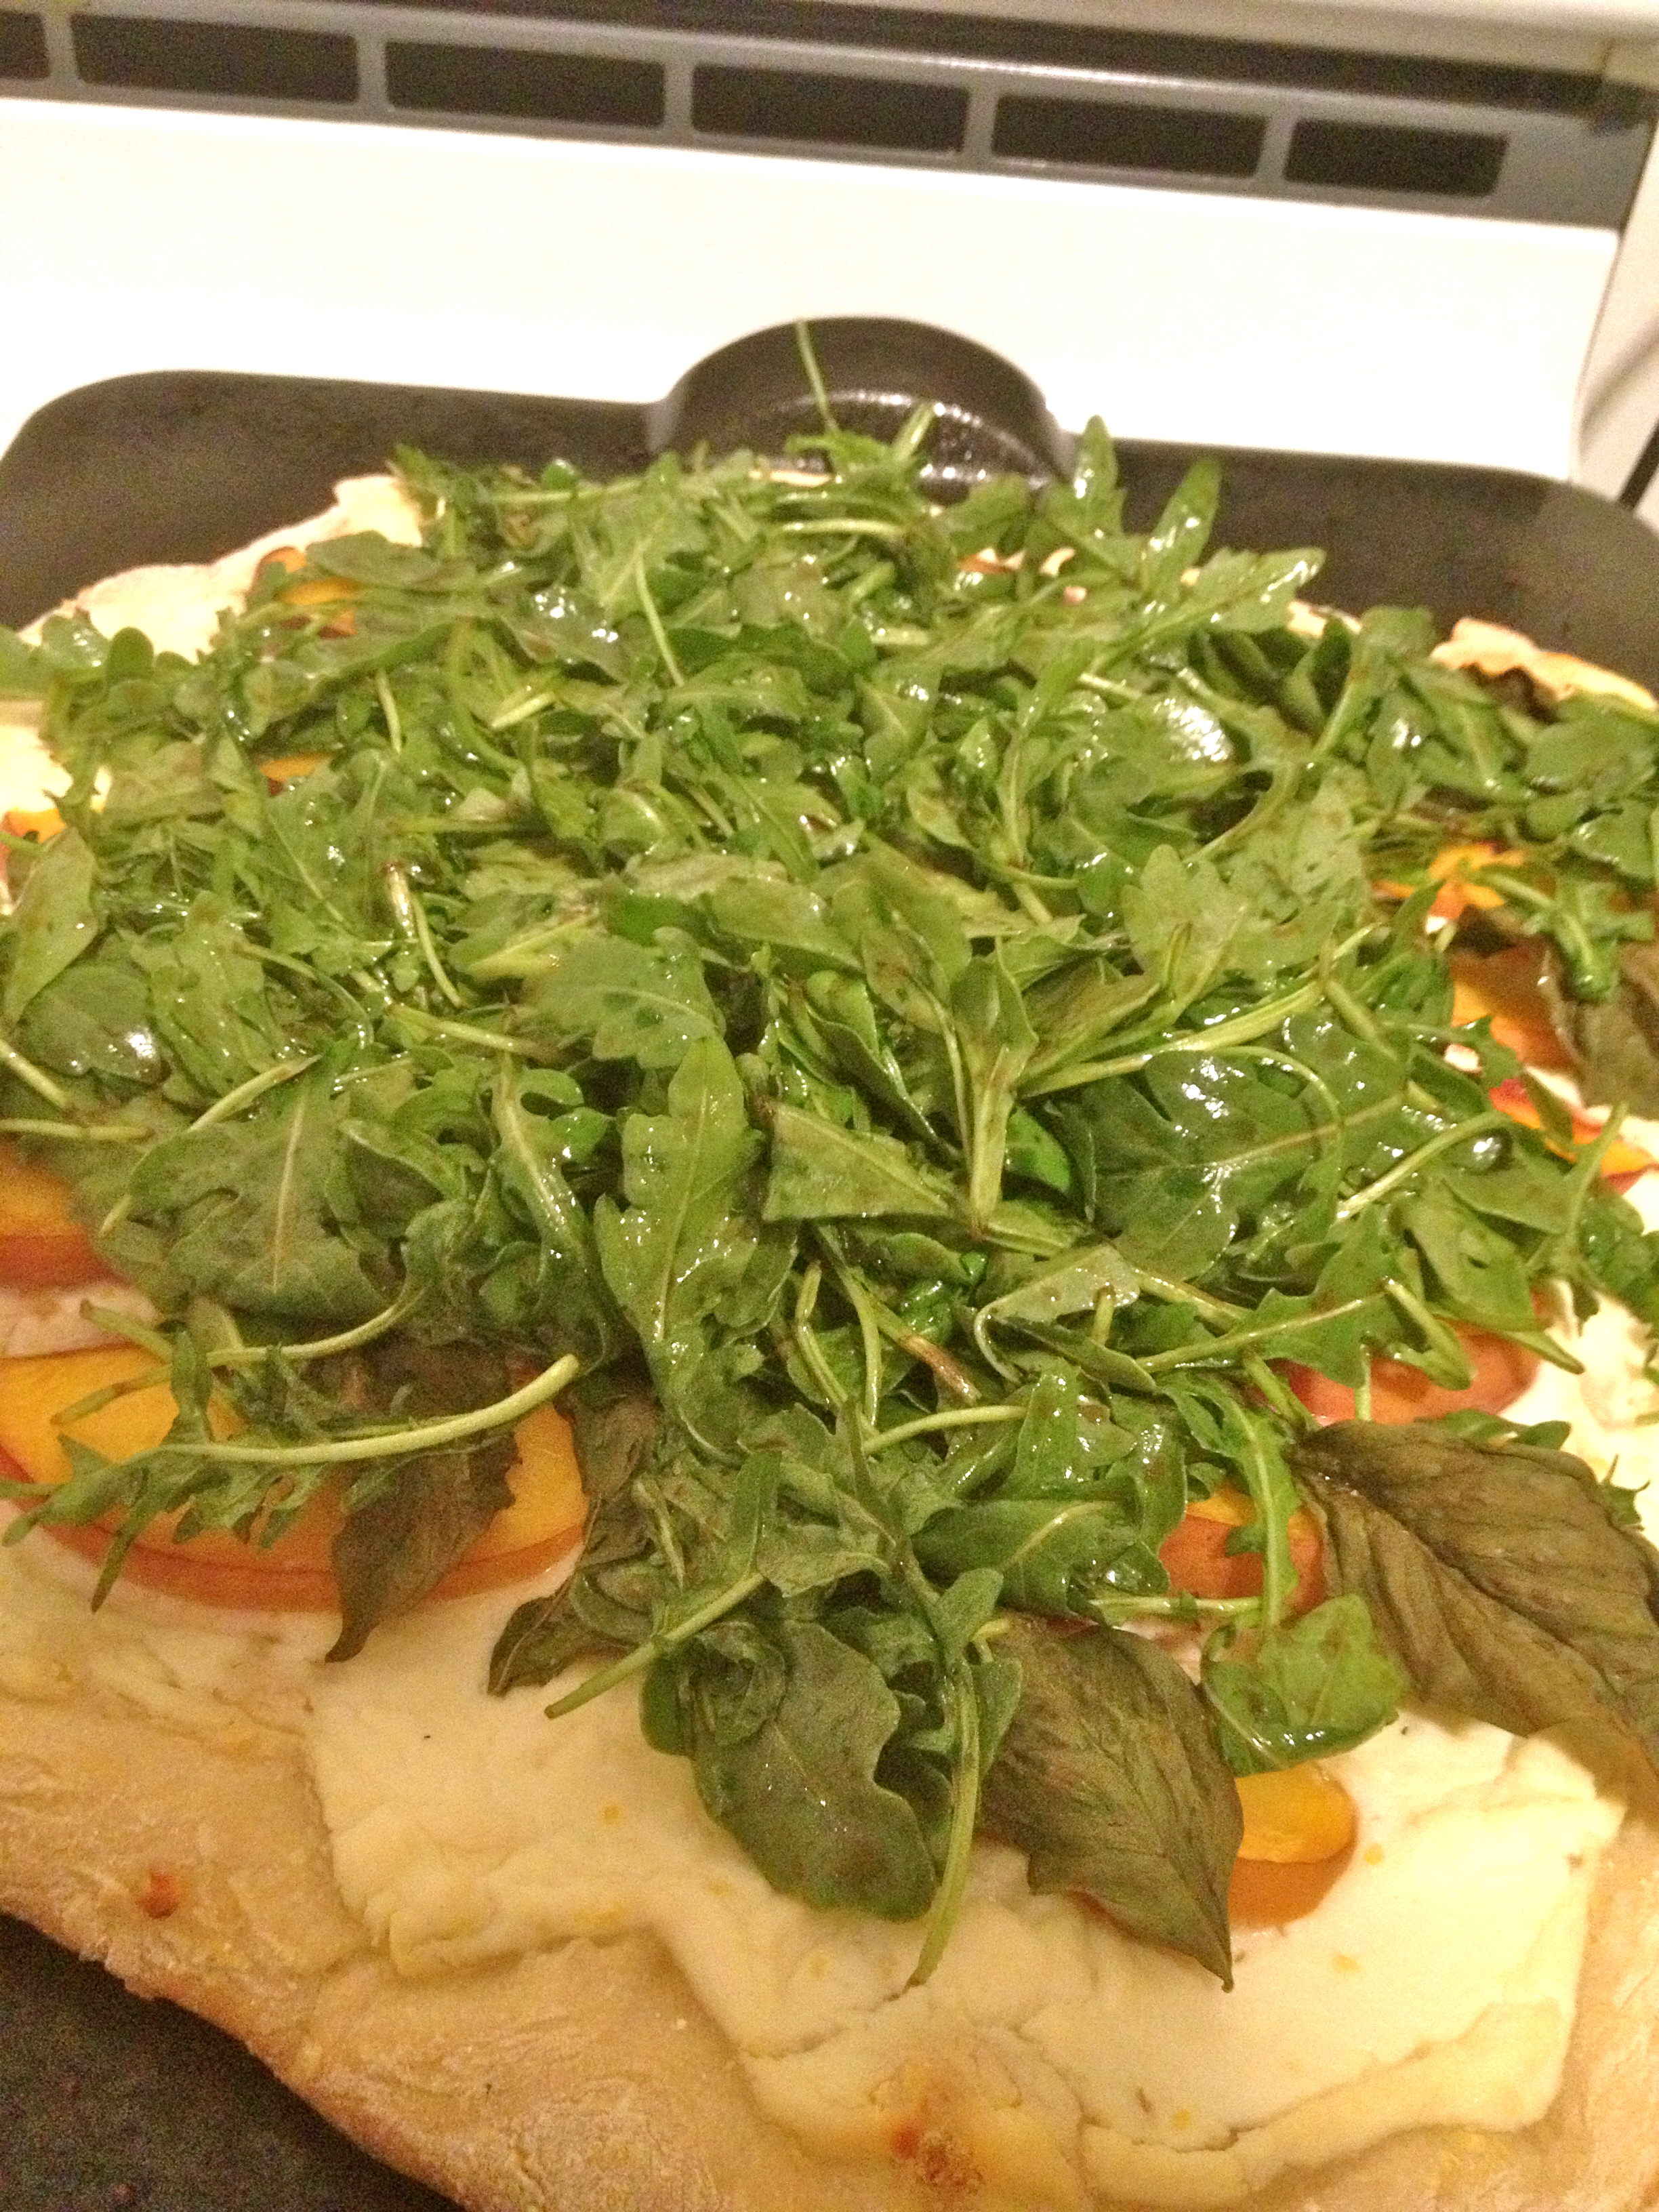
In the meantime, fire up your grill and wash your lettuce, vegetables and peaches. Cut your peaches in half and remove the pit. Next, place your chicken on a clean grill and turn the temperature down to low-medium, depending on how hot your grill gets. While the chicken is grilling, start chopping up your lettuce, cucumbers, and mushrooms. After the chicken has been grilling for about 8 minutes, place your peaches on the grill, cut side down. Keep a close eye on the peaches and chicken because you don’t want them to burn! Assemble your tomato and cheese stacks.

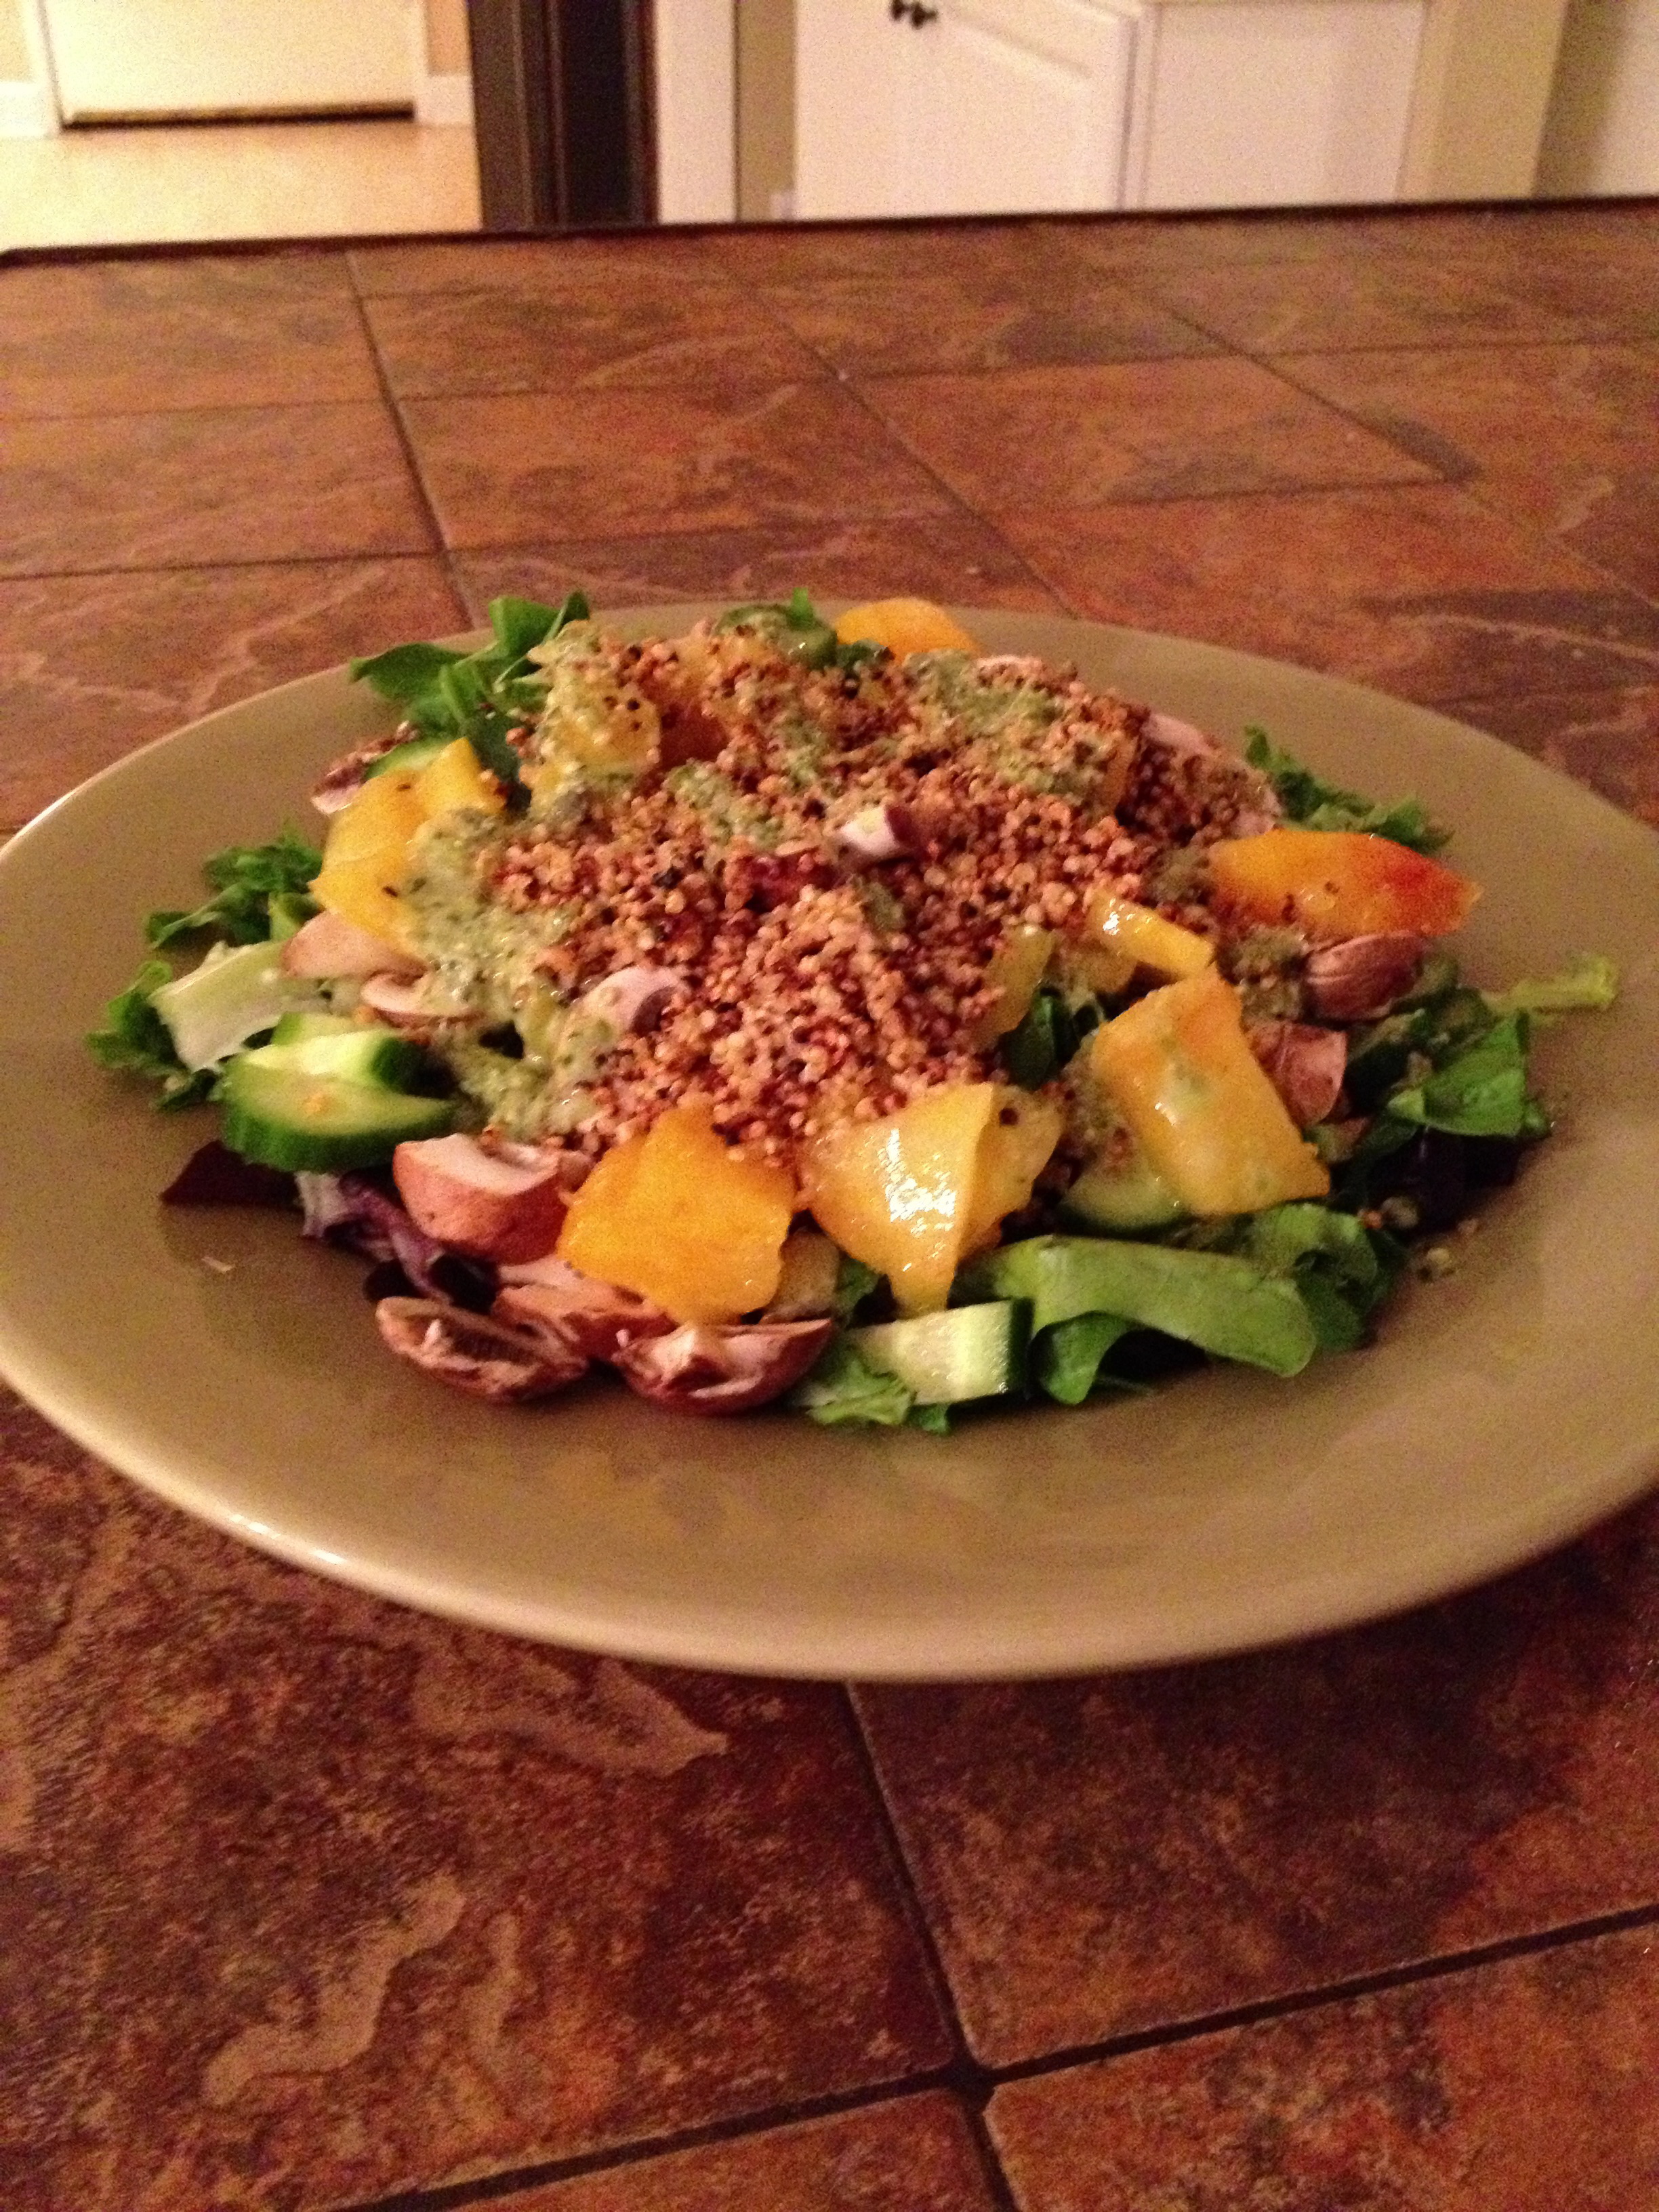
When the chicken and peaches are done, cut the chicken into strips and the peaches into slices. Alternate the chicken and peaches in between the cheese stacks to create your “caprese” salad. Next place the caprese salad on top of the bed of lettuce with cucumber and mushrooms. Finish the dish with a balsamic dressing of your choice. Wah-lah! Now you can enjoy this original, gastronomical dish this holiday weekend with your family and friends.

Wine Pairing: T.W.O. suggests a Rosé