The ultimate summer dessert – Peach Pie!!!! It’s a fresh, light and sweet ending to a perfect barbecued meal. Grab your rolling pins (or wine bottles!) and let’s start baking!
Ingredients:
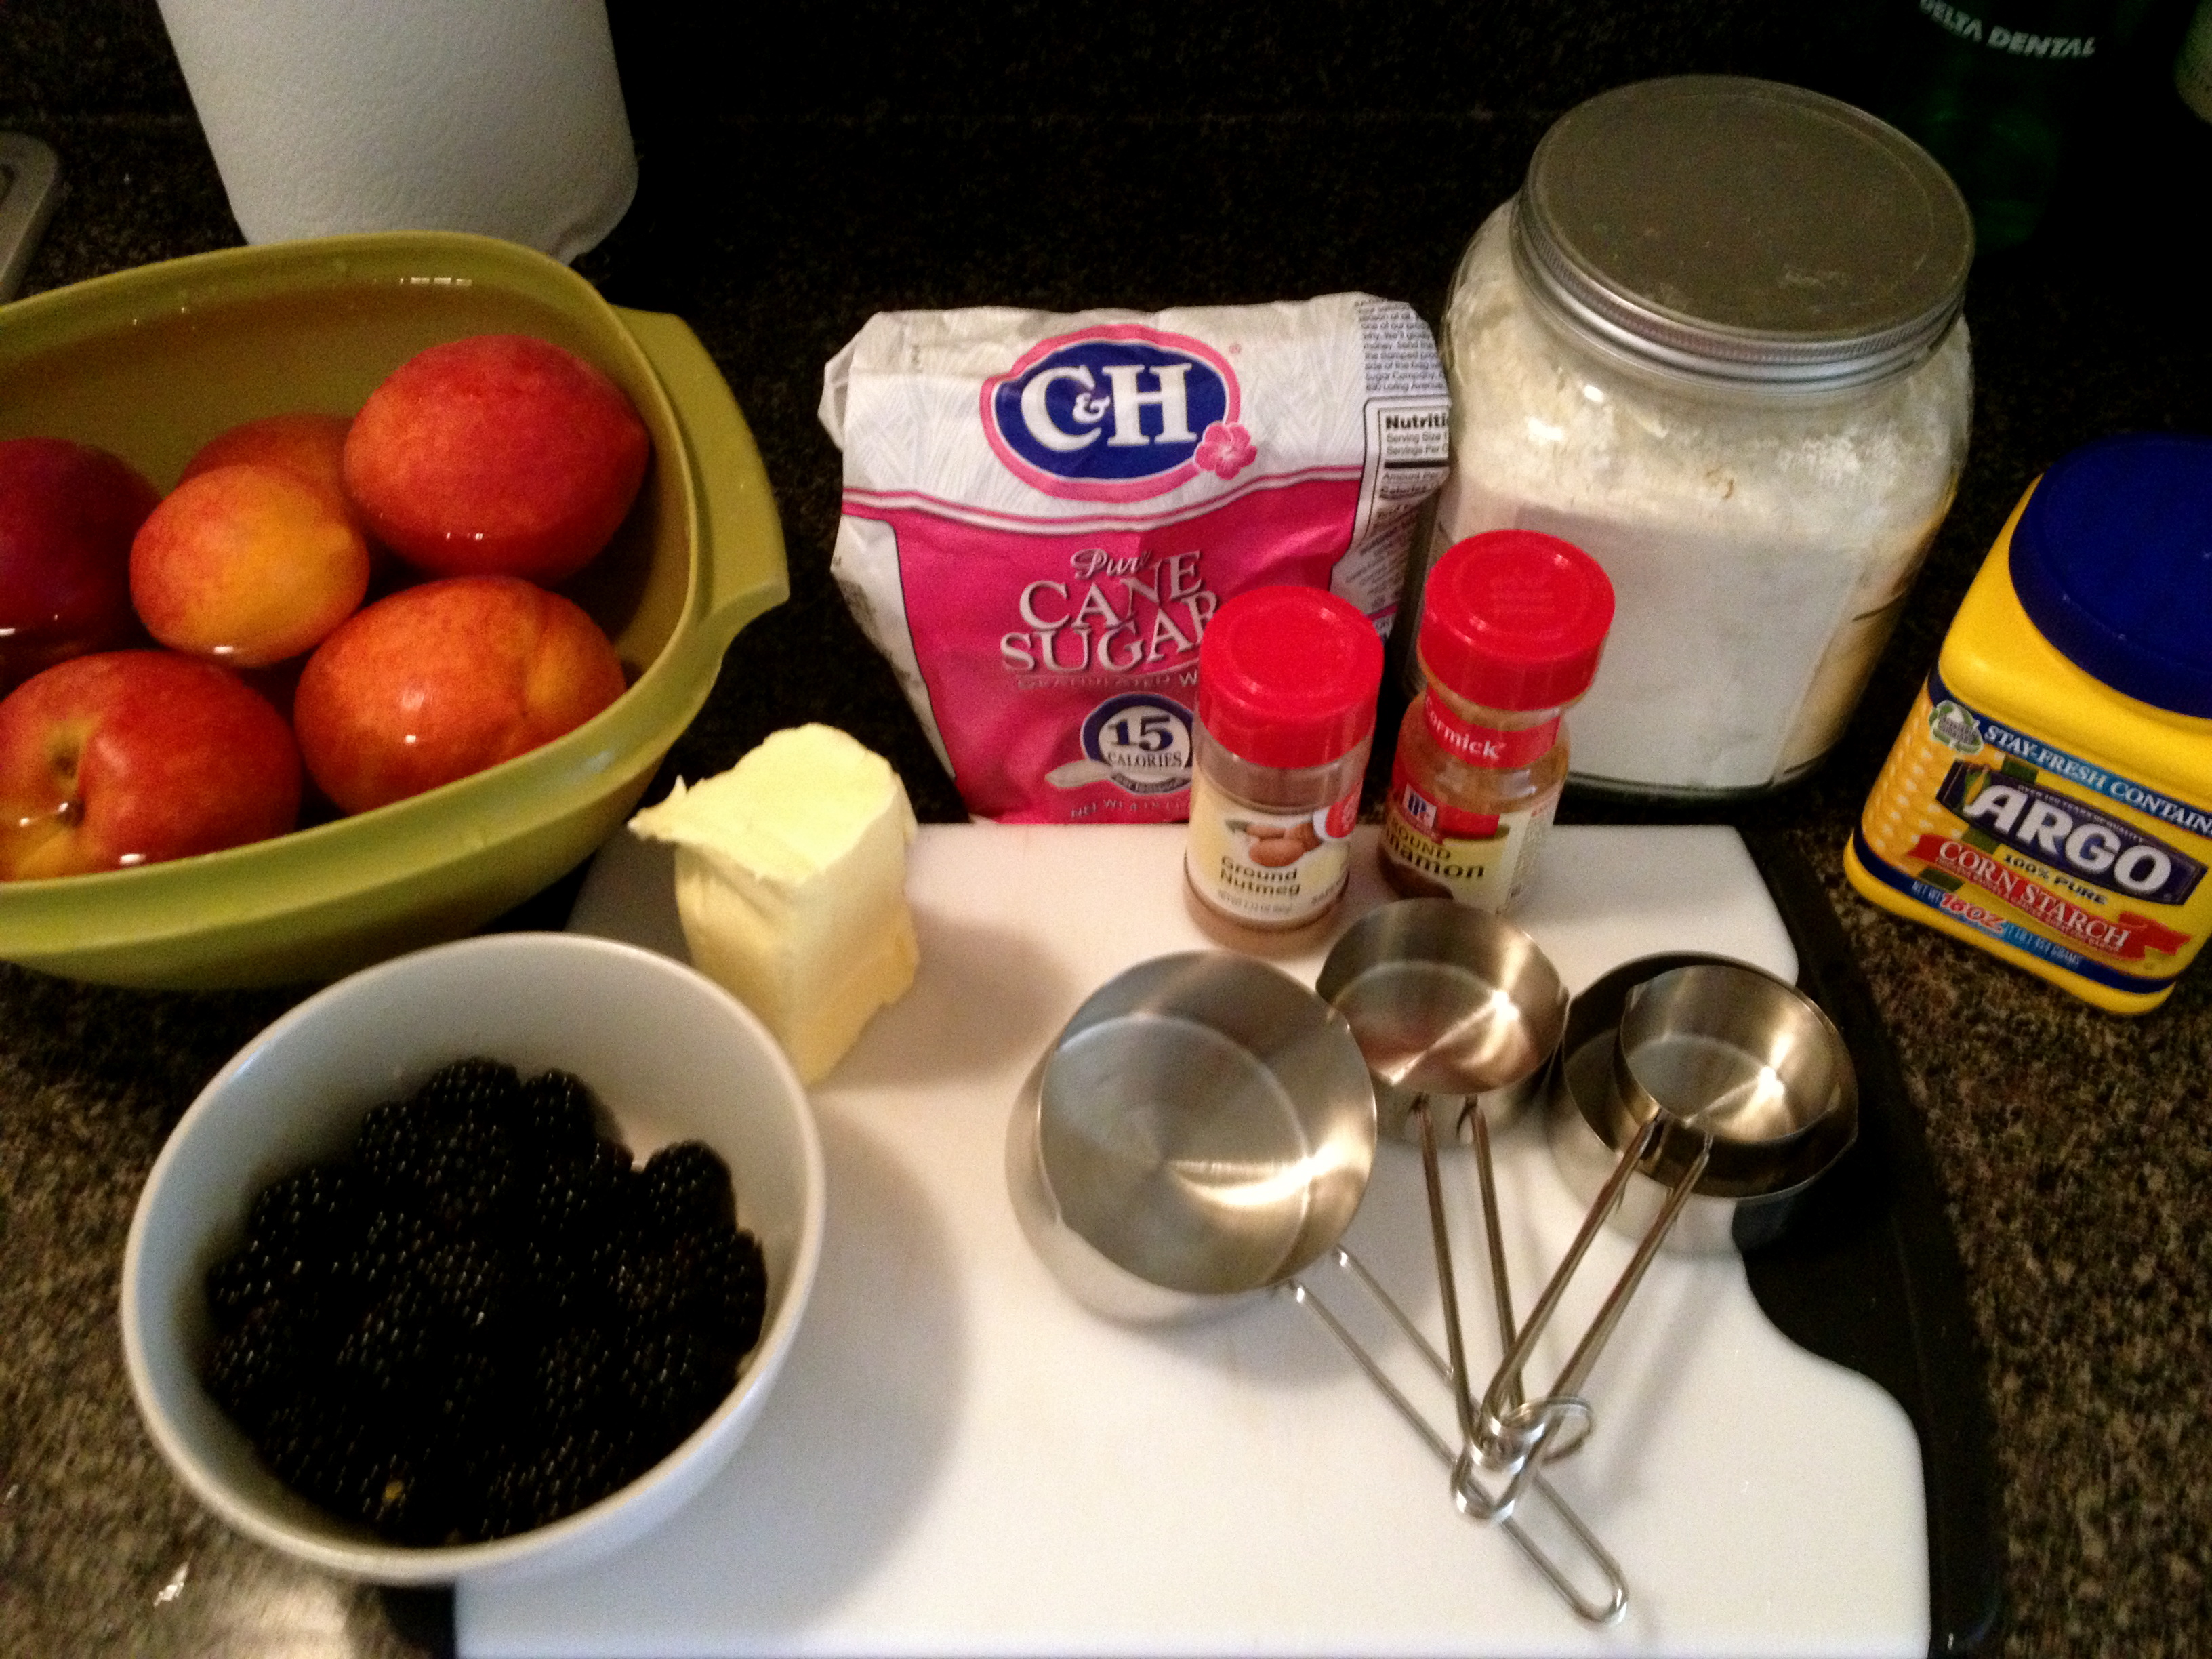
Flaky Crust:
2 cups flour
¾ cup shortening (T.W.O. uses butter flavor)
2-3 Tablespoons sugar
5-6 Tablespoons cold water
Pie Filling:
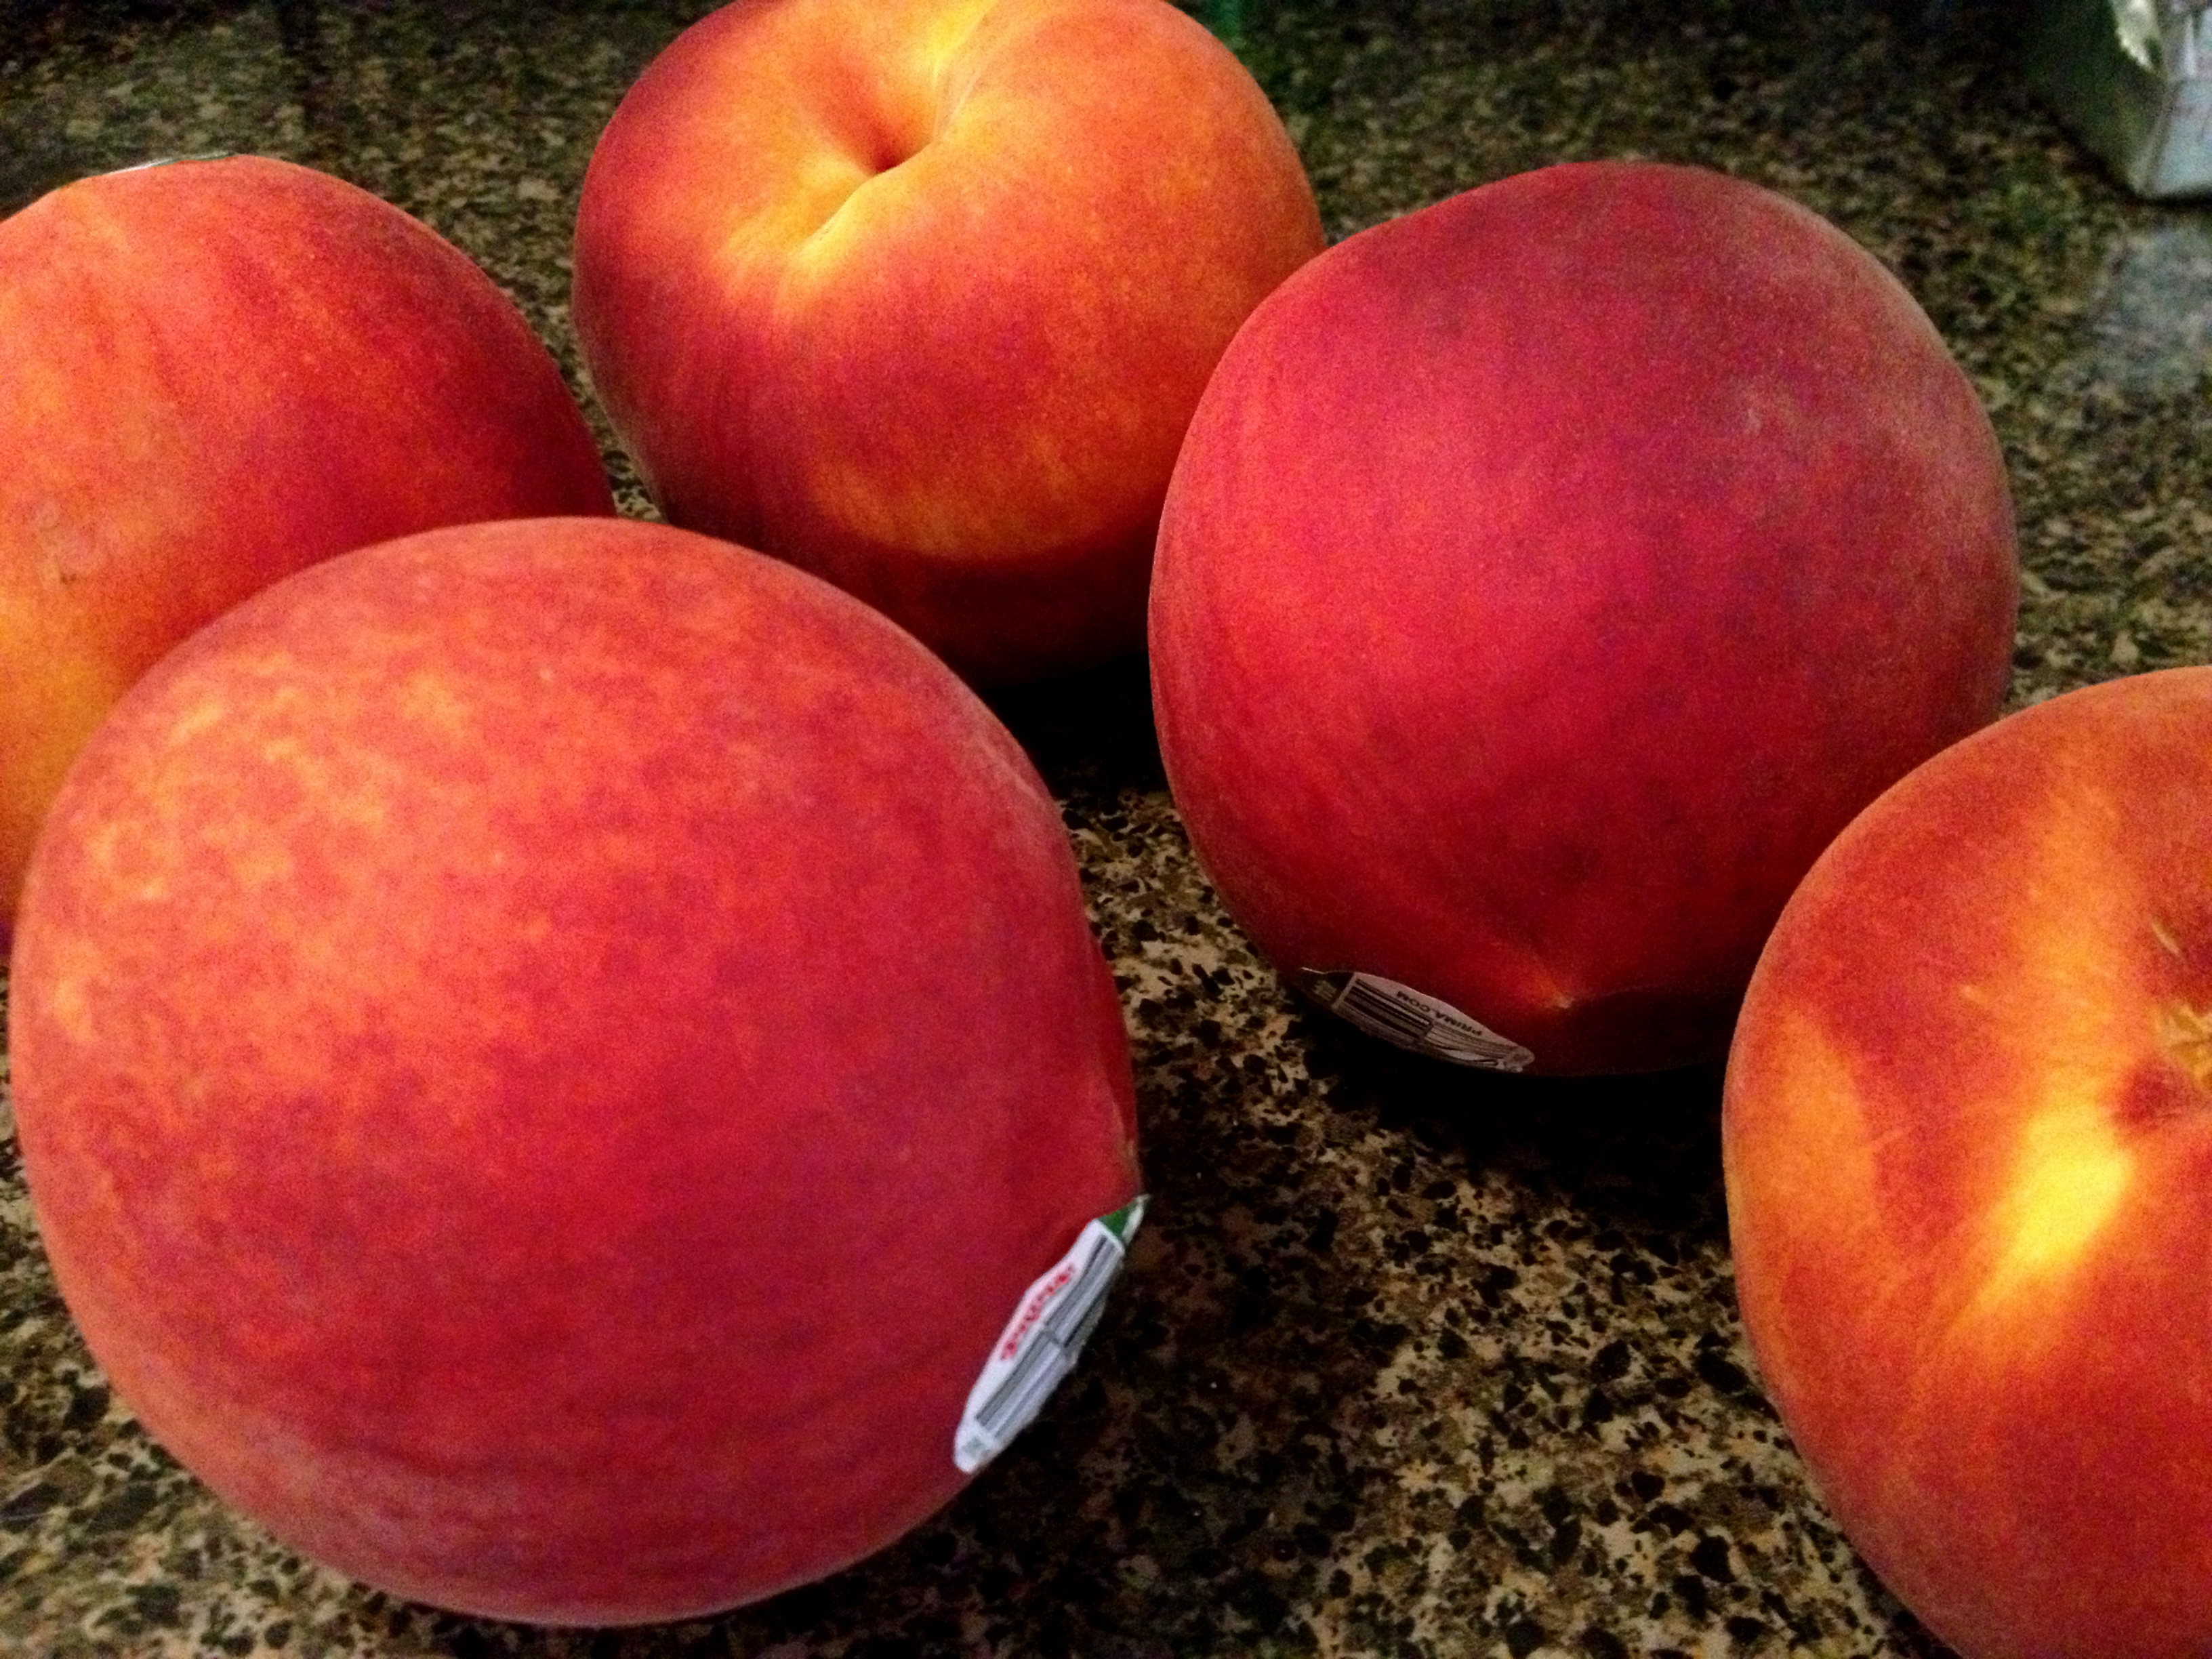
5-6 yellow peaches
1 cup boysenberries
1 Tablespoon nutmeg
1 Tablespoon cinnamon
1 ½ Tablespoons cornstarch
1/4 cup sugar


Preheat oven to 350°.
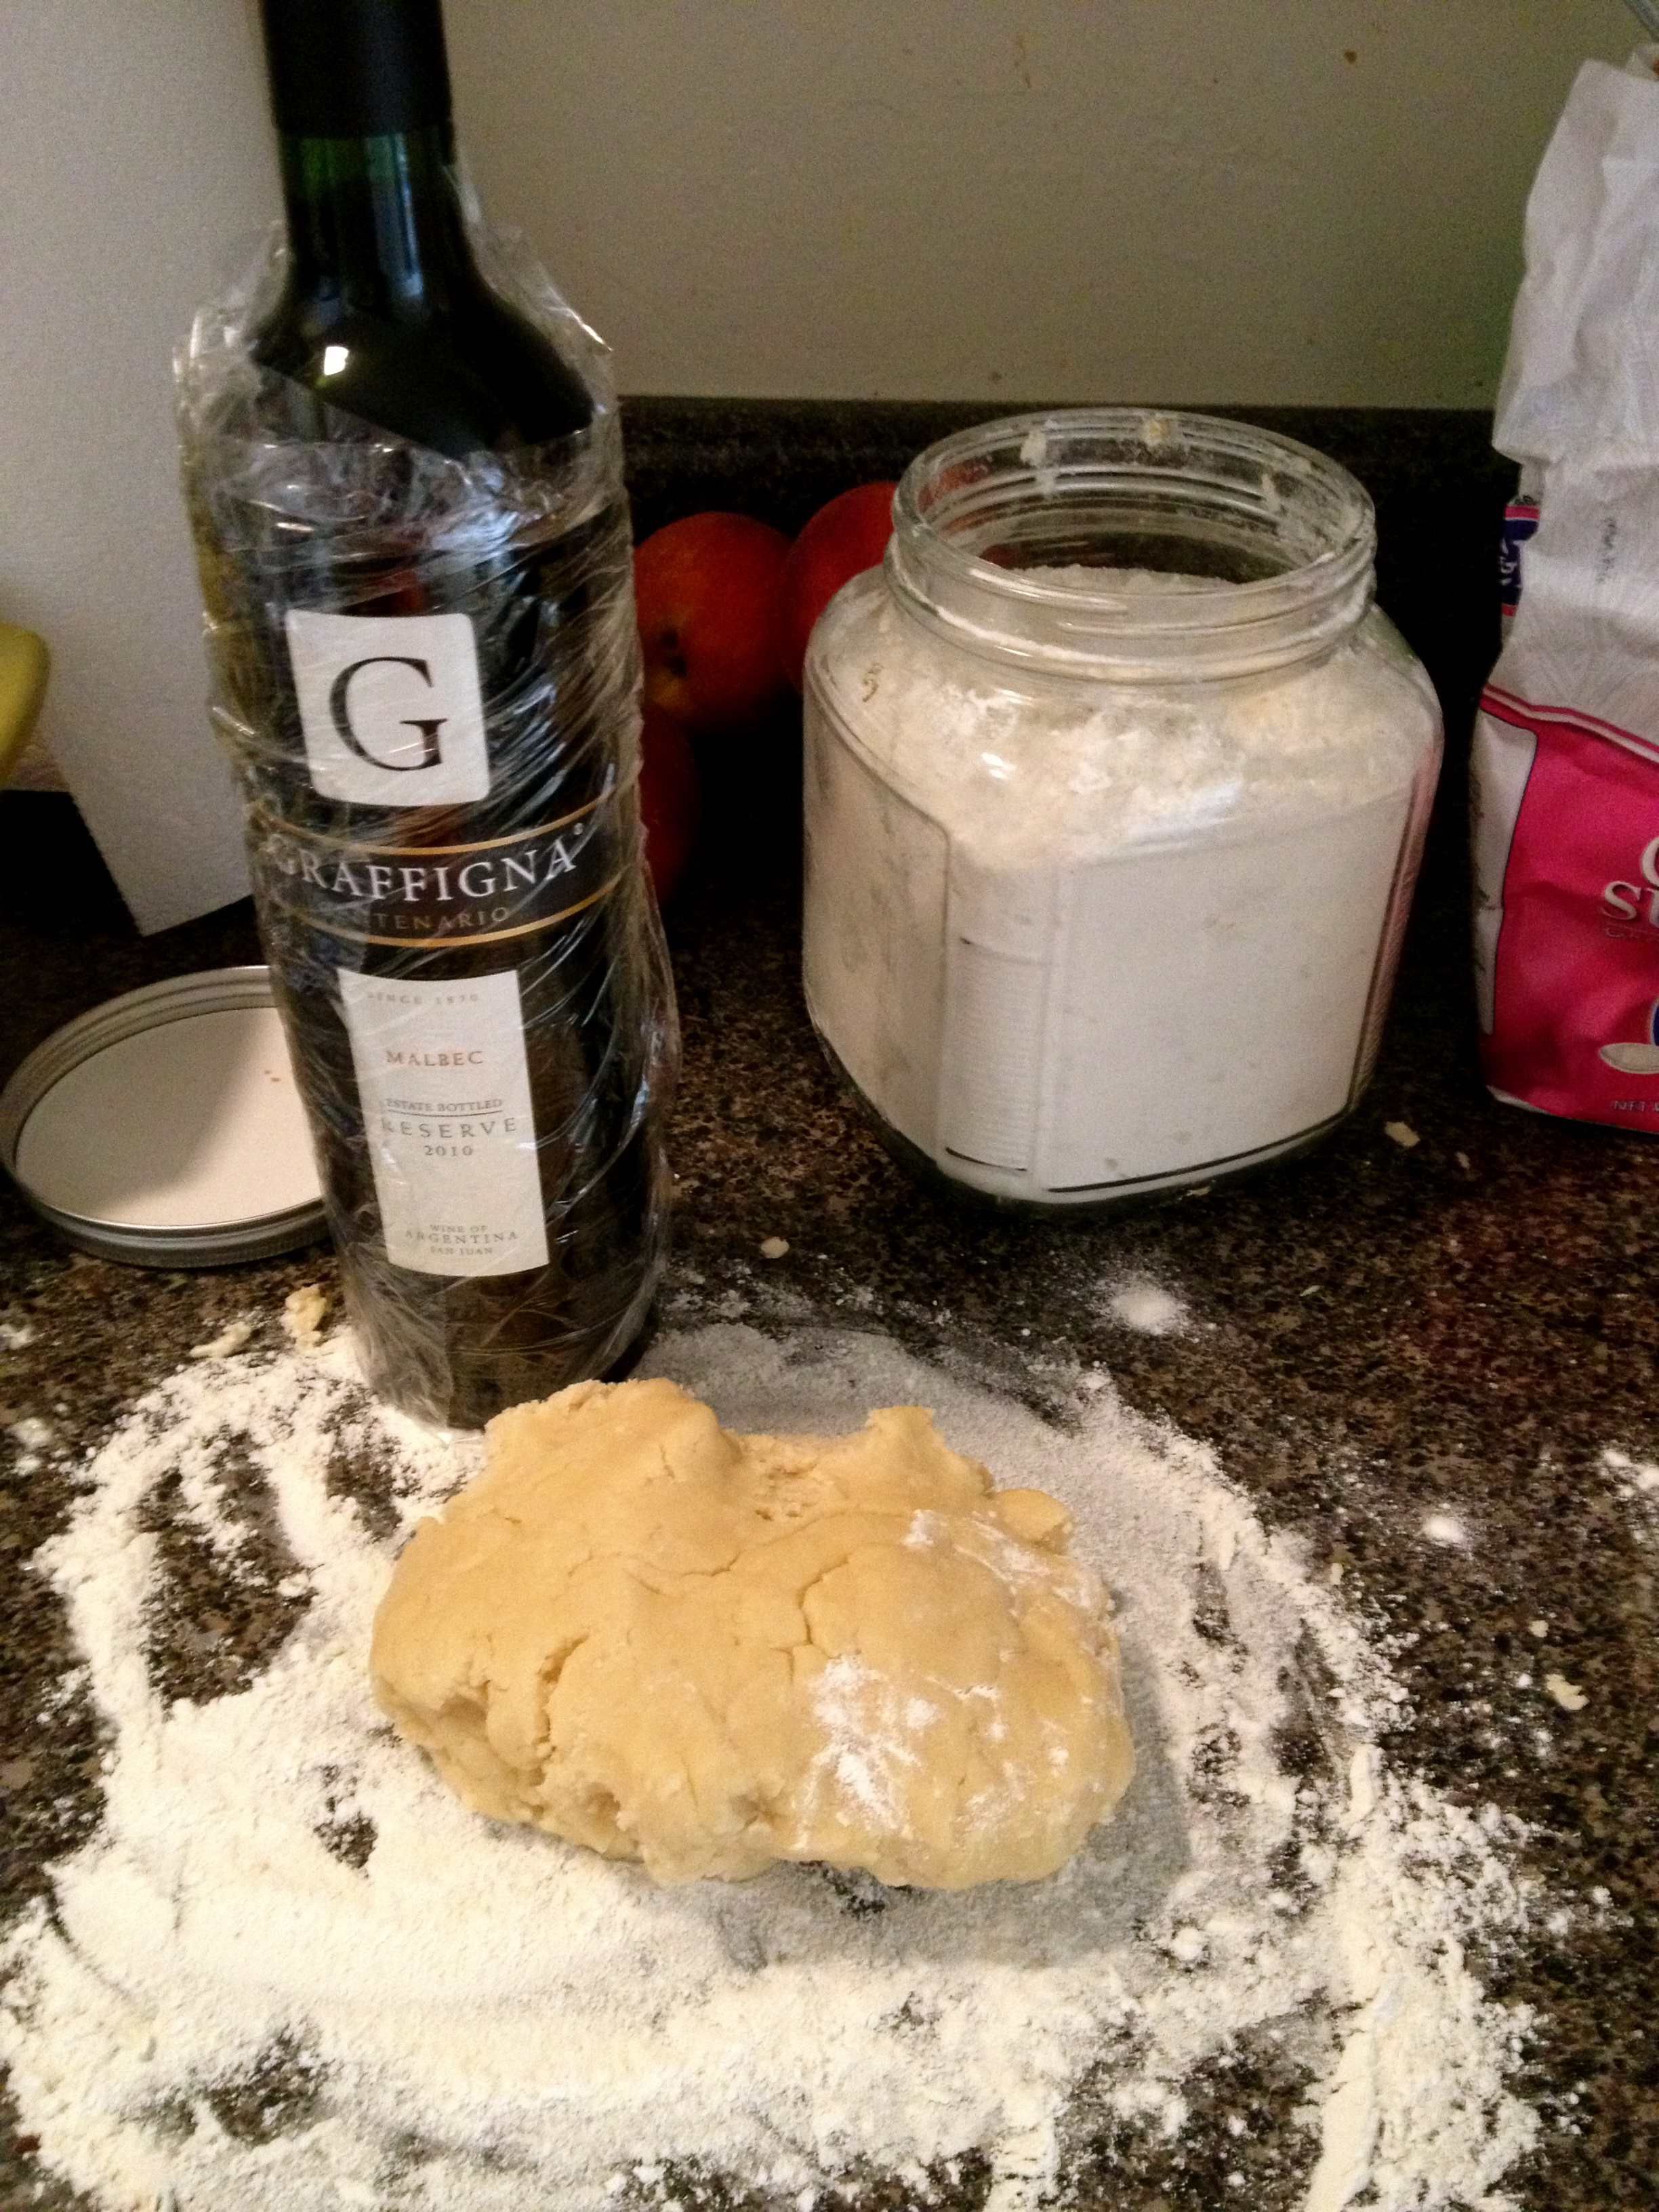
In a bowl mix the flour, shortening, sugar and cold water. T.W.O. uses a pastry blender to mix the dough together. Form the dough in a ball and set aside.

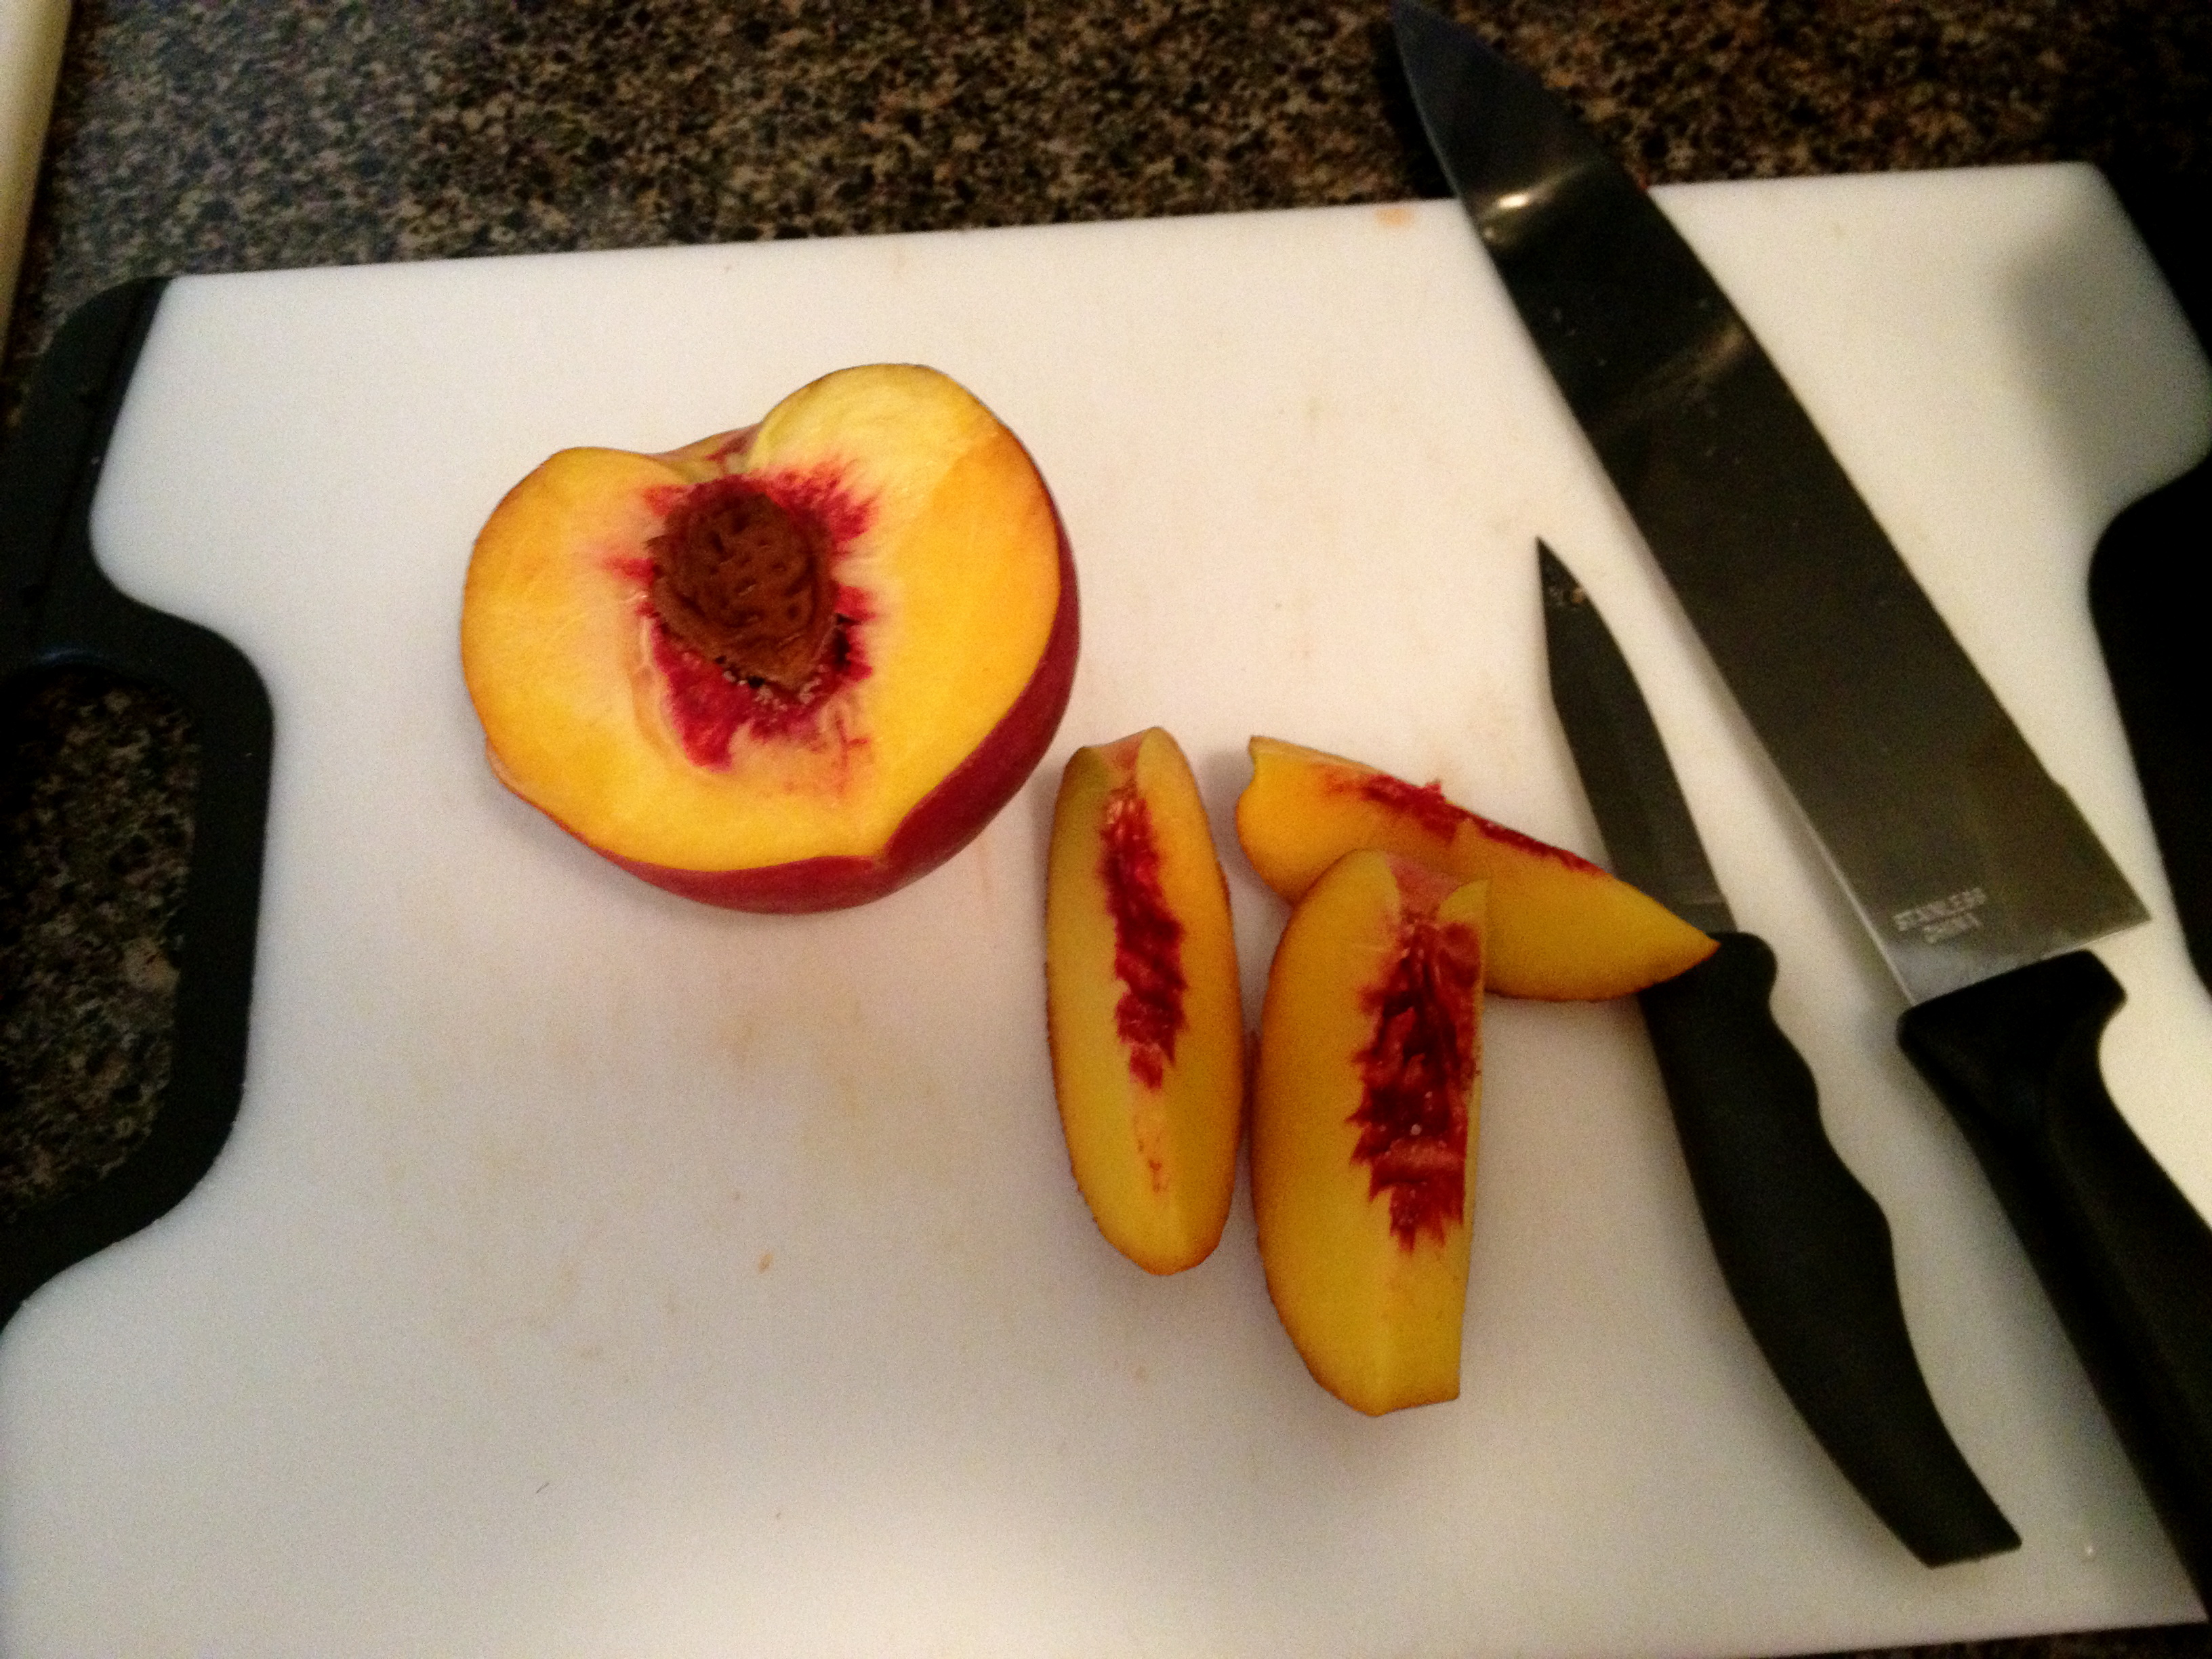
Now for the filling! Make sure the peaches are washed and dried well. You don’t want extra protein in your pie! There are two ways you can remove the skin from the peaches…either blanch them in water or peel the skins off or you can take a carving knife and remove the skin like a peeler. T.W.O. removed the skin using a small knife.

Halve the peaches and remove the pit. Cut the peaches in thin slices and place in a bowl. Once all the peaches are sliced, add the nutmeg, cinnamon, sugar and boysenberries. Mix well, but not too much since you don’t want the fruit to break.
Let’s roll that dough now! Make sure your surface is floured well so that the dough doesn’t stick to your countertop or mat. Take a “hand-full” of dough and put aside. (This will be for the lattice top) Using your rolling pin/ wine bottle, roll the remaining dough out evenly in a circular shape. With the assistance of a spatula, move the rolled out dough into the oiled or “PAM’ed” pie dish. Pinch the crust tops with your fingers to make a stylish pattern. Once the dough is set, sprinkle the bottom of the pie with cornstarch. This will absorb the juices from the peaches to prevent a soggy crust.
Take your peach filling and place it in the pie dish. Make sure the ingredients are evenly distributed.

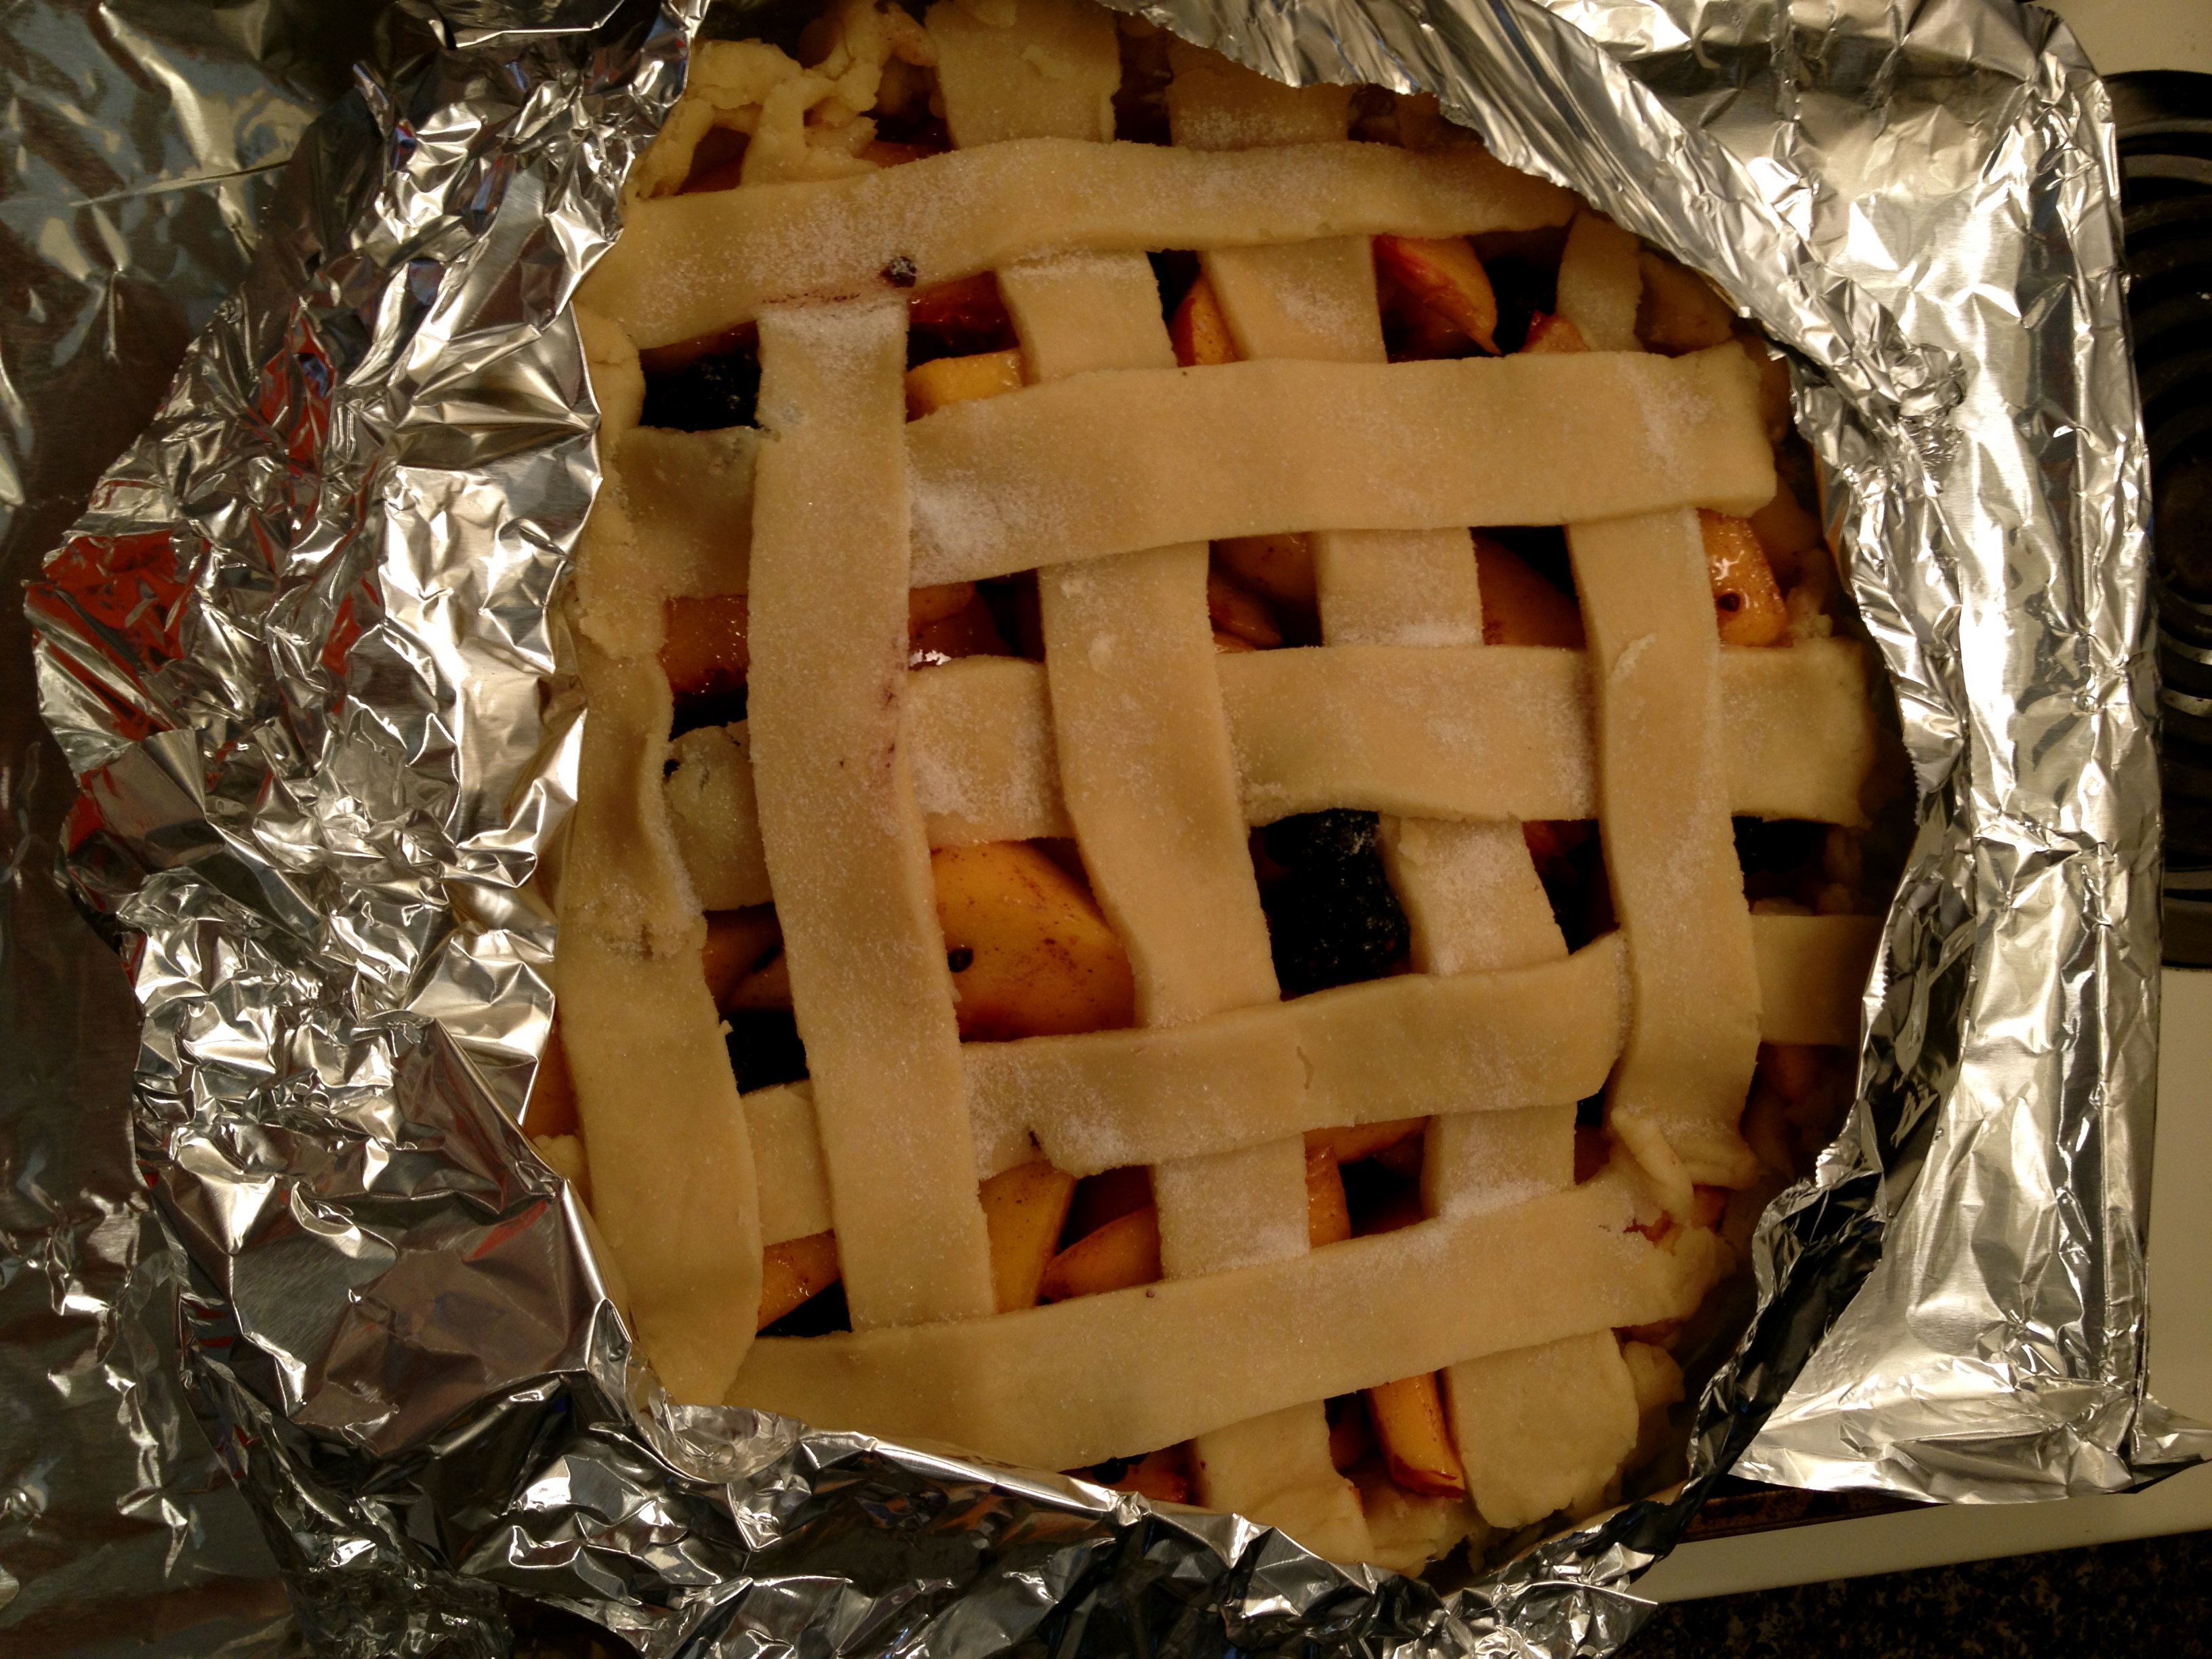
Almost there! Now it’s time for the lattice. Roll the remanding dough out thinly with your rolling pin/ wine bottle to form a rectangle. Take a sharp knife and cut long stripes in the dough. Use these stripes to create the lattice formation for the topper. Be creative with your placement!

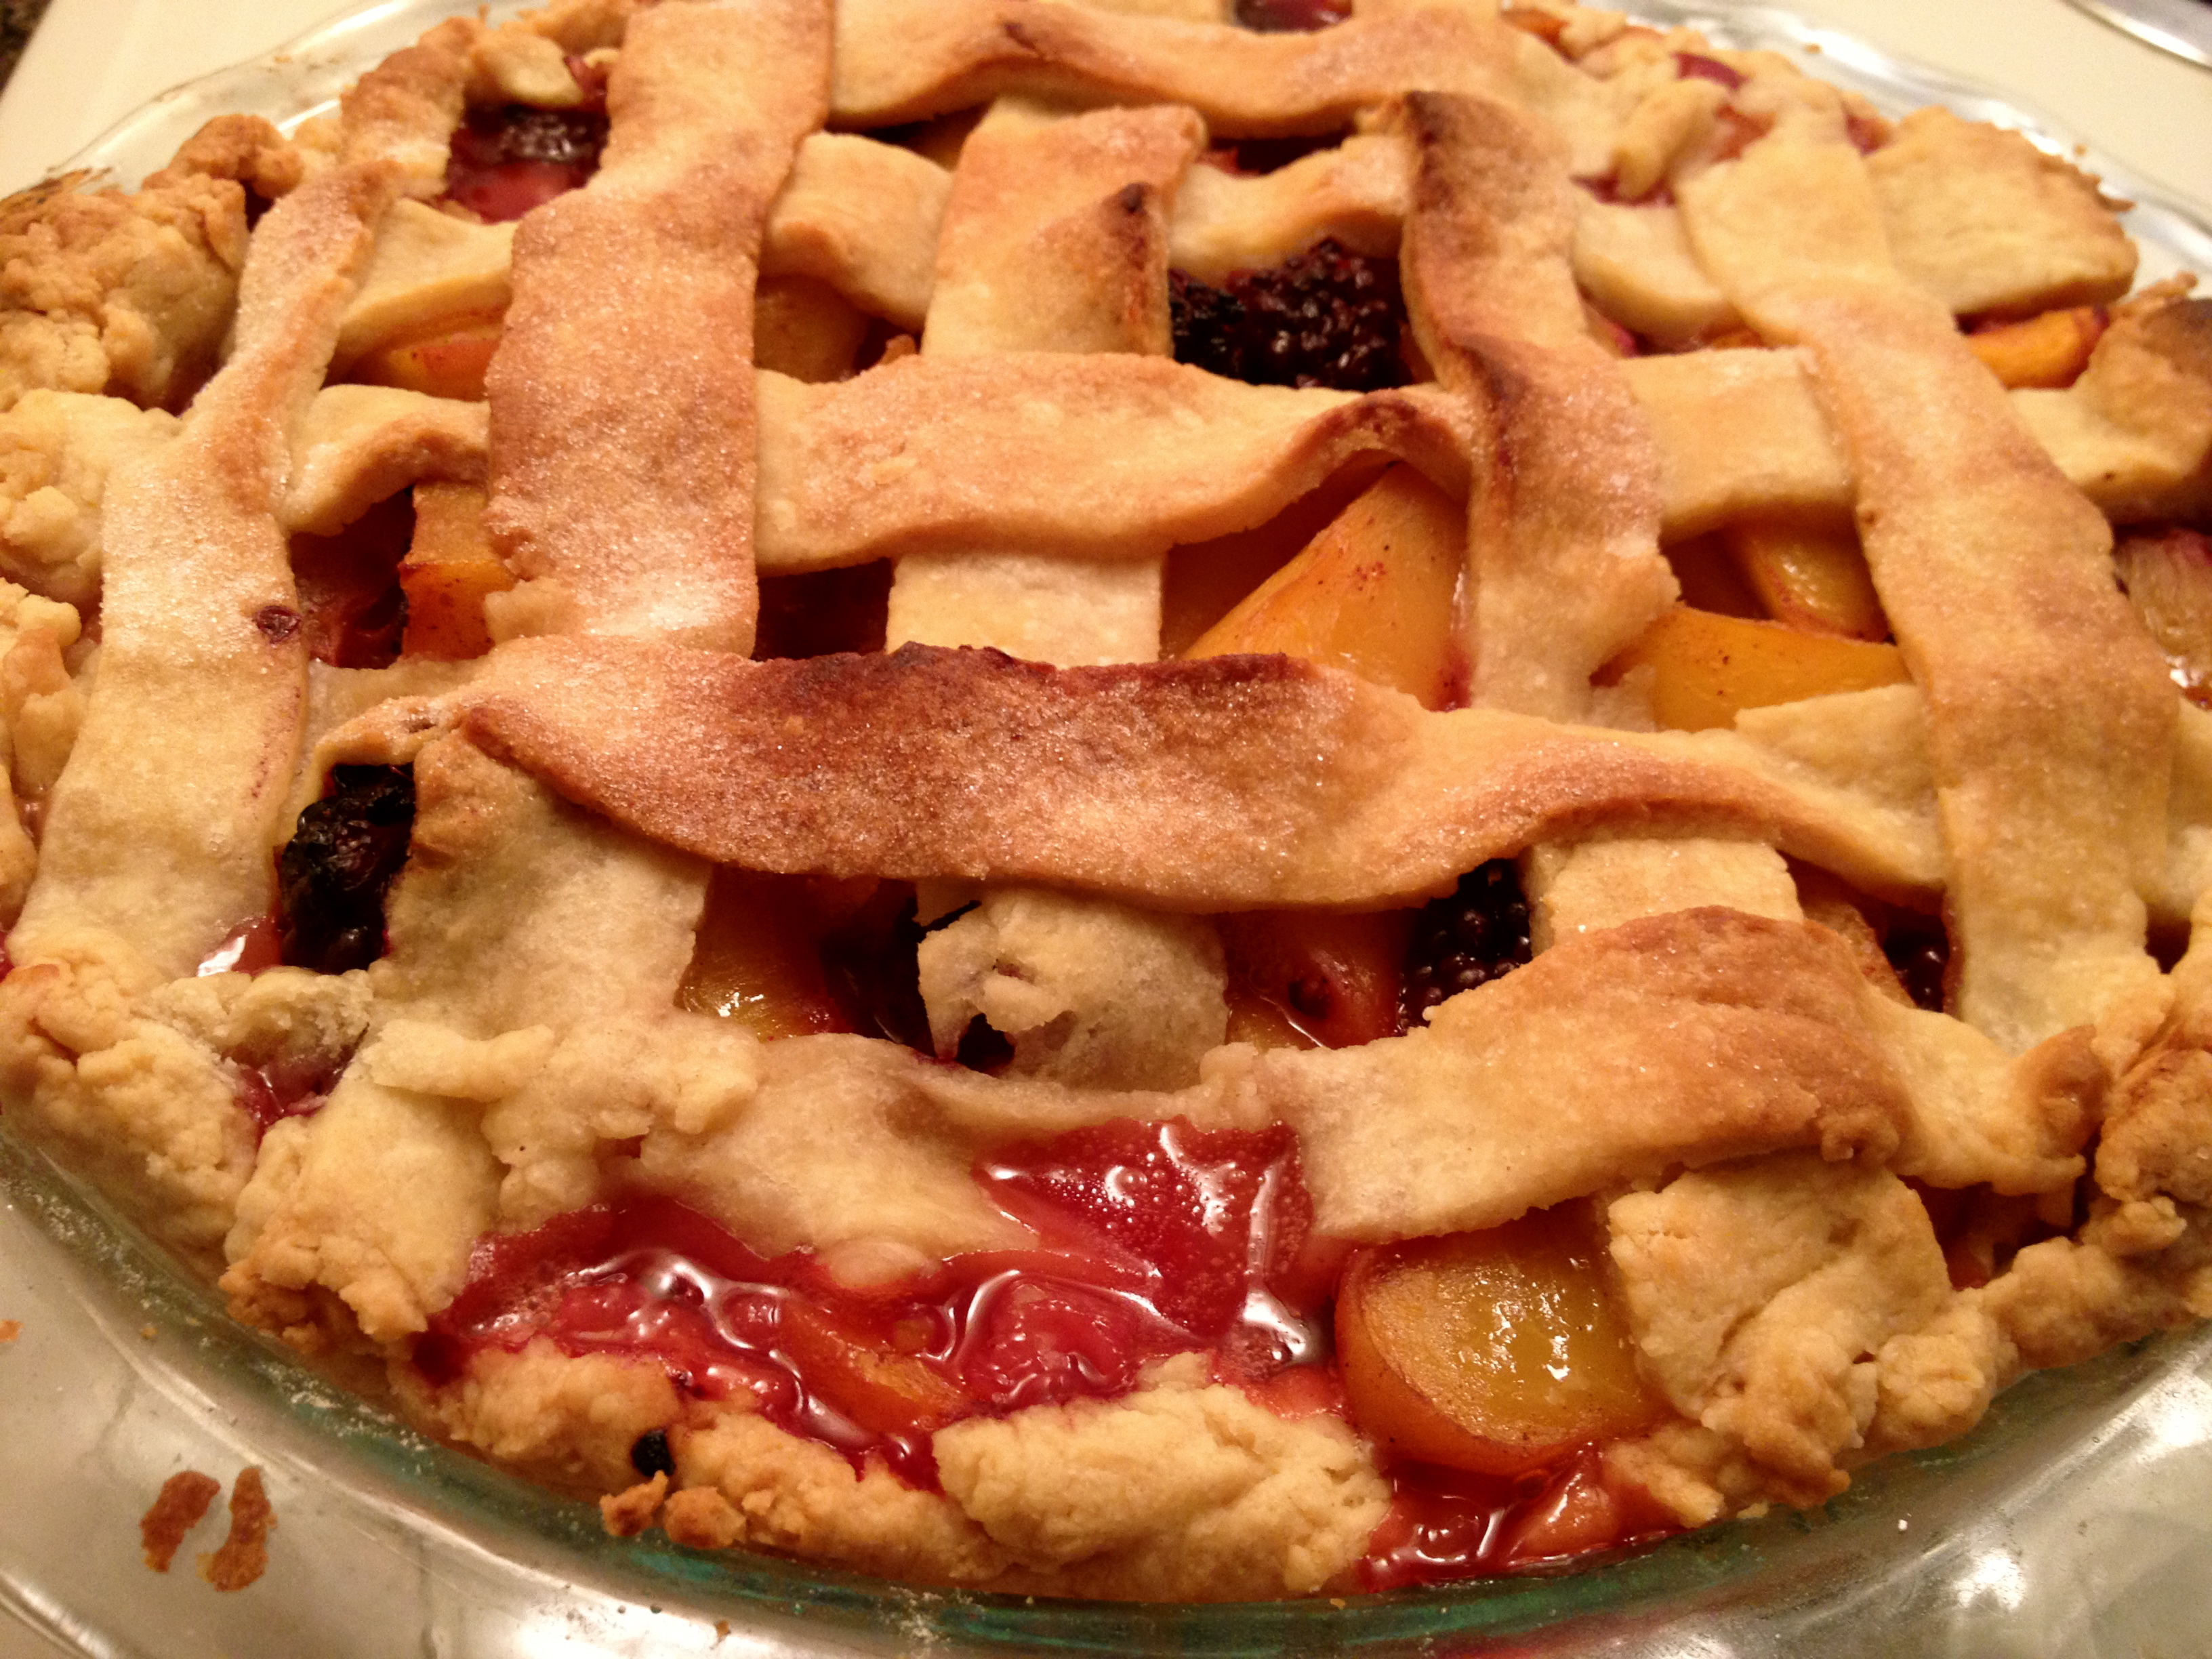
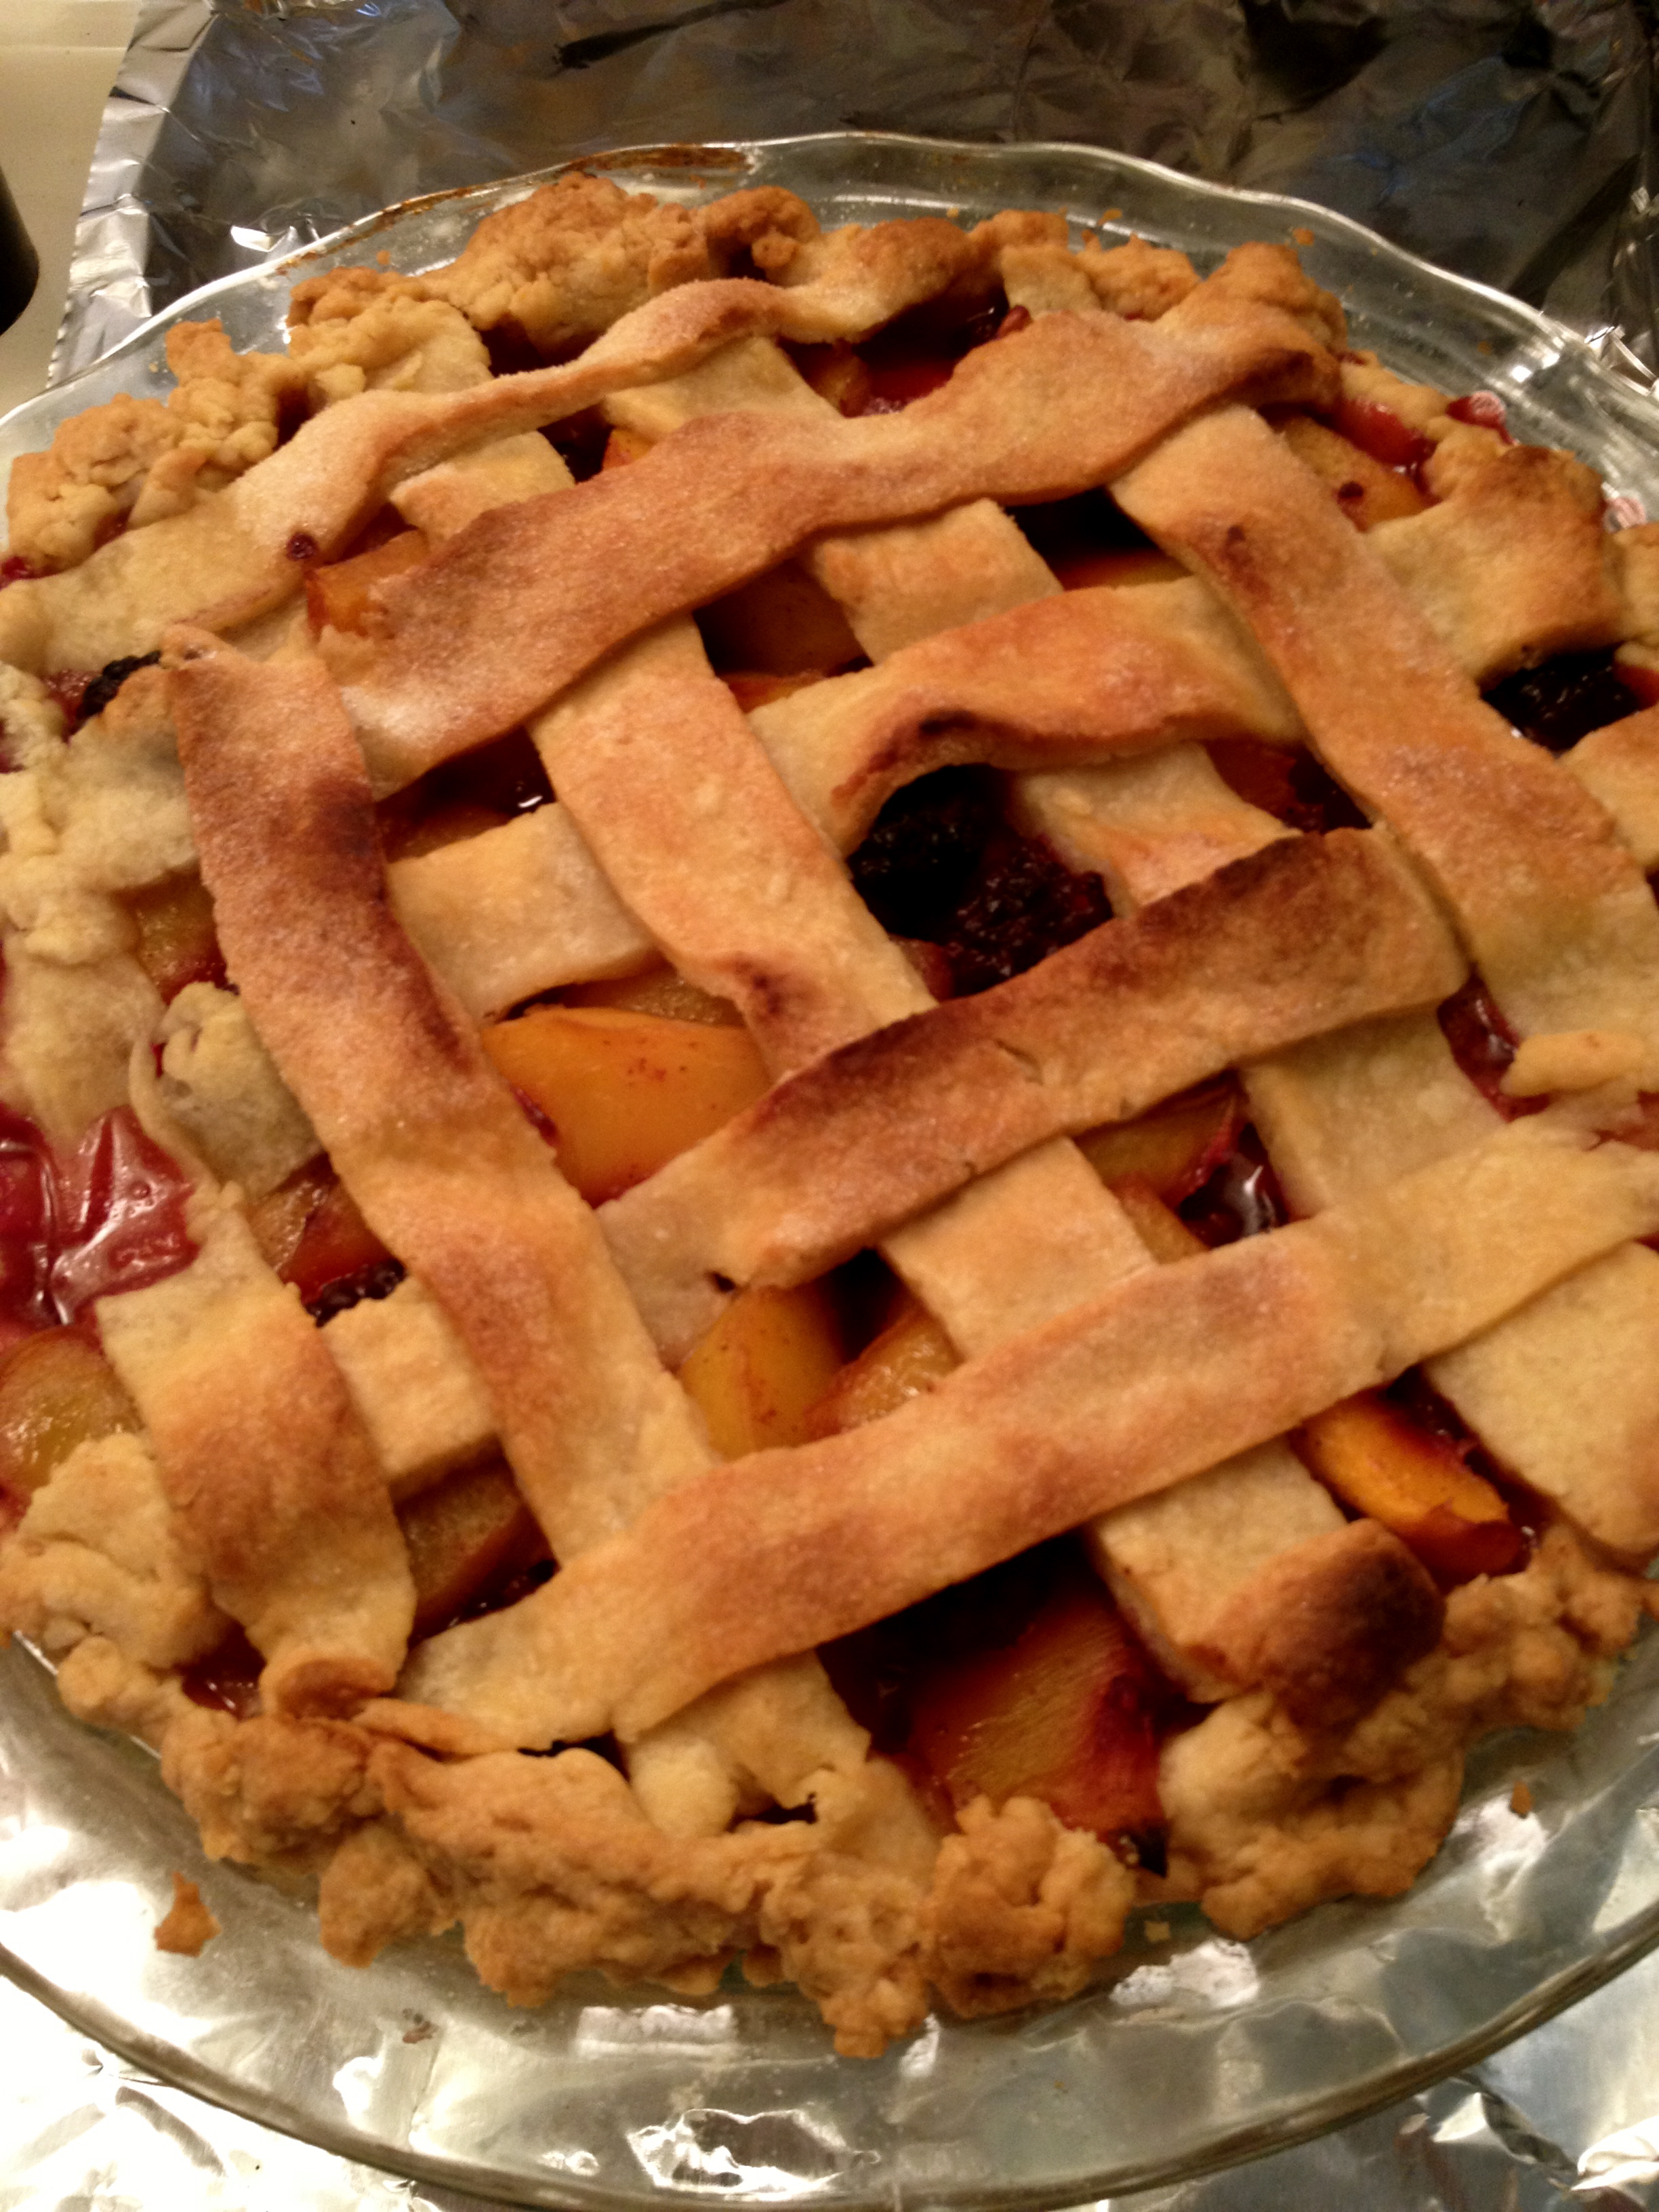
Place the pie dish on a cookie sheet lined with foil to prevent any excess juice from the pie to drip onto the bottom of the oven. Also, put foil around the pie crush so that it doesn’t burn. It’s oven time! The pie should take about 45 minutes, but let’s face it, not all ovens are the same, so just keep an eye on it! T.W.O. knows the pie is ready when the juices are bubbling!

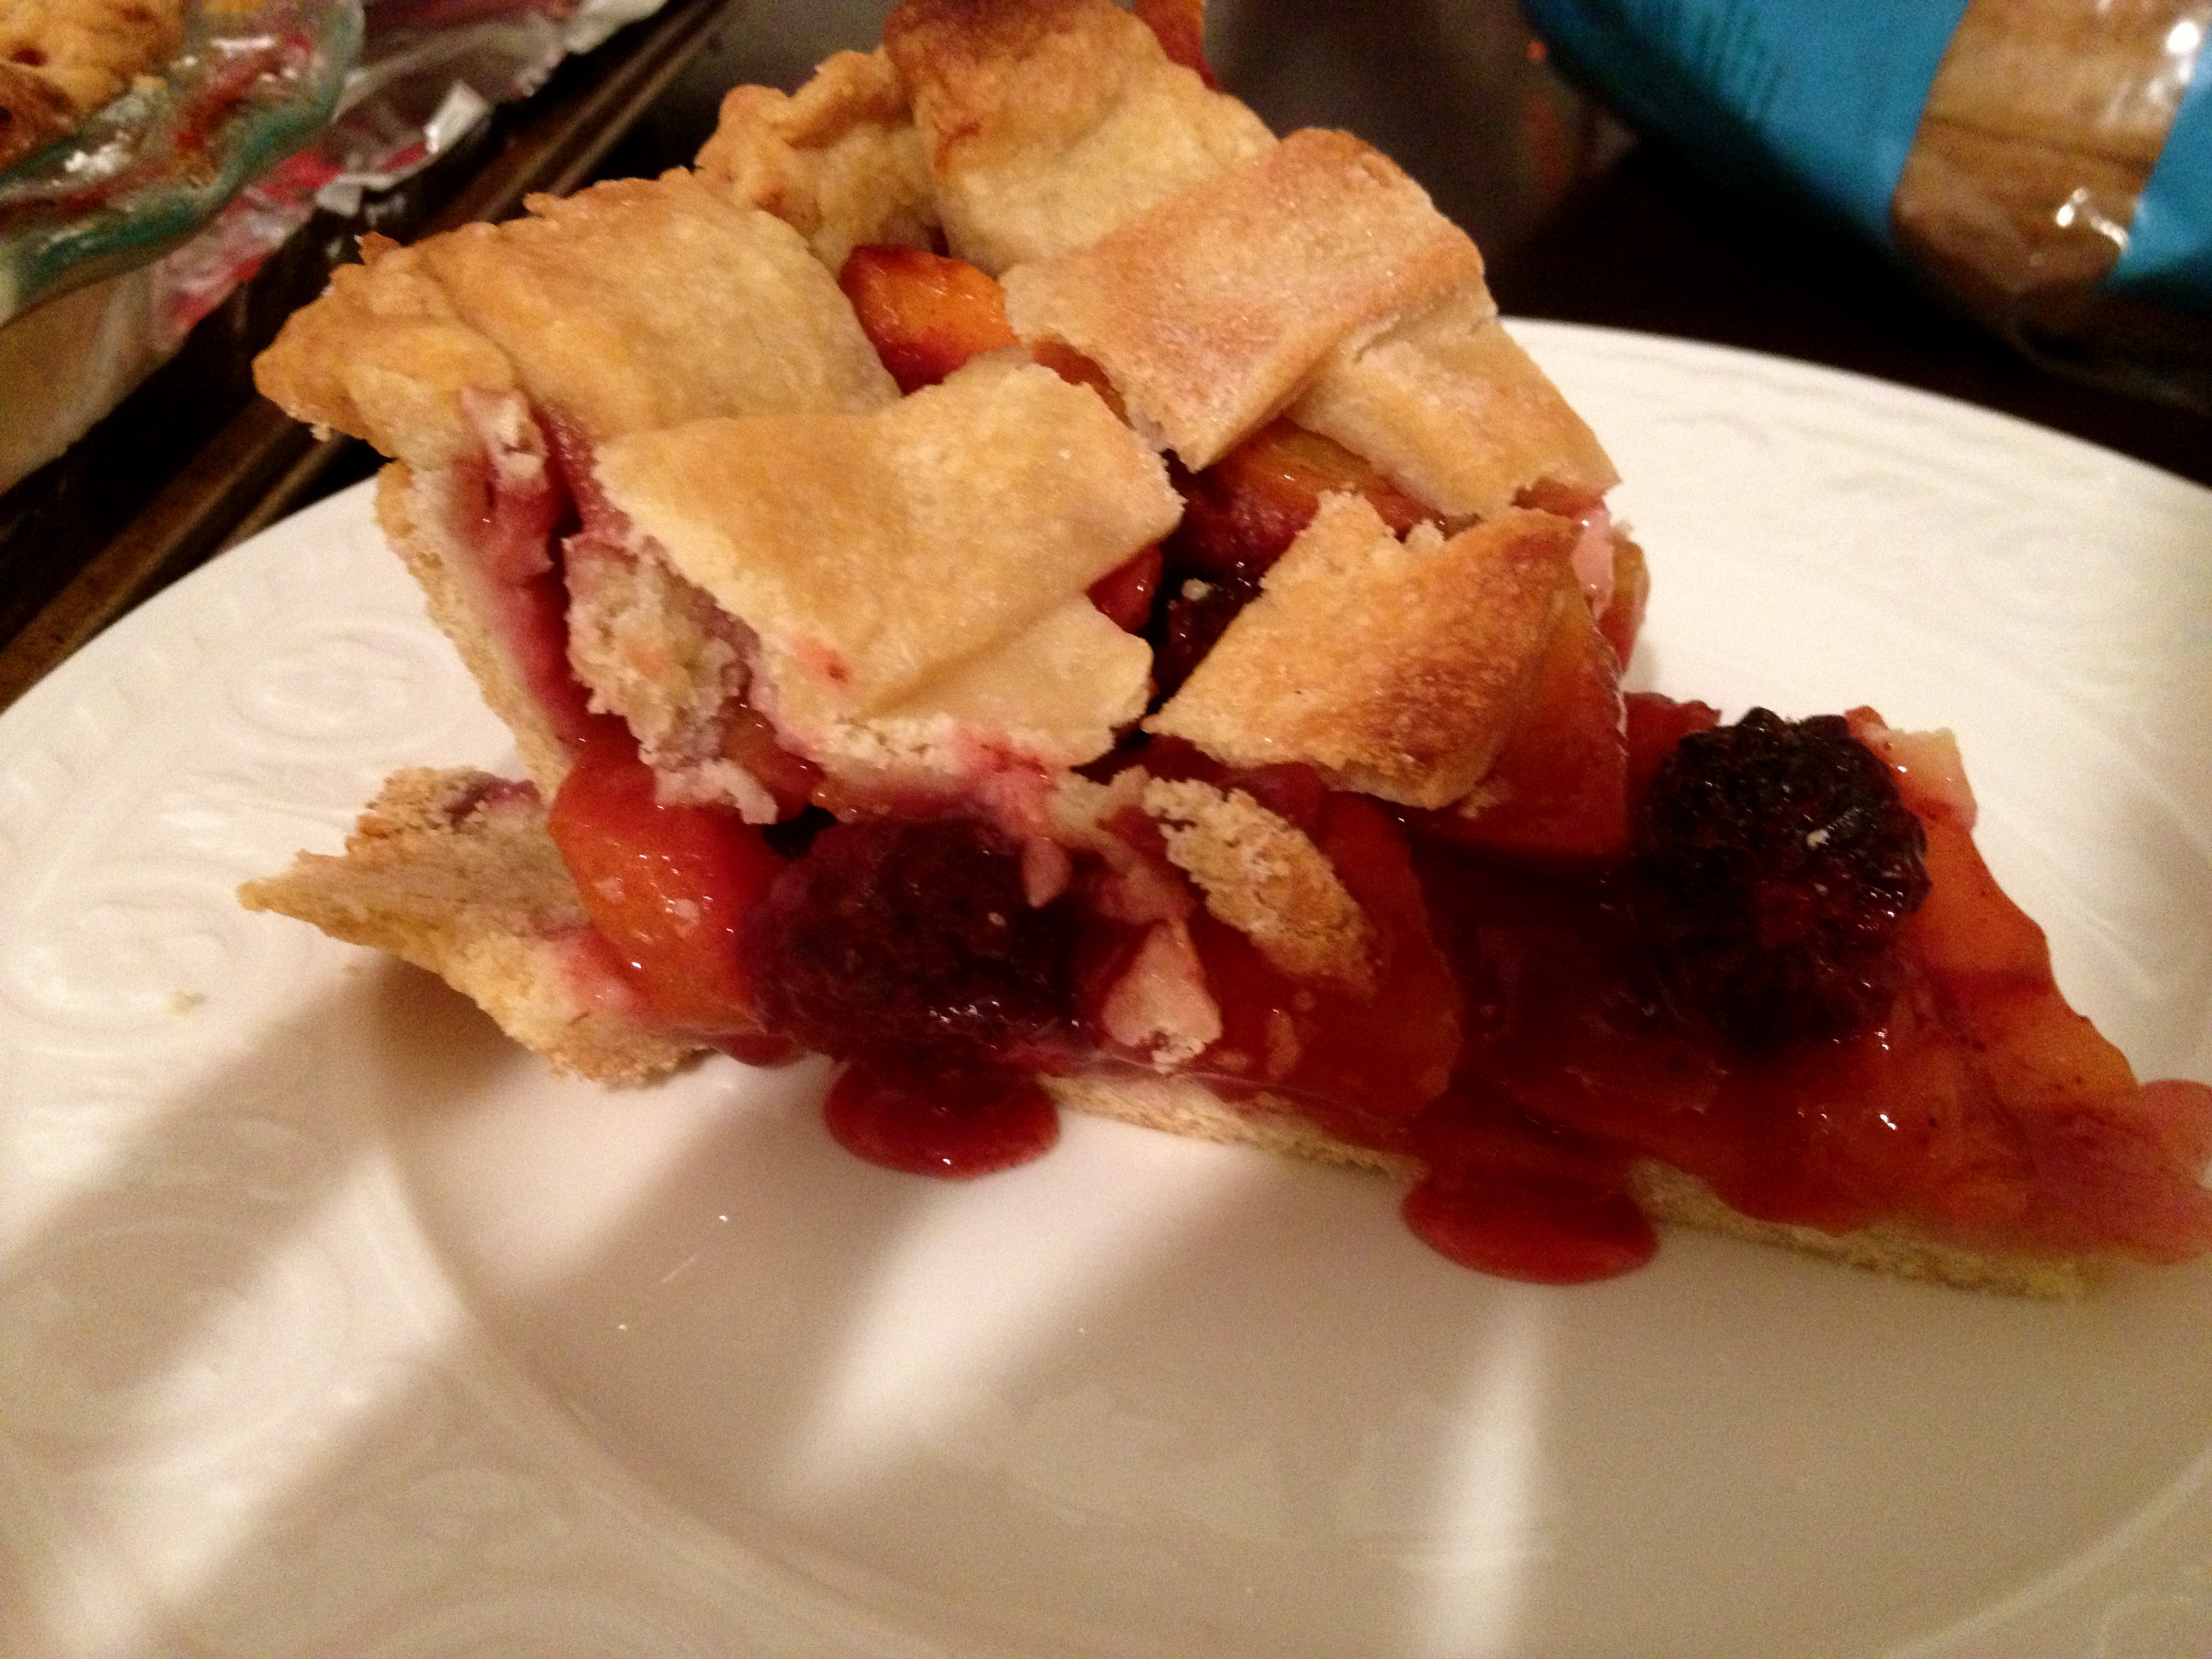
Once the pie is removed from the oven, T.W.O. likes to place it on a wire rack so that the pie can cool down a bit. Wait 15 minutes, 45 minutes or 4 hours to eat this pie- it’s delicious anytime! T.W.O. suggests adding a scoop of vanilla ice cream to your slice! Enjoy!!!