Pear & Almond Galette

image

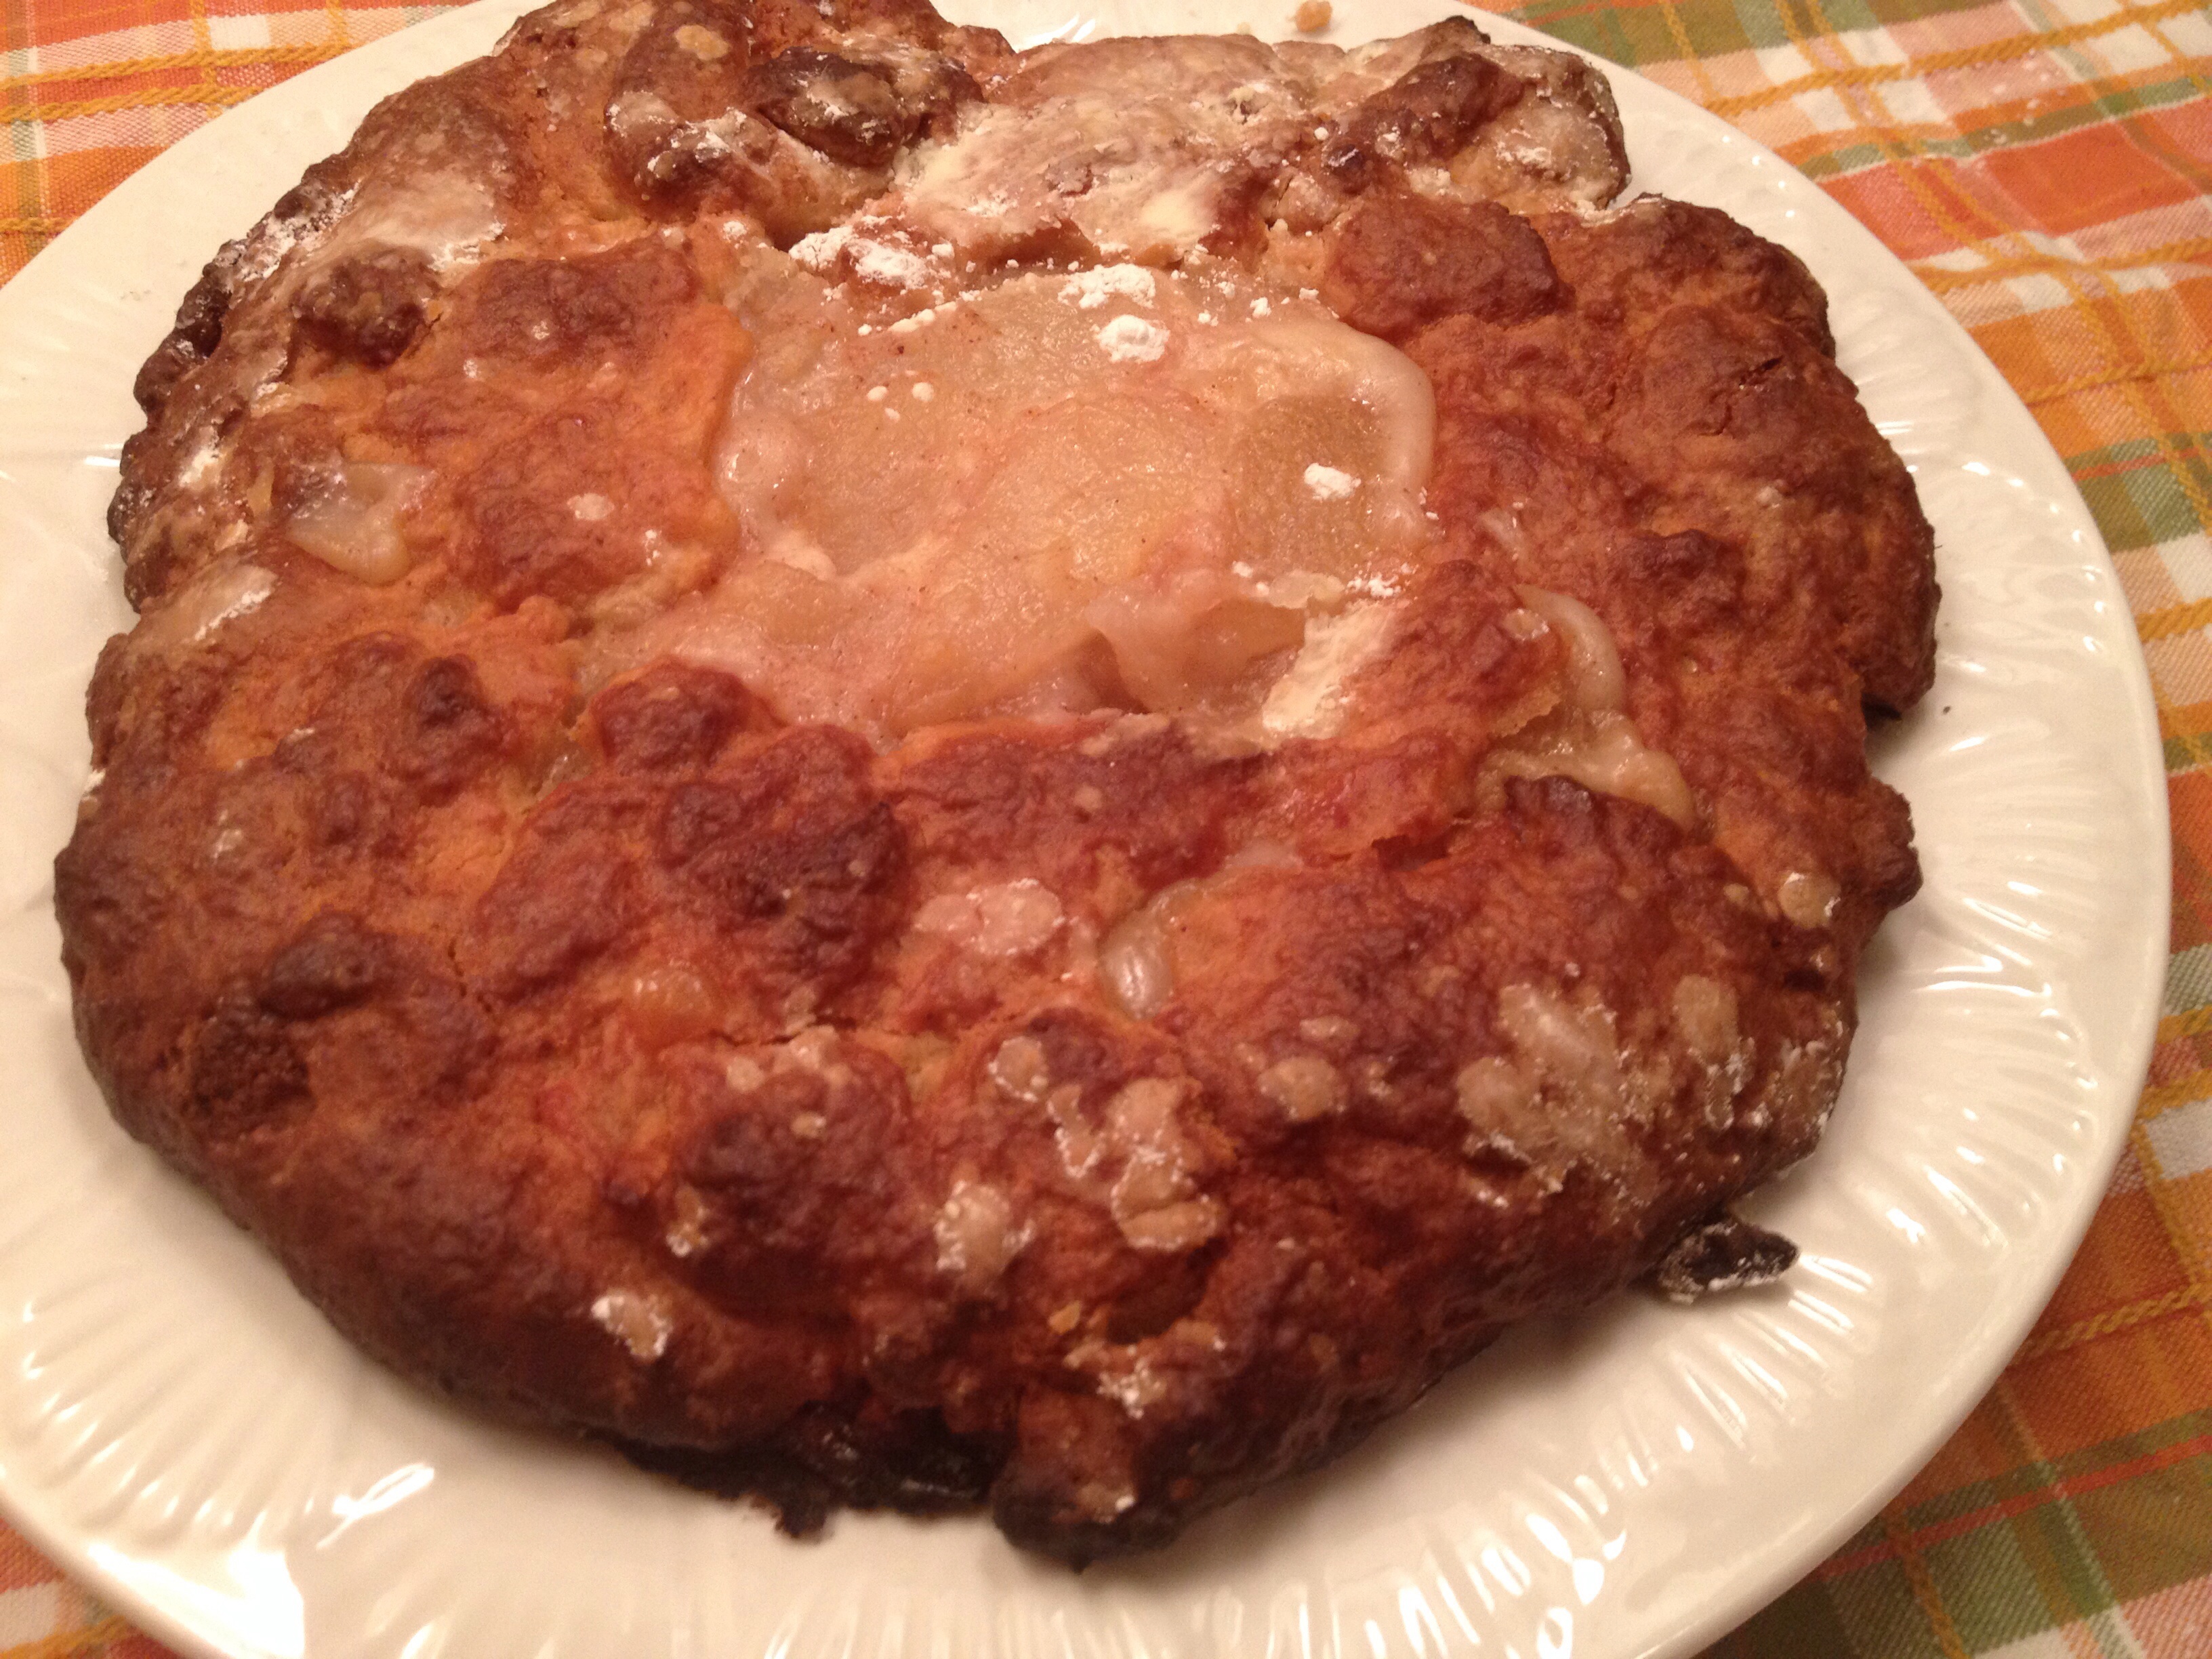
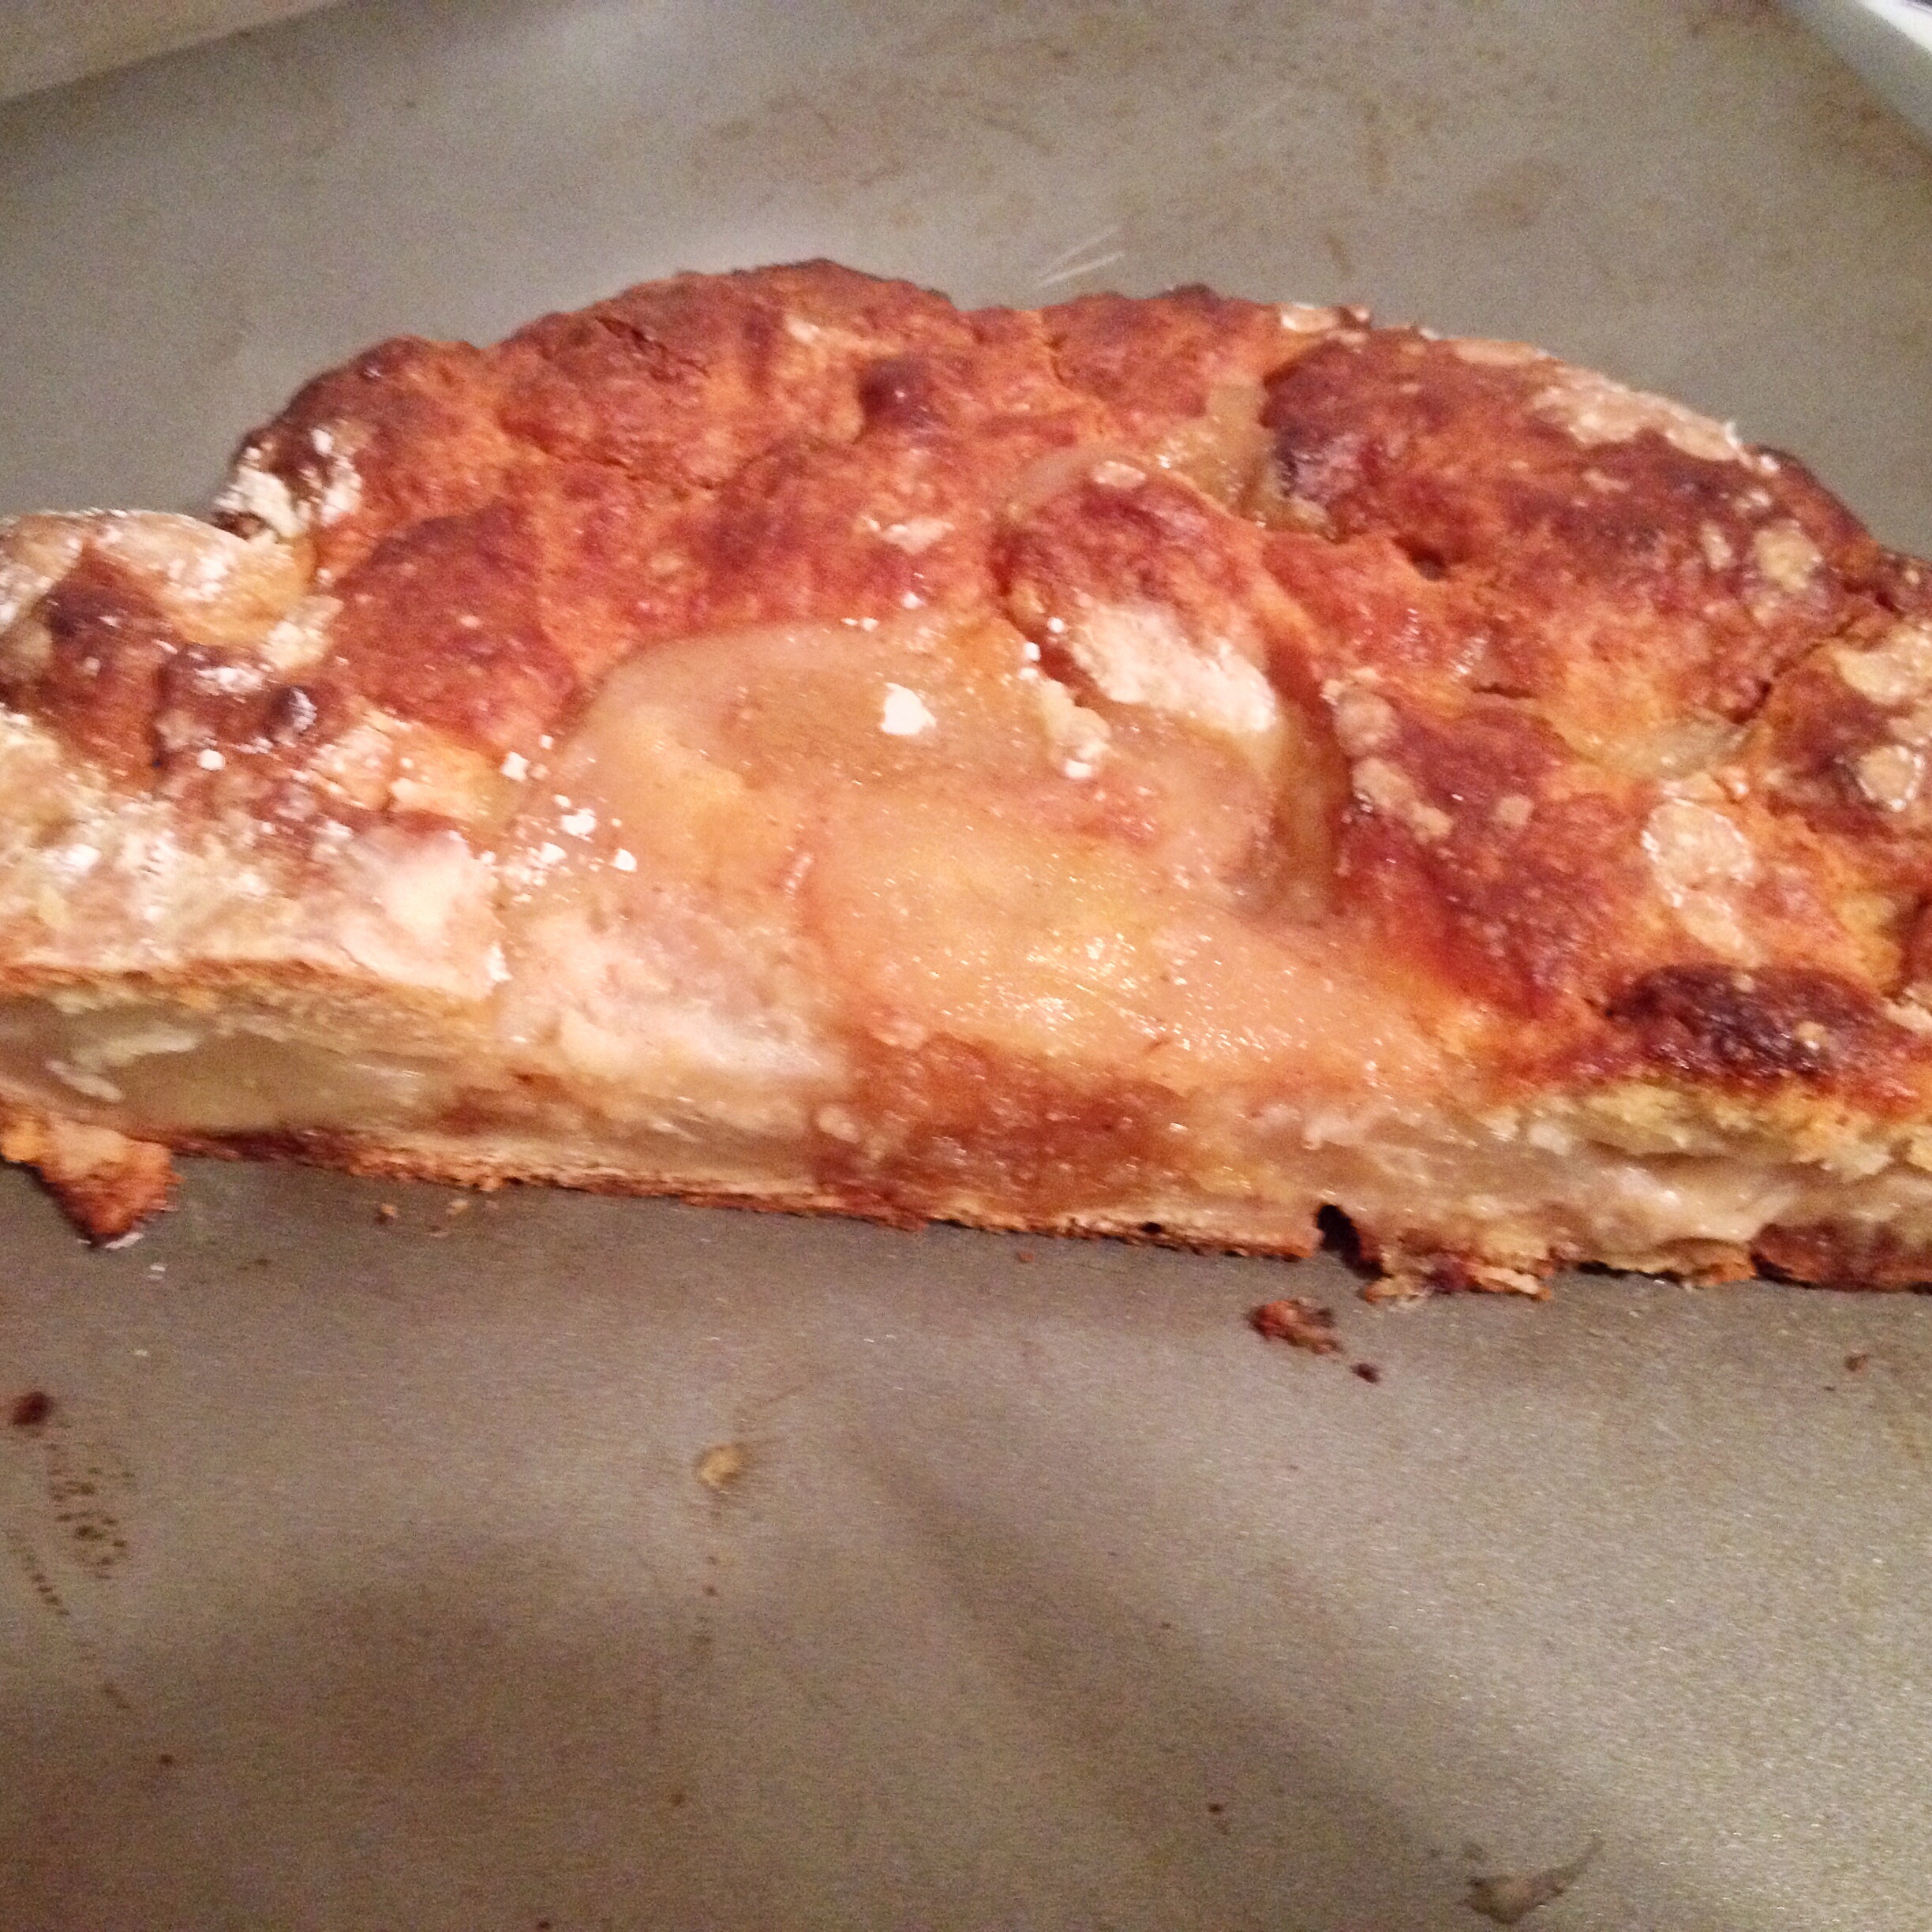
Galette’s are a quick and easy alternative to making a pie or tart. It doesn’t require a special pan or master technic. Check out how to make this pear & almond galette.

Ingredients

*Flaky Crust:

-2 cups flour
-¾ cup shortening (T.W.O. uses butter flavor)
– 2-3 Tablespoons sugar
– 5-6 Tablespoons cold water
-1 egg white
*Please note this recipe usually makes two pie crusts, so adjust accordingly based on the size you want your galette

Filling:

– 7 ounces almond paste
– 5 Comice Pears, peeled & sliced
– ¼ cup granulated sugar
– 2 Tablespoons cinnamon
– 2 Tablespoons nutmeg
– 2 Tablespoons cornstarch

image

Preheat oven to 425ᴼF. In a bowl mix the flour, shortening, sugar and cold water. T.W.O. uses a pastry blender to mix the dough together until you form it into a ball. Set aside.

In a bowl, carefully mix the sliced pears, sugar, cinnamon, nutmeg and cornstarch. Be careful not to break the pears while mixing.

image

To roll out the dough, make sure your surface is floured so that the dough doesn’t stick to your countertop or mat. Using your rolling pin, roll the dough out evenly in a circular shape. With the assistance of a spatula, move the rolled out dough into the oiled or “PAM’ed” baking pan or cookie sheet. Next, add the almond paste to the center of the dough. You want to make sure the clumps of paste are distributed evenly, leaving a 1 inch border around the edge of the circle. Next add the pear mixture on top of the almond paste.

Using a knife, cut ½ thick strips along the edge of the dough. Next, take each strip and fold over to make a crust. Each strip should be crisscross. Brush the crust with the egg white and sprinkle sugar on top.

image image

Bake the galette for about 35 minutes or until the fruit mixture is bubbling. Check the crust at 15 minutes and if the pie crust is getting brown, cover with foil. Remove the galette and let it sit for 15 minutes before serving. If you don’t plan to eat the galette right away, T.W.O. suggests warming it up prior to eating. Add a scoop of ice cream and you have yourself a gourmet dessert!!!

image image image

Happy Baking!!

T.W.O. signature

Gruyere Popovers

image

In T.W.O.’s family, we are always sharing new recipes and ideas, so we decided to post about the most recent inspiration from our sister-in-law (aka- our sister!). She invited us over for dinner and made Popovers that were delicious.  We loved the idea,  so put a spin on her popovers and added Gruyere cheese.  Check out how to make these fluffy, flakey, delectable treats!

 Thank you Becky for your inspiration!!! Xoxo

image

Ingredients:

– 3 cups milk, warmed
– 3 cups unbleached flour
– 6 eggs
– 2 cups Gruyere cheese, shredded

*Butter is optional for greasing the pan. T.W.O. used PAM instead.

image

Preheat oven to 400°F.  While the oven is preheating, place the muffin tins in the oven to warm.

In a bowl, beat the eggs until fluffy.  In a microwave safe bowl, heat the milk until the edges start to bubble.  If you have a thermometer, the milk should be about 125°F.  Slowly add the milk into the egg mixture making sure not to cook the eggs. Whisk together.  After the ingredients are mixed well, add the flour.

image

Remove the muffin pans from the oven and spray with baking oil.  Make sure you get the edges.  With a big spoon, pour the batter into each muffin tin, filling it about ¾ full.  Once you fill all the cups, place the muffin tin in the oven for 20 minutes.

image

After 20 minutes, reduce heat to 350°F and bake for another 10 minutes. Note – DO NOT open the oven.  This will let the heat out and your popovers won’t pop as well!  Use your oven light to check on the status of the delicious, airy treats! Also – placing the popovers on the middle rack helps circulate the air.

image

image

Here are a couple alternative ways to spice up your Popovers without the Gruyere cheese!

Cheddar Cheese Popovers:
– 2 cups cheddar cheese, shredded

Cinnamon & Sugar Popovers:
– 1 cup granulated sugar
– 2 Tablespoons vanilla
-1 Tablespoon cinnamon

Have a T.W.O.-Pop of a time baking!!!

T.W.O. signature

Pumpkin Coffee Cake

image

Pumpkin Chocolate Chip Cookies, Pumpkin Pie, Pumpkin Pancakes, Pumpkin Greek Yogurt…why not add Pumpkin Coffee Cake to the mix? T.W.O. just did that. Check out this savory coffee cake recipe that tastes like the holiday season in every bite! It’s a moist cake that can be enjoyed for breakfast, a snack and even dessert!

image
Crumb Layer
– ½ cup sugar
– 2 teaspoon cinnamon
– ½ teaspoon nutmeg
– 1 stick unsalted butter, melted
– 1 ½ cups unbleached flour
– Confectioner’s sugar (optional, to sprinkle on top of the cake when done)

 Cake Layer
– 1 ½ cups unbleached flour
– 2 teaspoons baking powder
– ½ teaspoon baking soda
-1 teaspoon cinnamon
– 1 teaspoon nutmeg
– 1 teaspoon cloves
– 1 stick unsalted butter, room temperature
-1 cup sugar
– 2 eggs
-1 Tablespoon vanilla
-½ cup sour cream
– ¾ cups Libby’s canned pumpkin

Preheat oven to 350ᴼF.

To Make the Crumb Topping:

Combine sugar, cinnamon and nutmeg in a bowl. Slowly add the melted butter and flour into the mixture. Mix well and set aside.

image

To Make the Cake:

Cream the butter, sugar in a bowl. (T.W.O. uses a KitchenAid mixer!) Add the eggs, pumpkin, vanilla and sour cream. Make sure all the ingredients are mixed well before adding in the flour, baking powder, baking soda, cinnamon, nutmeg and cloves. Once combined, get ready to assemble!

Pour the cake batter into a greased 9” round pan (or a spring-form pan, which makes for a better presentation of the cake!). Make sure the batter is evenly distributed. Add the crumble to the top of the batter and bake for 45 minutes or until a butter knife comes out clean. Allow the cake to cool for 15 minutes before taking it out of the pan.

image image

Is it done yet?  Sure is!!!!

image image

image

Grab yourself some coffee, tea or even a glass of vino to enjoy this delectable, seasonal dessert!

Cheers

T.W.O. signature

Pumpkin Bread + Roaring Treat

image

Breakfast. Lunch. Dinner. Dessert – doesn’t matter what time of day you eat Pumpkin Bread.  It is good, warm, cold or in some cases frozen! Find out how to make T.W.O.’s delicious pumpkin bread recipe below. In honor of Halloween, there is a special bonus recipe included in the post.  Scroll down to get a T.W.O. Trick or Treat!

image

Ingredients:

– 3 cups sugar
– 1 cup vegetable oil
– 2/3 cup water
– 4 eggs
– 2 cups canned pumpkin (T.W.O. always adds two extra spoonfuls in the dough)
– 3 ½ cups unbleached flour
– 2 teaspoons baking soda
– 1 teaspoon baking powder
– 1 Tablespoon nutmeg
– 1 Tablespoon cinnamon
– 1 teaspoon cloves

Preheat oven to 350 degrees. Using a mixer (T.W.O. uses a KitchenAid), cream sugar and oil together until it becomes a little fluffy. Add eggs, pumpkin and water. Once everything is mixed well, slowly add the flour, soda, and powder. Make sure to scrape the bottom of the bowl so that the wet and dry ingredients are combined. Next, add in nutmeg, cinnamon and cloves. Place batter into greased pans and put in the oven for about 1.5 hours or until down.

image

image

A T.W.O. Trick or Treat!!

Since Halloween is today, T.W.O. decided to dress up their pumpkin bread. That’s right, food can play dress up too! This year, T.W.O. went with the “tiger” theme. Let’s see how this recipe roars! Thanks to T.W.O.’s brother for the vision of combining t.w.o. favorite ingredients…pumpkin and brownie!

image

The main ingredient to make this tiger pumpkin bread is brownie mix. Follow the directions on the box and set the brownie batter aside. Make the pumpkin bread batter as given above, but instead of pouring all the pumpkin bread batter into the pan, you are going to want to make layers with the brownie batter.

Your final product: sassy bread that is sure to WOW your audience! The rich gooeyness of the brownie mix and the fluffy pumpkin bread is a great combination.

imageimage

Happy Baking!

image

Chocolate Chip Banana Bread

image

Don’t throw away those brown bananas you have sitting on the counter; instead make chocolate chip banana bread! And T.W.O. did that exact thing for a Sunday afternoon project. It’s a great recipe for breakfast, a snack or even a sweet tooth craving after dinner.

image

Ingredients

– 2 ½ cups flour
-1 cup sugar
-3 ½ teaspoons baking powder
– 3 tablespoons vegetable oil
-¾ cups milk (or almond milk)
-1 egg
-1 cup mashed bananas, ripe (~2 to 3 medium bananas)
-2-3 cups Chocolate Chips

Preheat oven to 350º.  In a mixer (T.W.O. uses a KitchenAid), cream the oil, sugar and egg. Once mixed, add the mashed bananas and milk.

image

Next, slowly add the flour and the baking powder. The batter should be thick, but not sticky. After about 4 minutes, stop the mixer. Slowly fold in (or on low speed in the mixer) the chocolate chips. Depending on your love for chocolate, feel free to add more or less!

image

Put in the oven and bake for 30-40 minutes.  You know the bread is ready, when you poke the loaf with a butter knife and it comes out clean!

image

image

Happy Baking!

T.W.O. signature