Peanut Butter Cups

image

The idea of making homemade candy might intimidate a lot of people. It sounds difficult, time consuming, and a lot harder than just getting in a car and driving to the market. Well put down those car keys and stay put because T.W.O. has the recipe for you!  Candy making can be easy, fun, and tastier than store-bought candy! We decided to take one of our favorite ingredients-peanut butter- and make homemade peanut butter cups! You will never want to buy store bought Peanut Butter Cups after making this recipe!

Ingredients

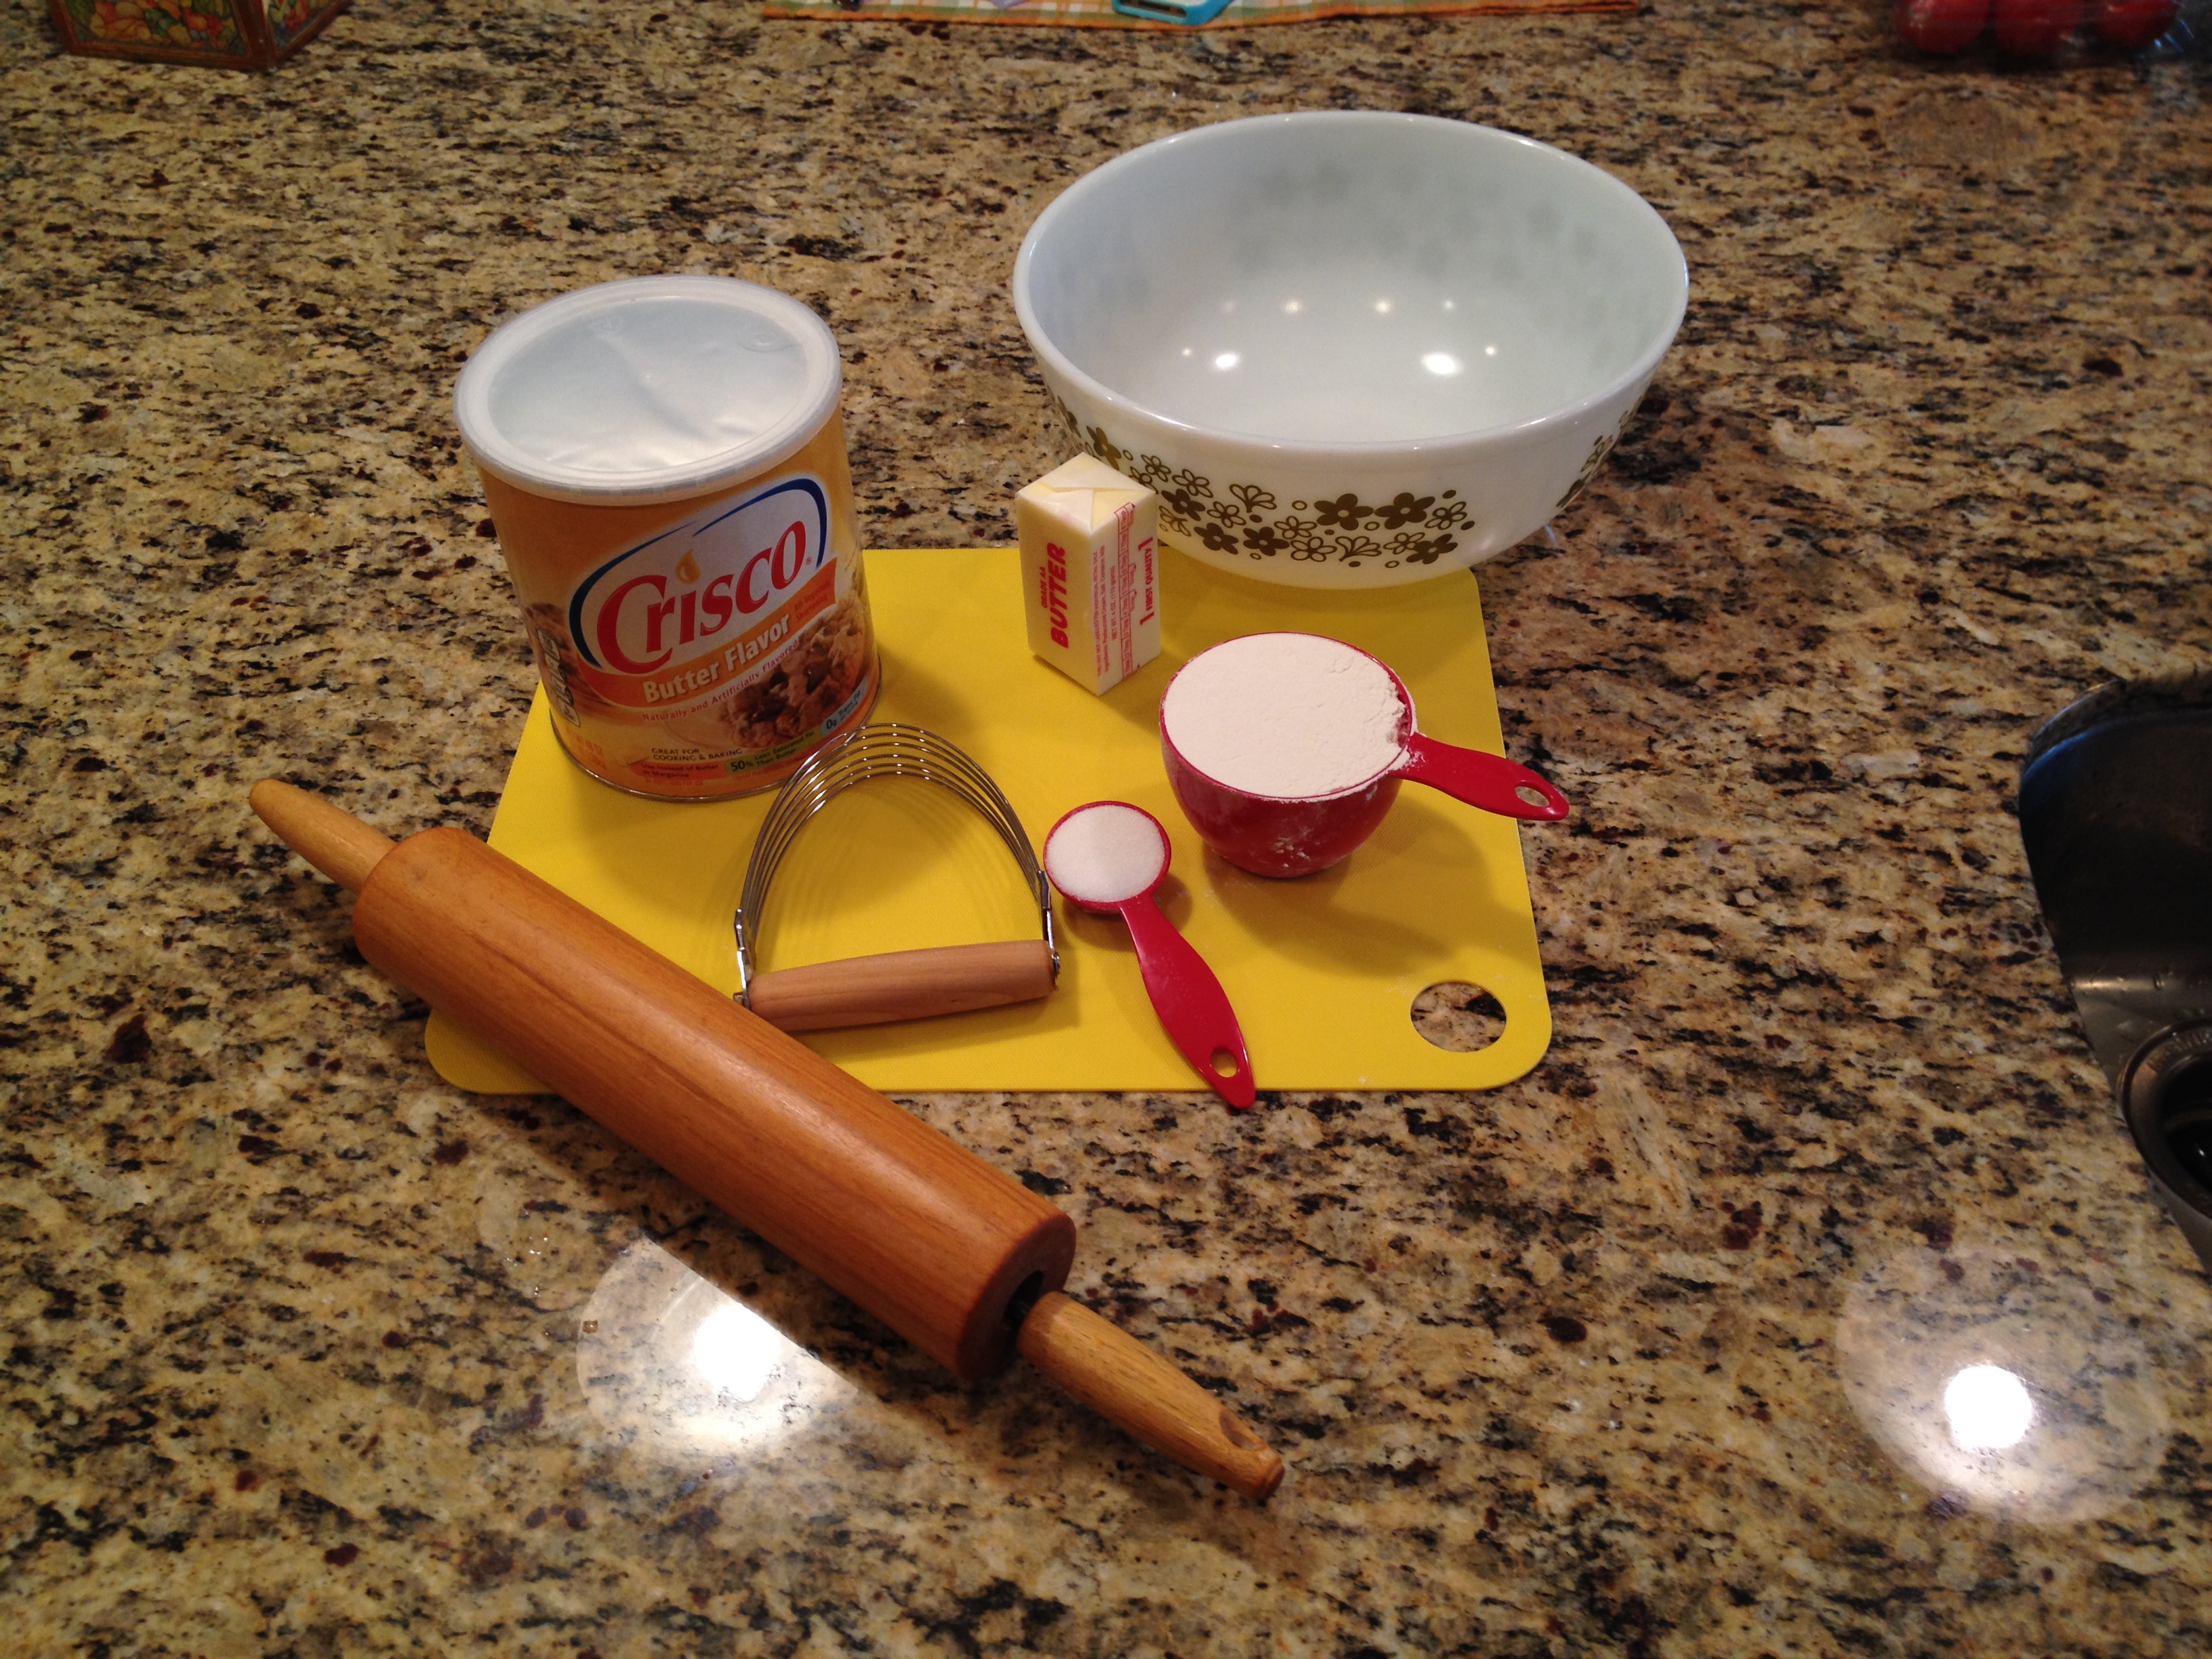
-1/2 cup peanut butter*
-2 Tablespoons unsalted butter
-2 Tablespoons light brown sugar, packed
-1/2 cup confectioners’ sugar
-pinch of salt
-1 Tablespoon Crisco or butter
-2 to 3 cups chocolate chips

IMG_3142

 *T.W.O. used crunchy peanut butter, but also suggests using creamy-both are delicious!

First, line a muffin pan with paper liners and set aside. Mini muffin pans can also be used for smaller candy pieces.

Next, add the peanut butter and brown sugar to a medium saucepan. Set over low-medium heat, stirring constantly until the mixture is melted and smooth. When the mixture starts to bubble around the edges, take the pan from the heat and add the confectioners’ sugar in steps, mixing well after each addition. Then add a pinch of salt and mix. Set aside to cool.

IMG_3143

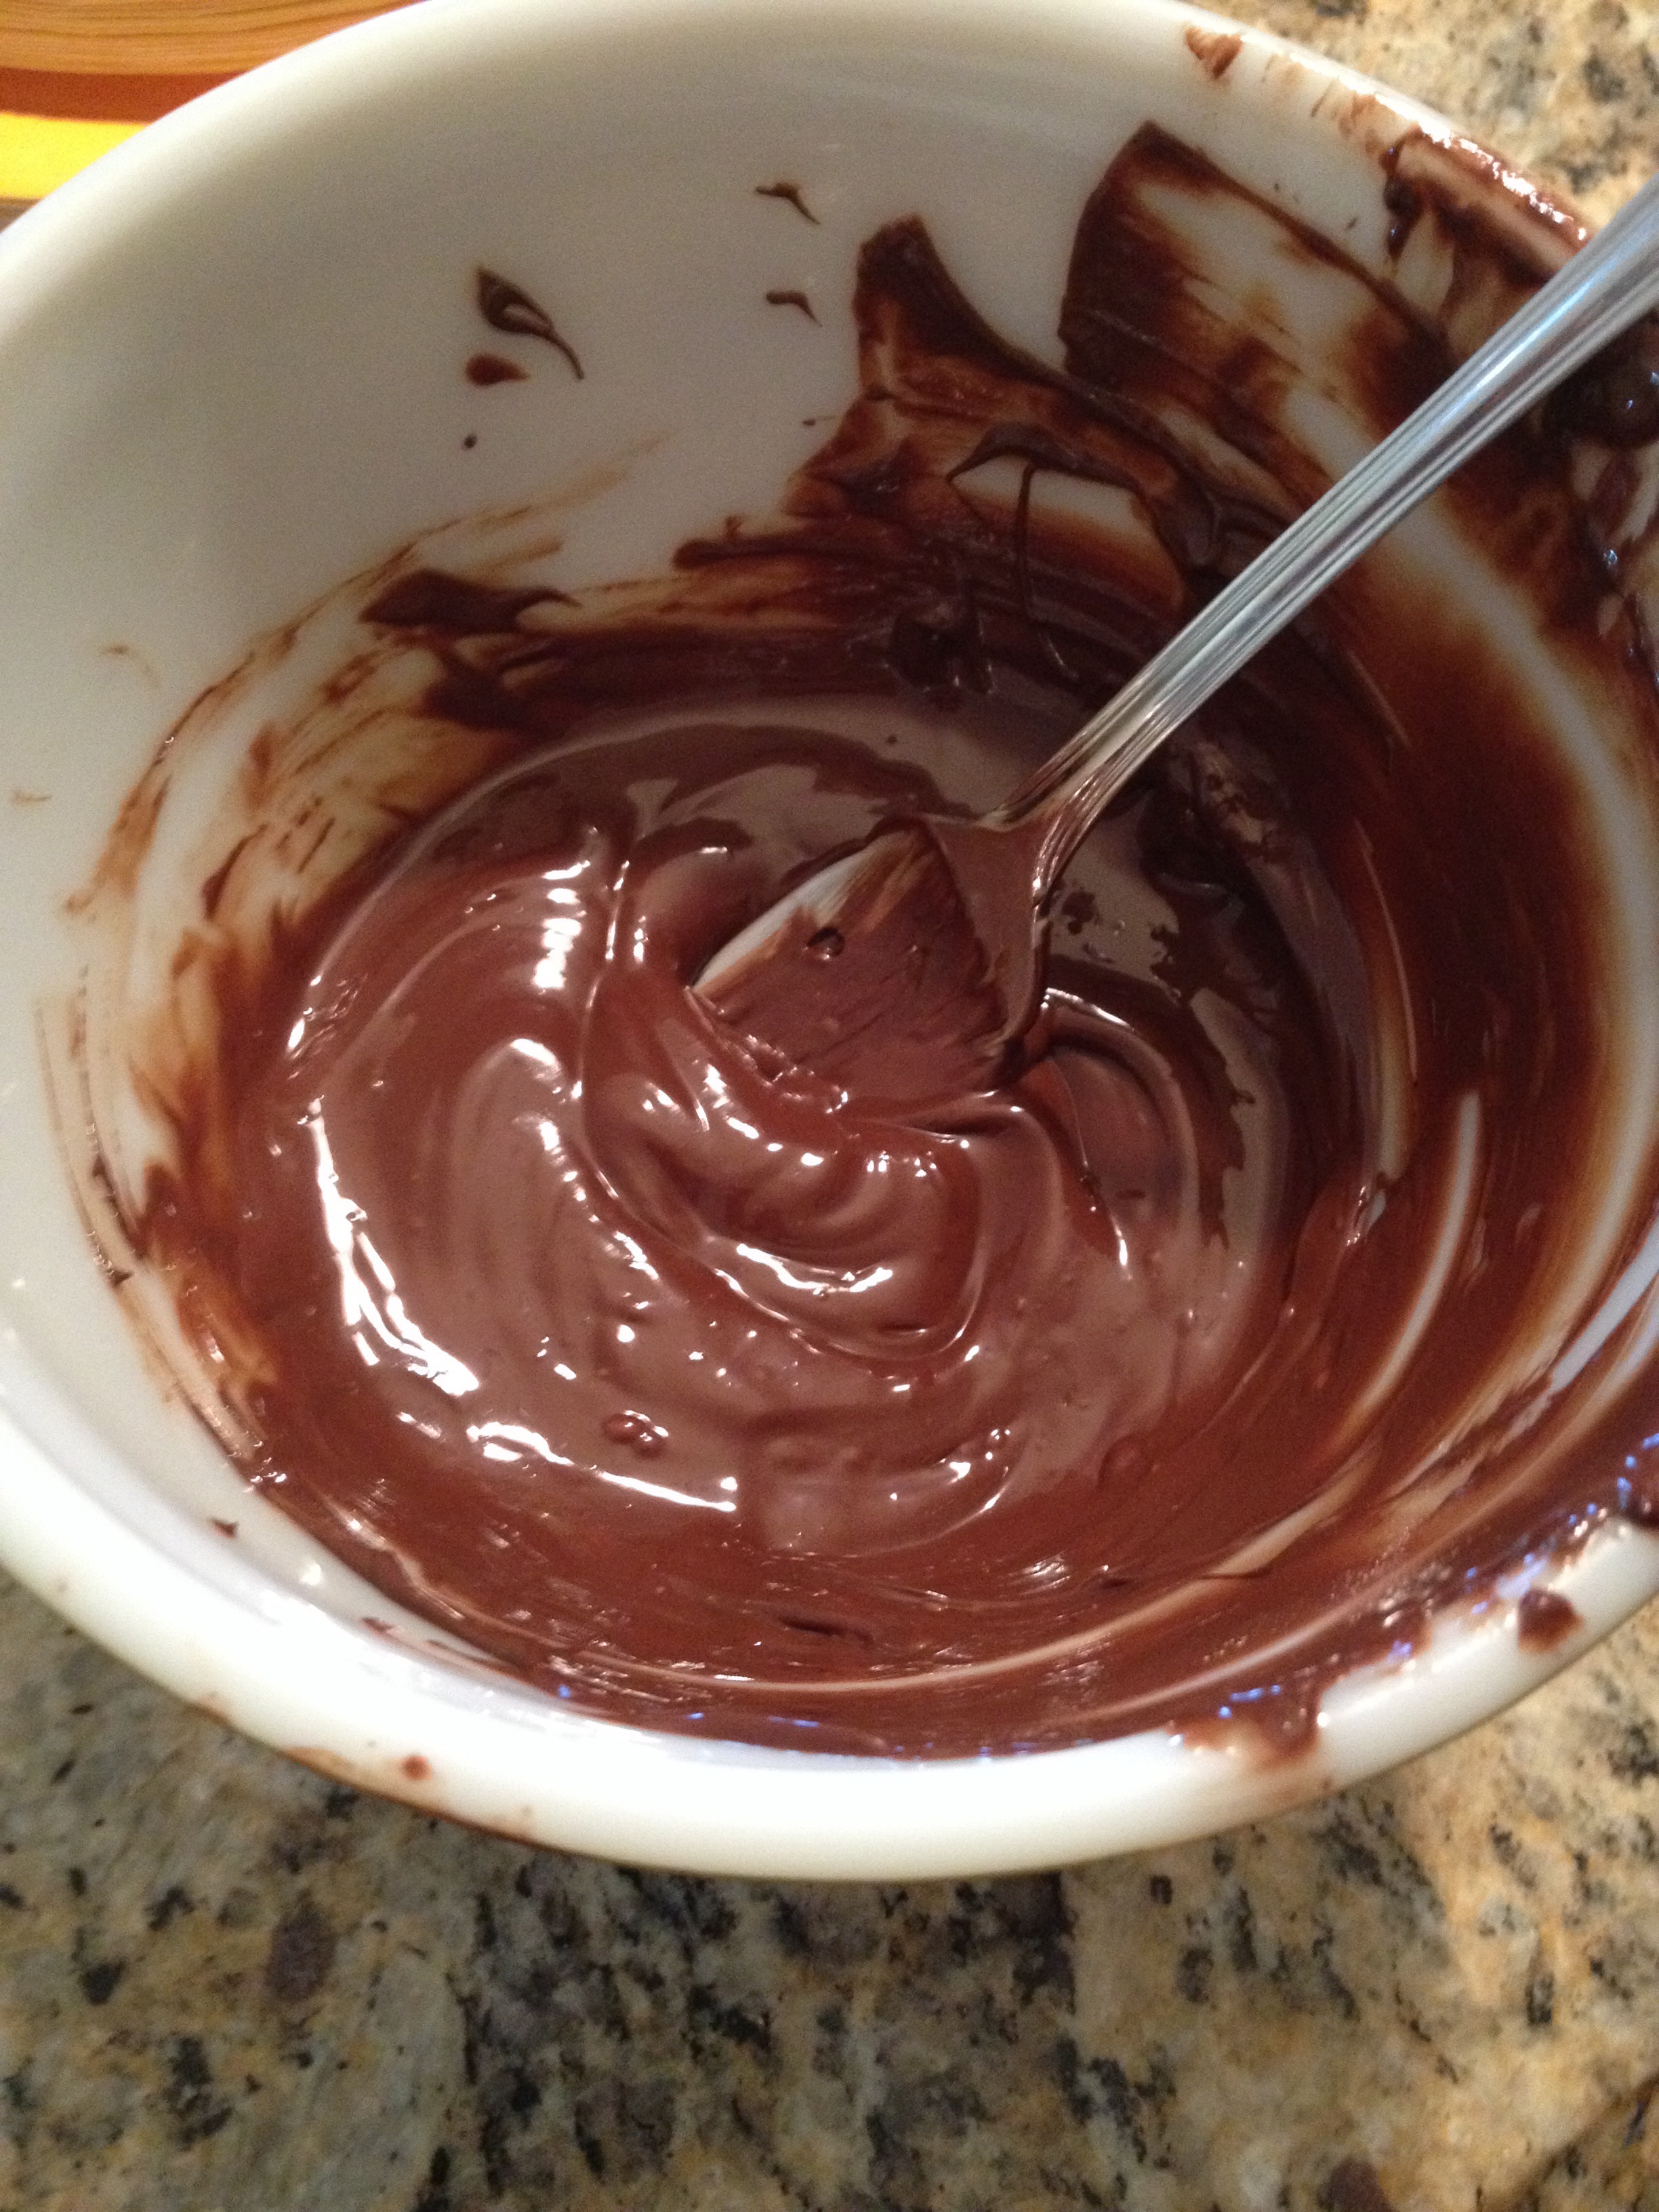
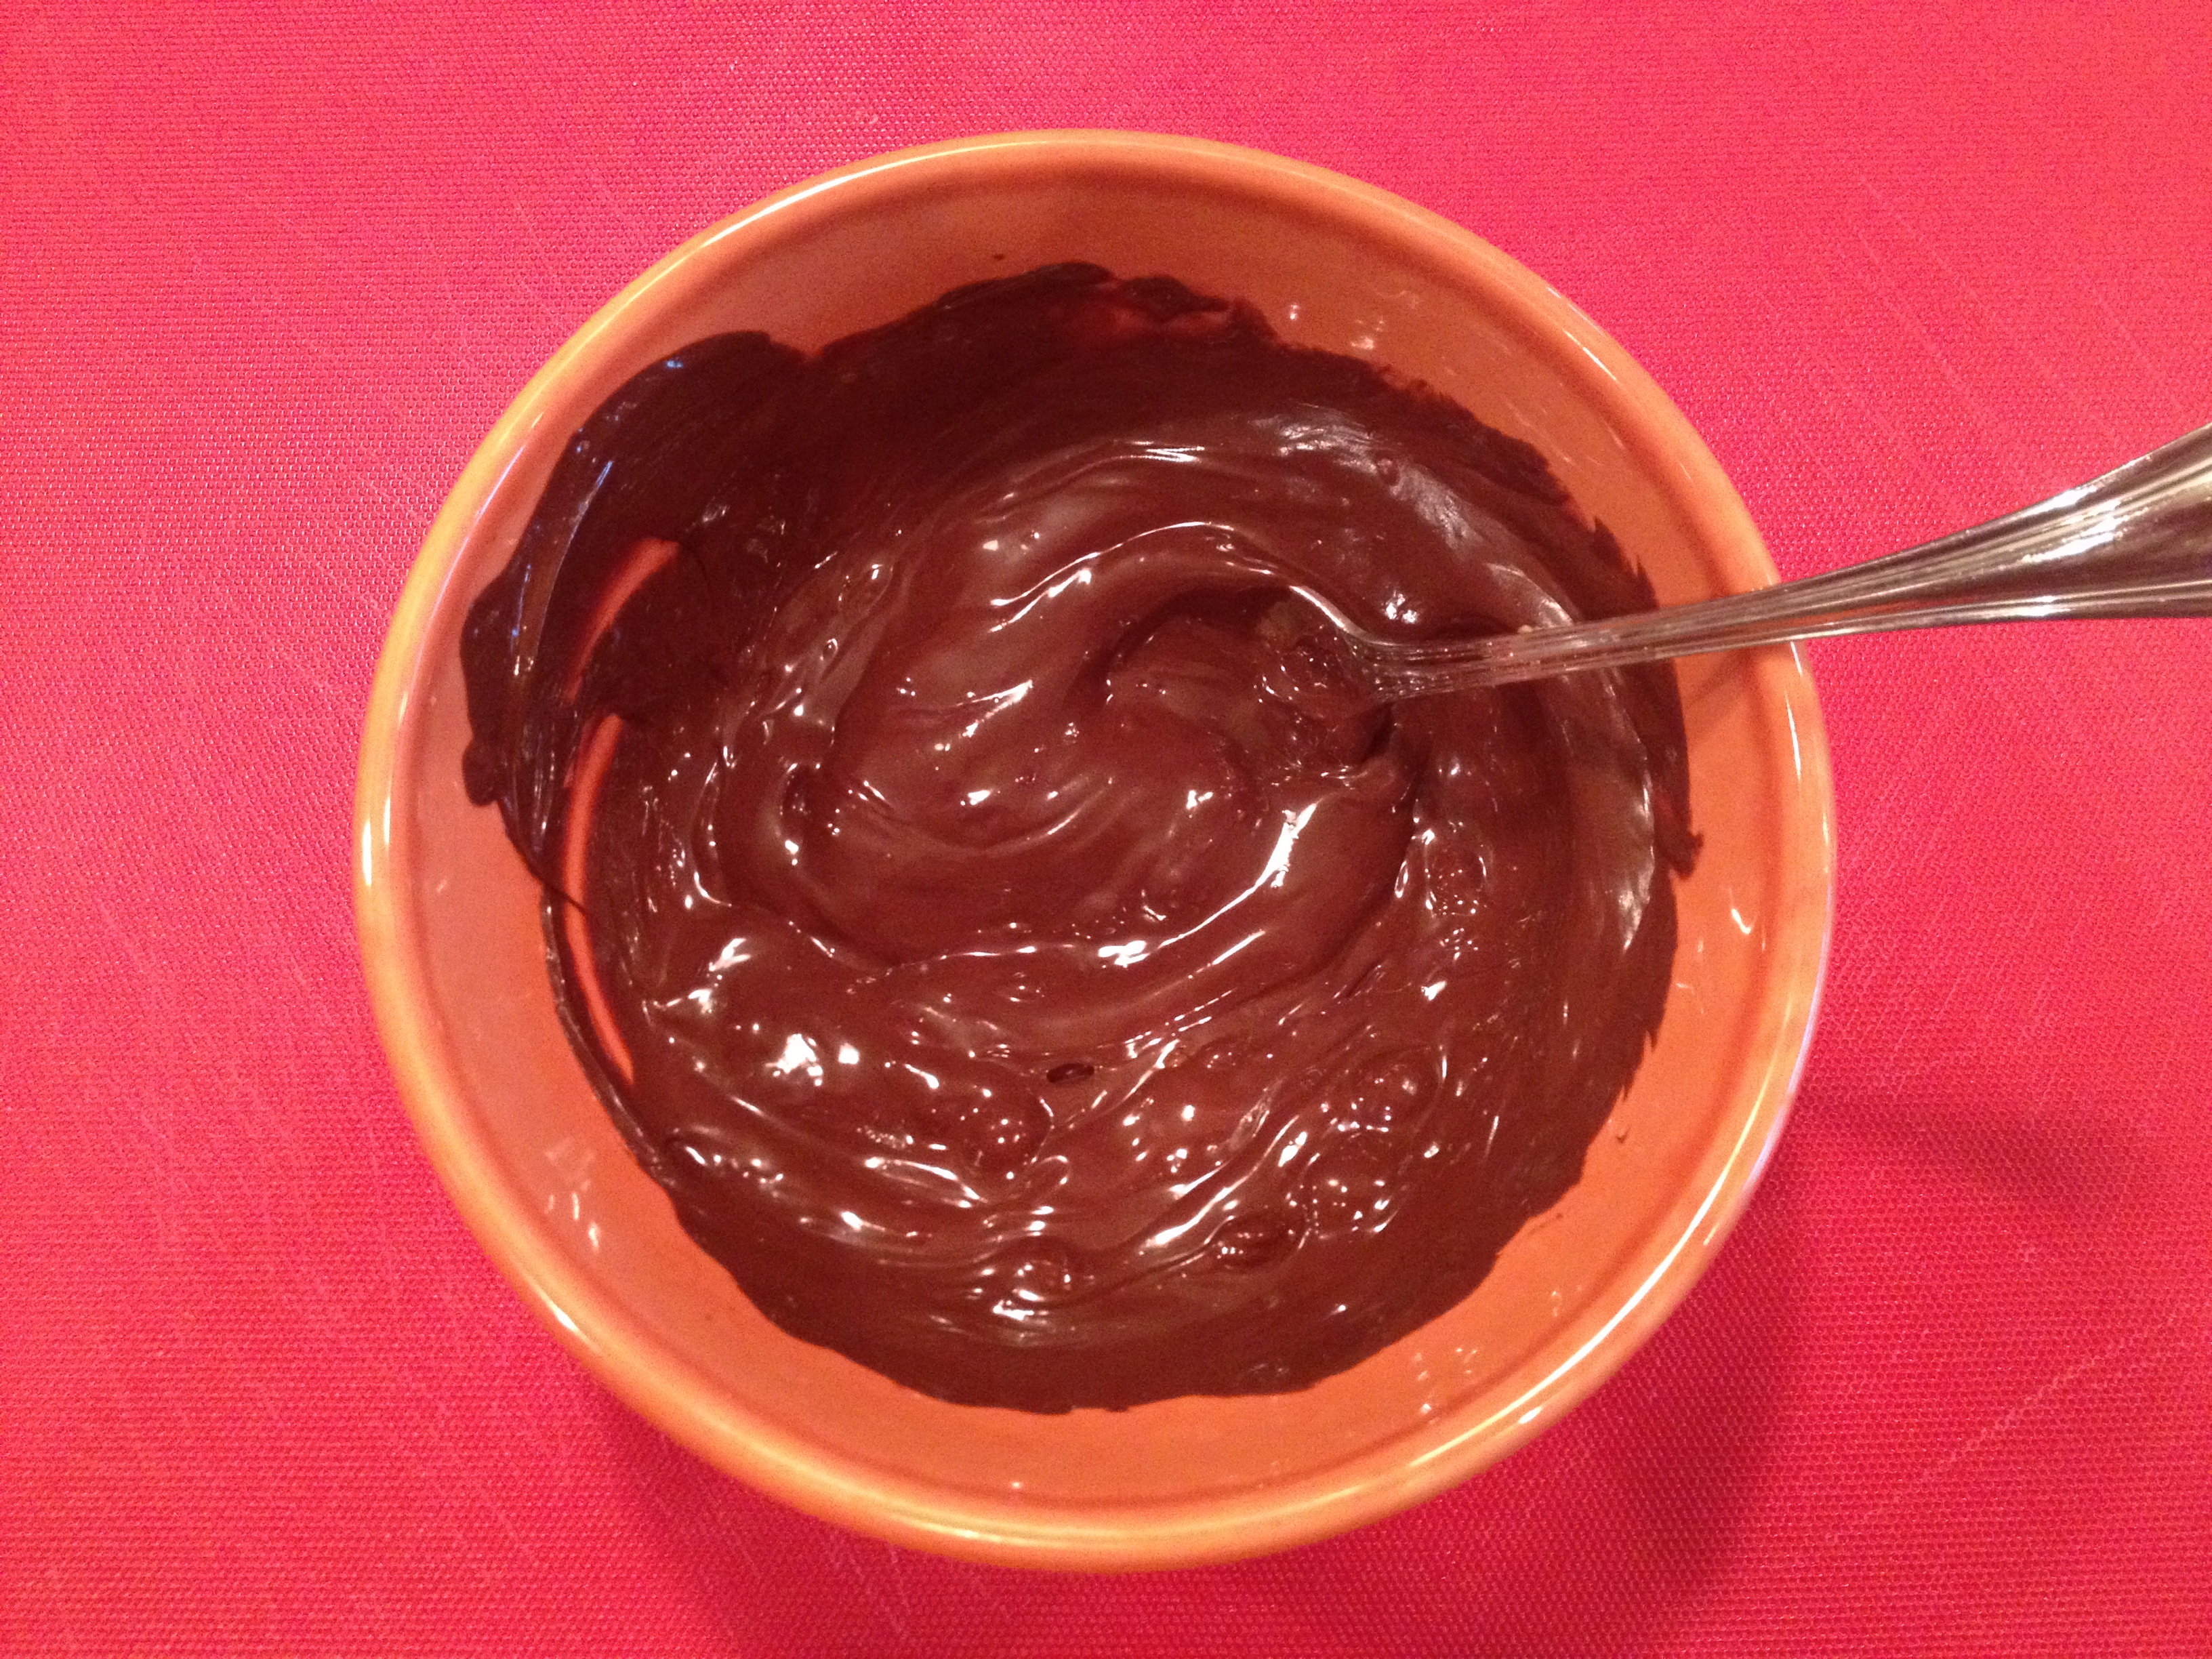
While the peanut butter mixture is cooling, place about 1-1½ cups chocolate chips into a microwave safe bowl. Add the Crisco or butter to the chocolate chips and microwave for about 30-45 seconds. Take the bowl out of the microwave and mix. If the chocolate chips are not fully melted, place back into the microwave for a very short time. You don’t want them to burn!

IMG_3144

Once melted, spoon the melted chocolate into one well of the prepared muffin tin. Use a paintbrush or the back of the spoon to spread the chocolate about ¾ of the way up the sides of the paper liner. Fill one well at a time so the chocolate doesn’t set before you have time to spread it. Once all the liners have a chocolate coating, place the muffin tin into the freezer for about 10 minutes or until the chocolate has set.

IMG_3145

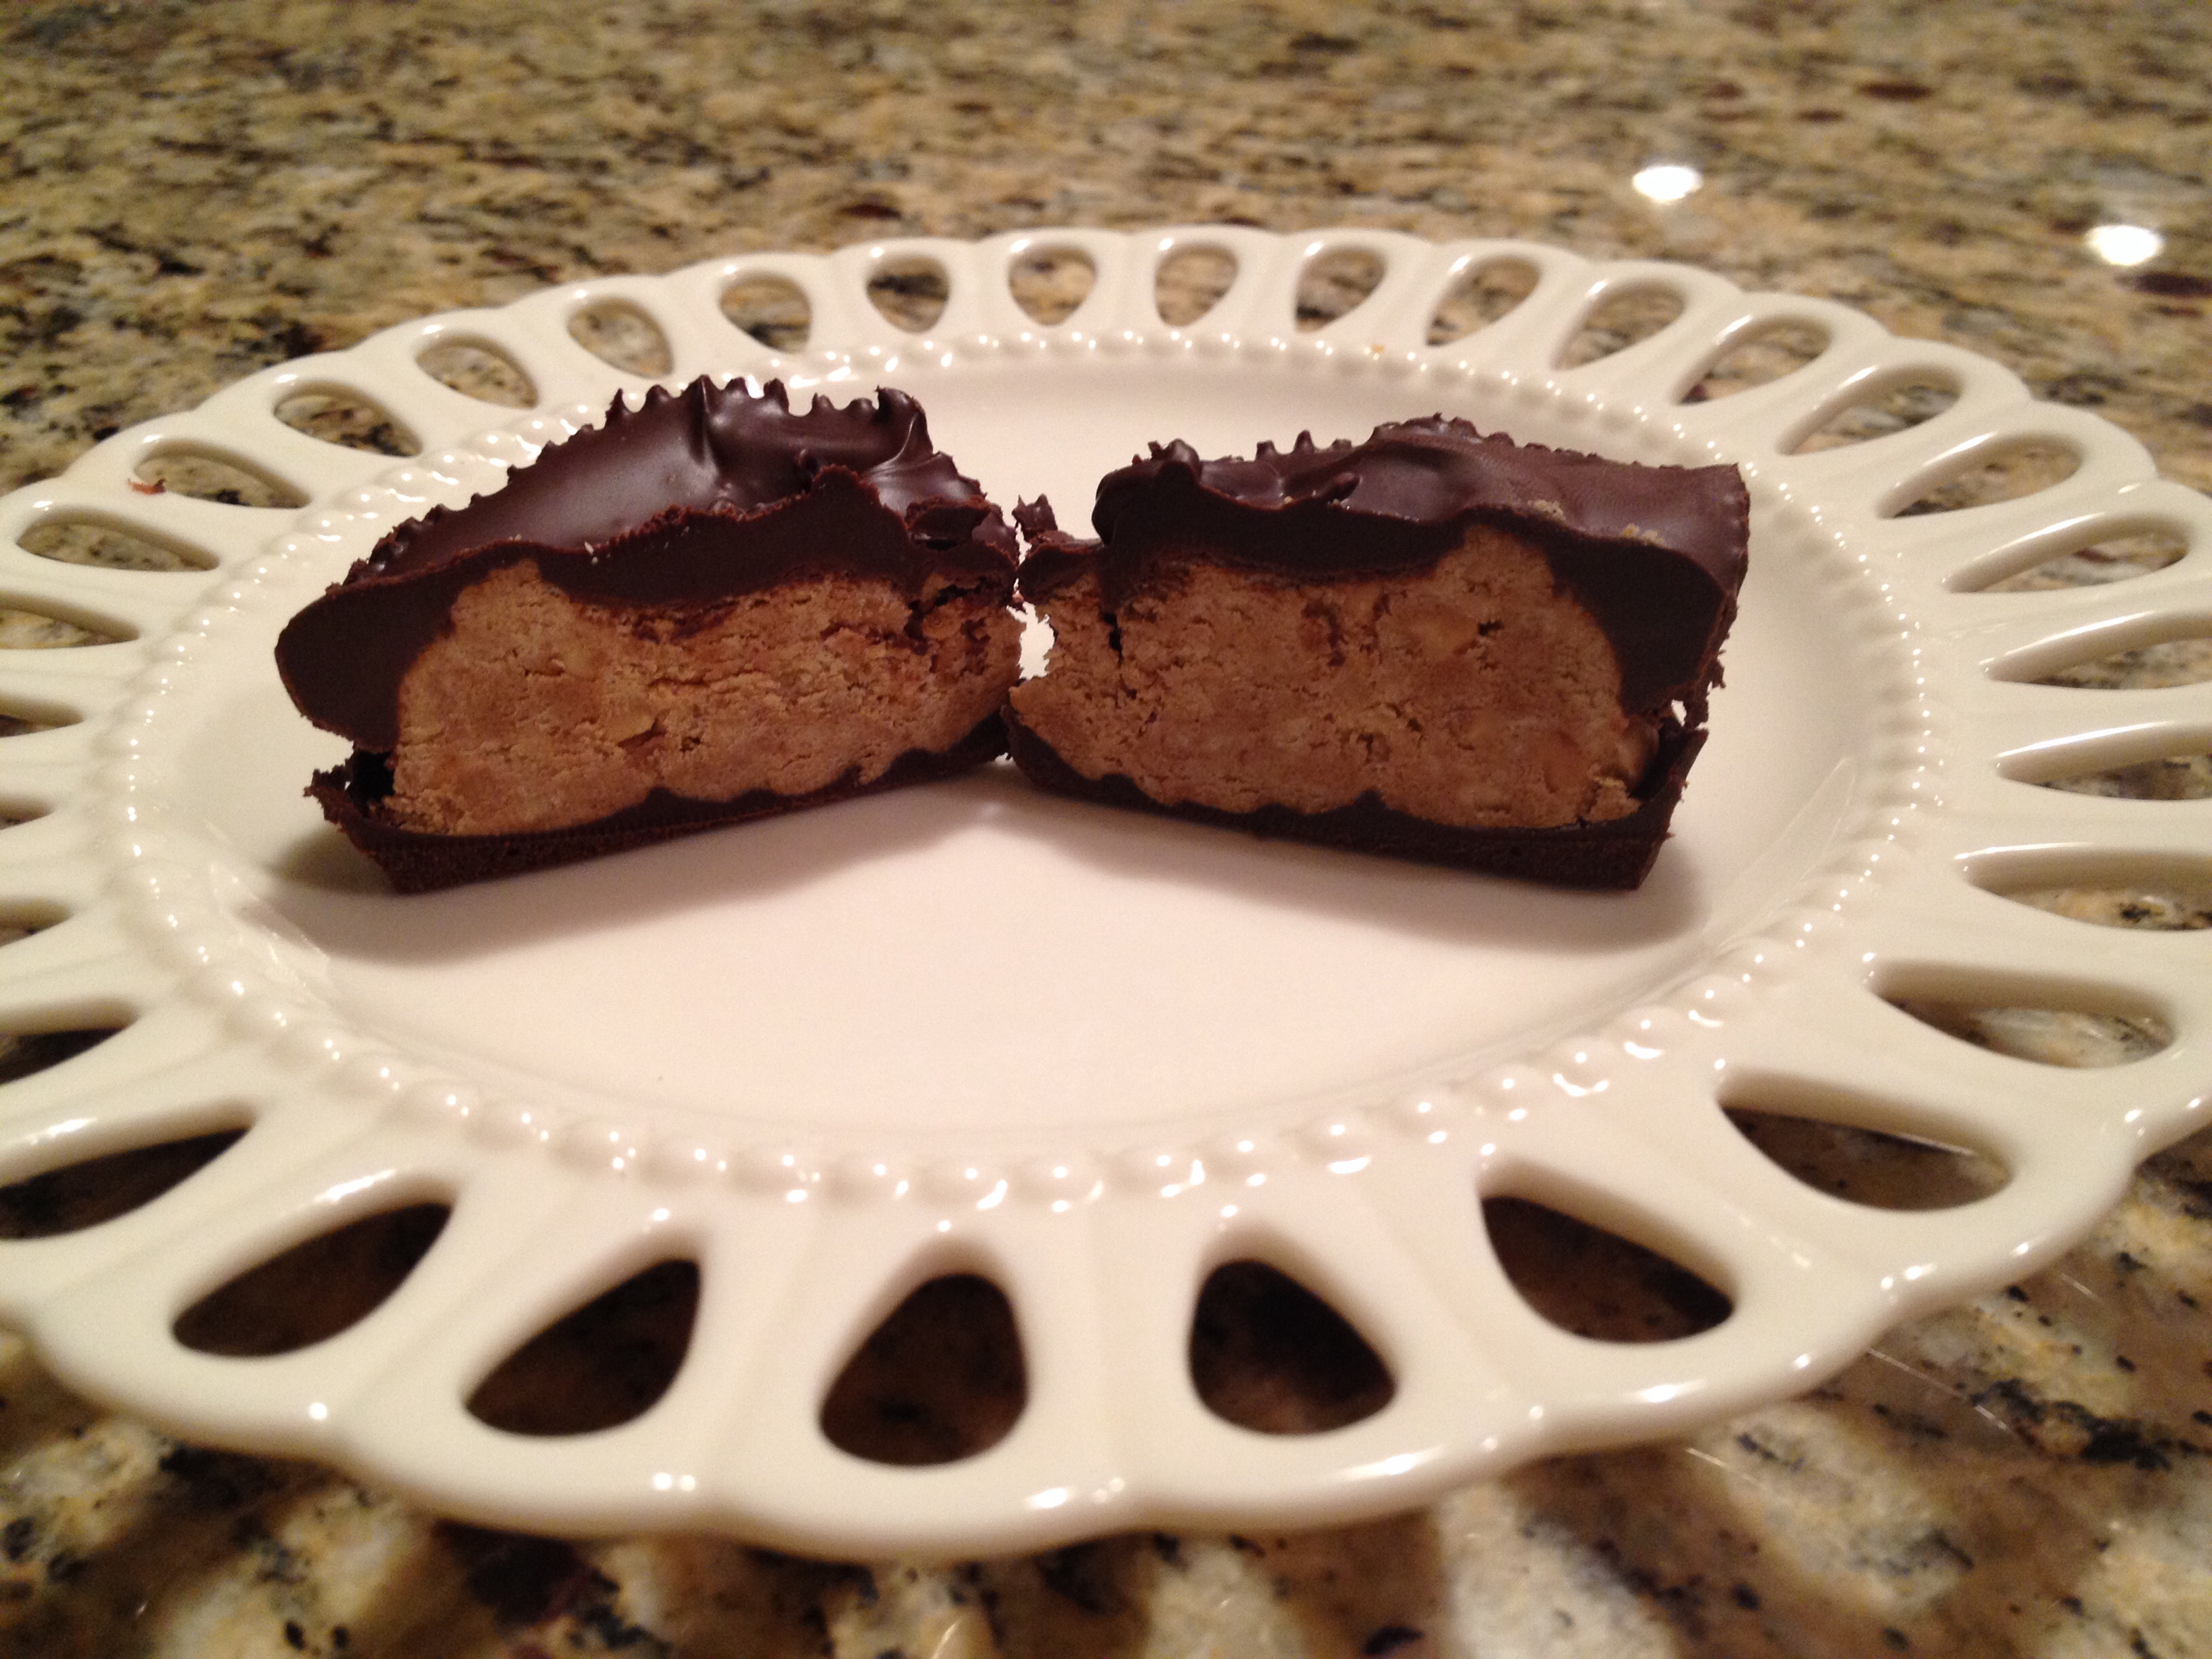
While the chocolate is setting, begin shaping the peanut butter filling. Take about 1 tablespoon (1 teaspoon if using the mini muffin tins) of the peanut butter mixture and roll into a ball.

IMG_3150

Then flatten into a patty with a size a little smaller than the diameter of the muffin well bottom. Repeat with the remaining peanut butter mixture and then chill in the freezer for about 5-10 minutes. Once chilled, remove the muffin pan and peanut butter patties from the freezer. Place one patty in each chocolate cup.

IMG_3153

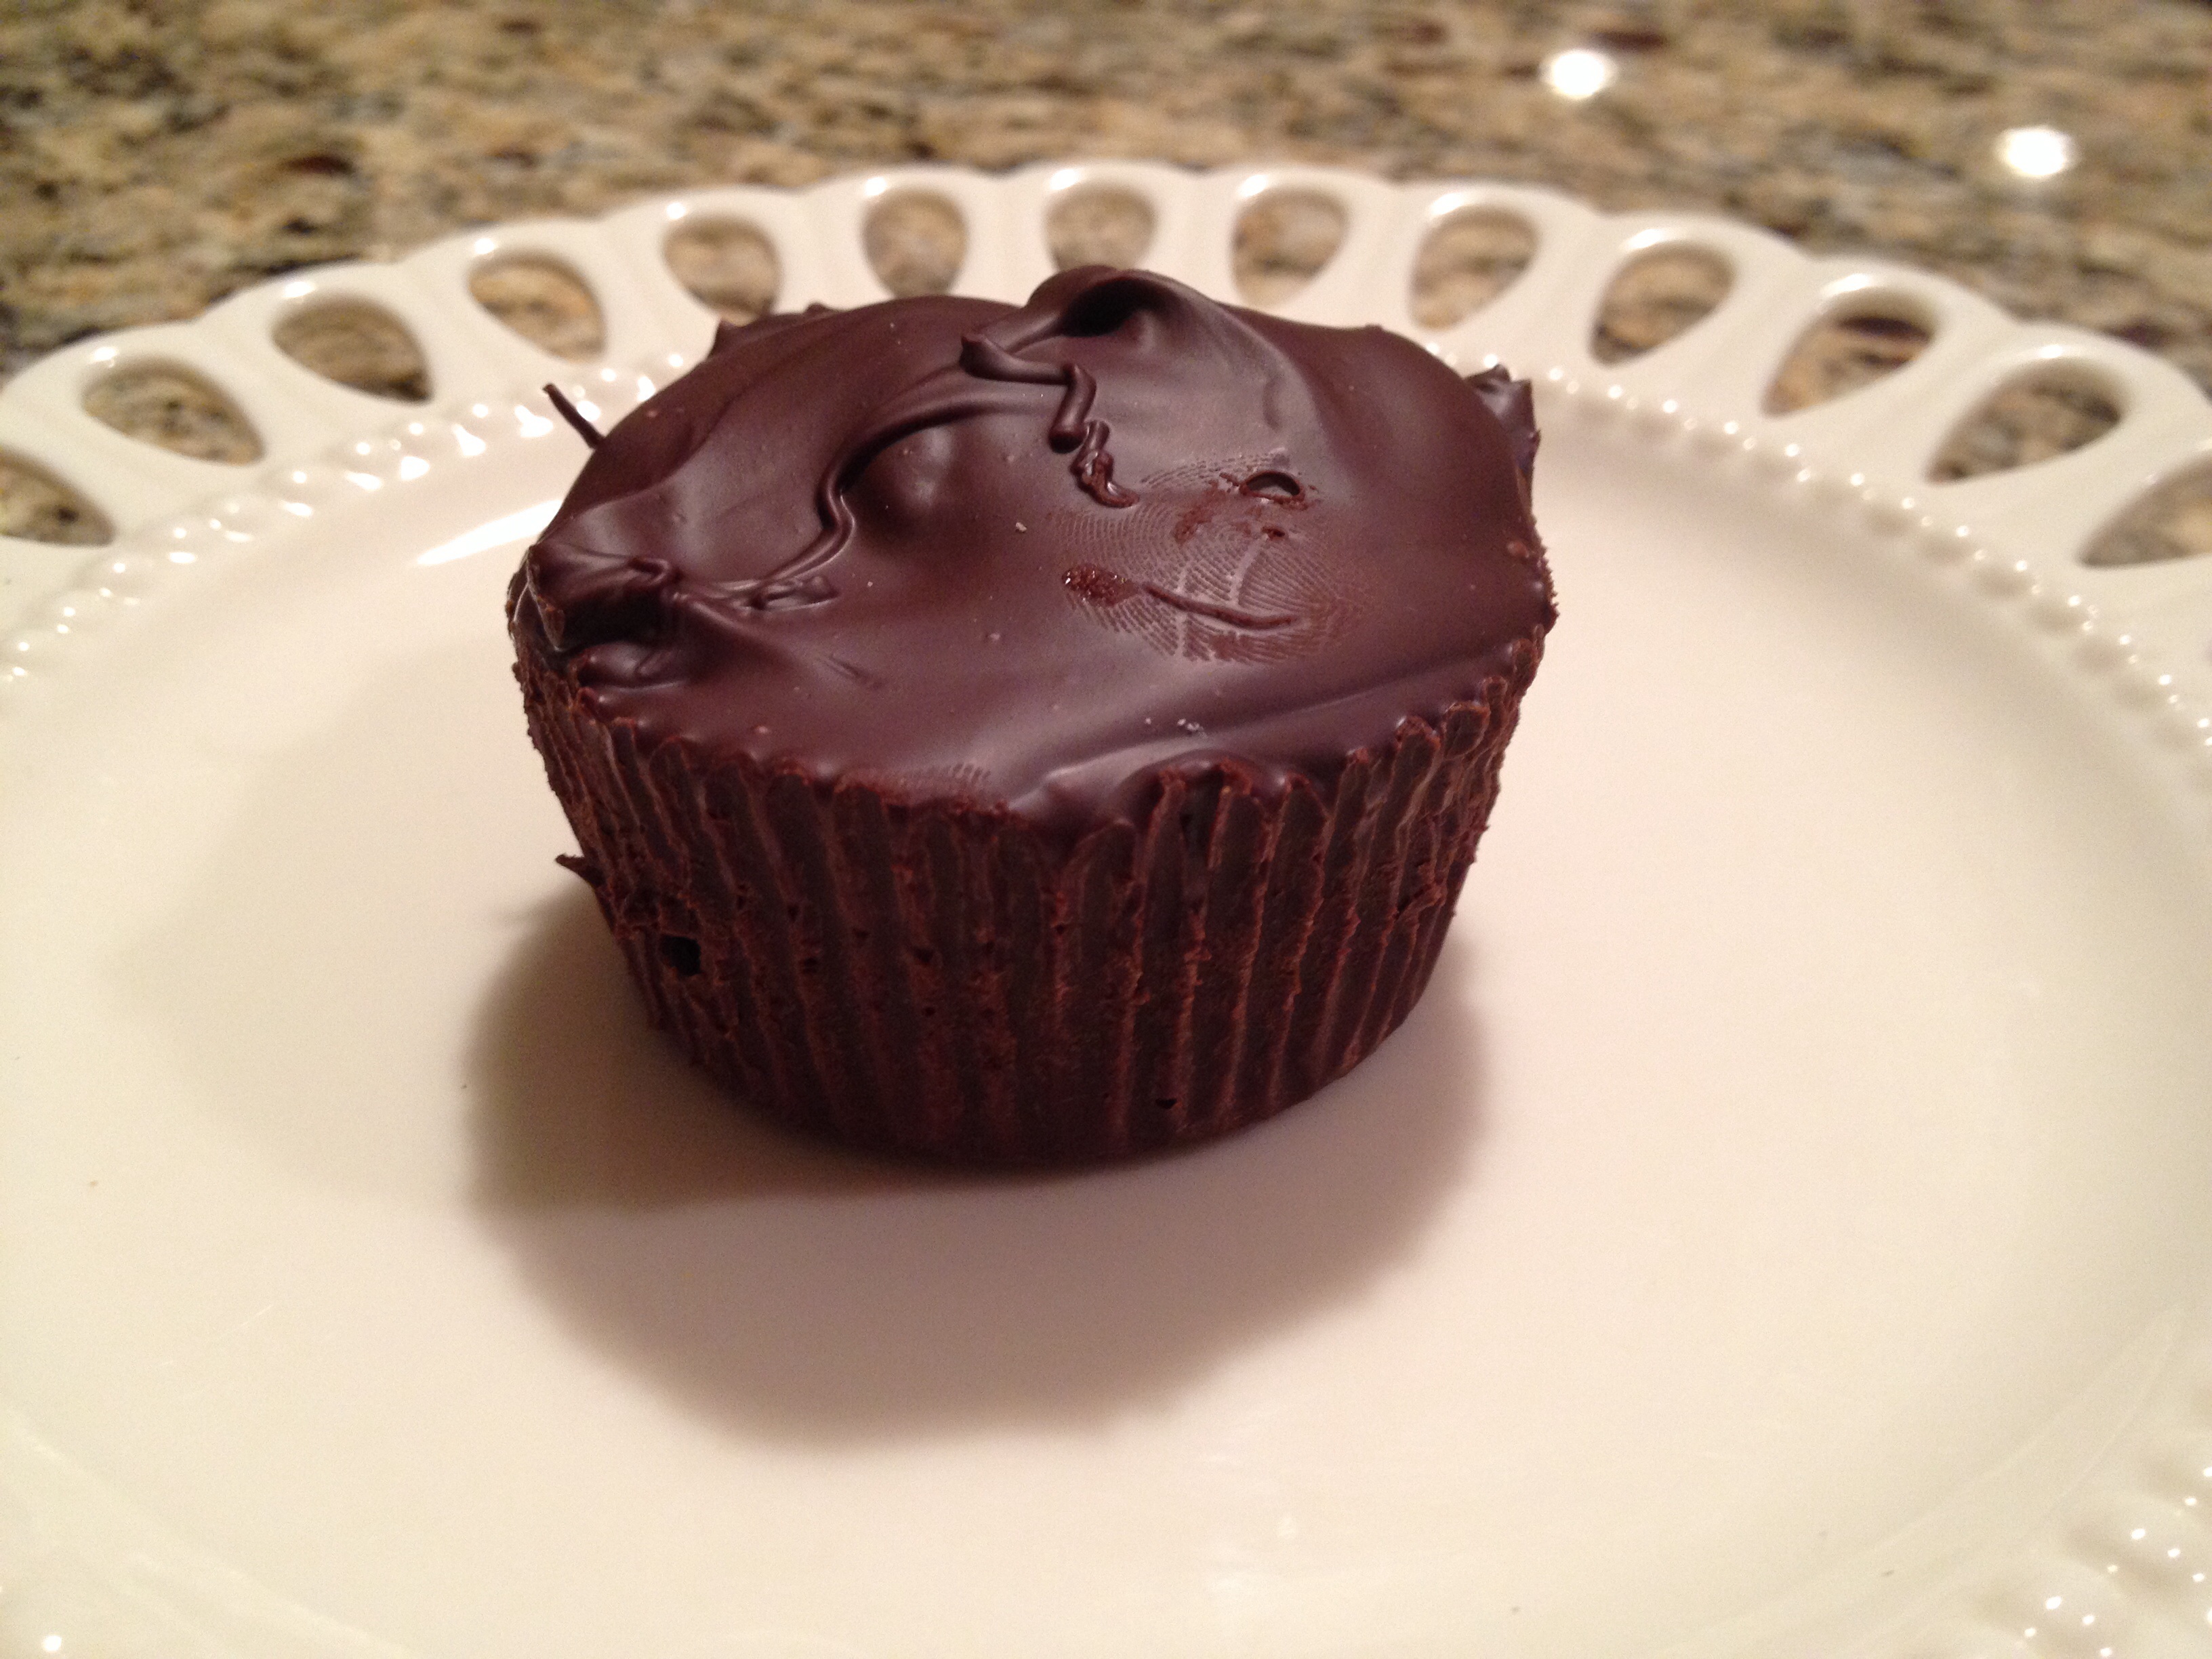
Next, place the bowl of chocolate (if left over) plus the remaining chocolate chips back into the microwave to melt. When the chocolate is melted, pour it over each of the peanut butter patties until covered. Once each well is filled with chocolate, put the muffin pan into the freezer for about 15-20 minutes to chill and harden.

IMG_3154

When this time is up, take the pan out of the freezer and allow to sit for 3 minutes. Then it is time to take the peanut butter cups out and enjoy!!! There is no doubt you will be enjoying T.W.O. of these!

IMG_3160

IMG_3161

image

Enjoy!

T.W.O. signature

French Silk Pie

image

Are you a chocolate lover? Are you a pie lover? Well, you are in luck! T.W.O. has the perfect recipe for your –French Silk Pie. It’s a rich, fluffy, dense mousse pie that will be great for your next dinner party!

Ingredients:

-4 oz. bittersweet or semisweet chocolate
-1 teaspoon butter or shortening
-1 cup unsalted butter, softened
-1 ½ cups granulated sugar
-2 tablespoons vanilla extract
-4 eggs, room temperature
-1 fully pre-baked 9 inch pie shell (See recipe HERE)
-3 cups whipped cream

 Preheat oven to 350°F.

In a microwave safe bowl, head the chocolate and butter/shortening in 20-second intervals, stirring between each interval until completely melted. Cool for 10 minutes.

image

With a KitchenAid or handmixer, cream together butter, sugar until fluffy. Add the melted chocolate gradually until mixed well. Add vanilla.

Using a whisk or the whisk attachment, add one egg at a time. Each egg should be beat for 5 minutes, totaling 20 minutes. The filling should be thick and fluffy. Once you get the consistency, add the filling to a pre-baked pie shell.

image

image

Place the pie in the oven and bake for 30 minutes or until a butter knife comes out clean. Let the pie cool for about 30 minutes. Once cooled, place the pie in the refrigerator for a minimum of 4 hours. It’s best to make this pie the night before.

Just when you are ready to serve, put the whipped cream on top of the pie. Garnish the top of the pie with shaved chocolate.

By this time, I am sure you are ready to taste this delectable, chocolaty pie!

imageimage

Happy Baking!

T.W.O. signature

The Pumpkin Pie

IMG_2610

Pumpkin Pie. It is as important (maybe a little more!) than the turkey for T.W.O.’s family Thanksgiving feast. With Thanksgiving around the corner, T.W.O. decided to bake this delicious dessert a few weeks before the big day to get our and your mouths watering! You won’t be disappointed!

Ingredients

 Flaky Crust:

-2 cups flour
-¾ cup shortening (T.W.O. uses butter flavor)
-2-3 Tablespoons sugar
-5-6 Tablespoons cold water

*Depending on the size of your pans or how thick you want your crust, you might want to double the crust recipe. T.W.O. uses 9 inch pie pans.

Pumpkin Filling:

-1 ½ cups sugar
-1 teaspoon ground cinnamon
-1 teaspoon ground ginger
-1/2 teaspoon ground cloves
-4 large eggs
-1 can (29 oz) Libby’s 100% Pure Pumpkin
-2 cans (12 fl. Oz., each) evaporated milk

 IMG_2583

IMG_2589

Preheat oven to 425 degrees. In a bowl mix the flour, shortening, sugar and cold water. T.W.O. uses a pastry blender to mix the dough together, forming into a ball.

IMG_2584

Once the dough ball is formed, let’s get ready to roll it out! Make sure your surface is floured so that the dough doesn’t stick to your countertop or mat. Split the dough in half to make the 2 piecrusts. Using your rolling pin, roll the dough out evenly in a circular shape. With the assistance of a spatula, move the rolled out dough into the oiled or “PAM’ed”pie dish. Pinch the crust tops with your fingers to make a stylish pattern. Repeat for second pie dough.

IMG_2587

Now for the pumpkin filling. Mix sugar, cinnamon, ginger, and cloves in small bowl (T.W.O. uses a KitchenAid). Beat eggs in a large bowl. Stir in pumpkin and sugar-spice mixture. Gradually stir in evaporated milk.

IMG_2590

Pour into pie shells.

IMG_2591

Bake in oven for 15 minutes. Reduce temperature to 350 degrees; bake 40-50 minutes or until knife inserted near center comes out clean. Cool on wire rack for about 1-2 hours. Serve immediately or refrigerate.

IMG_2597

Happy Baking!

*T.W.O. makes a foil ring to cover the crusts so that it does not burn.

IMG_2611

T.W.O. signature